- Home
- Free Quilt Block Patterns
- Find a Pinwheel quilt block pattern
Find a Pinwheel quilt block pattern to make from our favorite 38!
Twisting and turning its way through time - the pinwheel quilt block is an undeniable favorite among quilters
This post contains affiliate links, for which I receive compensation.
If you’ve been quilting for any length of time, chances are you have seen the classic pinwheel quilt block pattern. This beloved quilt design has been around since the late 1800s, and it is still a tried and true favorite among quilters today.
Add some pizzazz to your quilting project with one of our favorite Pinwheel block patterns! We've put together a list of 27 stunning designs, perfect for both newly minted and veteran quilters.
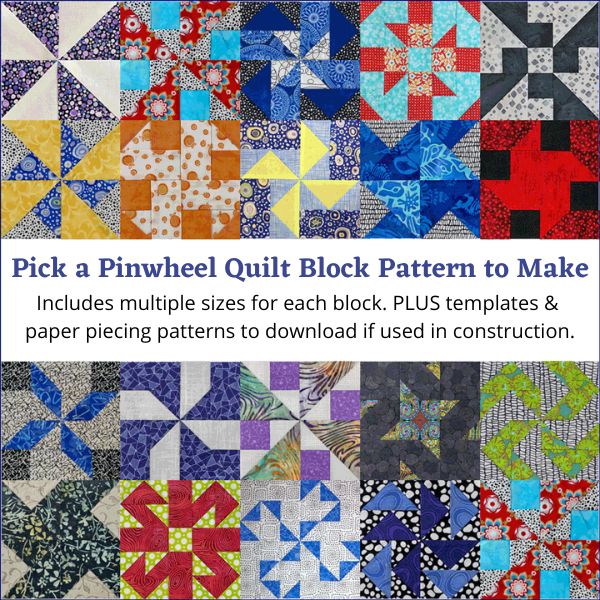
From traditional styles to more modern looks—we have it all. So grab those needles and thread, find the right pattern for you, then let's get to the piecing.
Quilt stitch by beautiful stitch until your patchwork creation is complete...happy adventures await in the world of Pinwheels blocks.
On this page, you'll find:
The basic Pinwheel quilt block
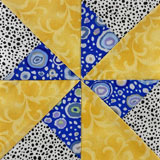
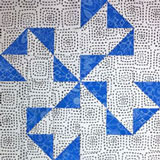
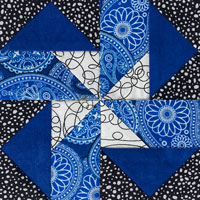
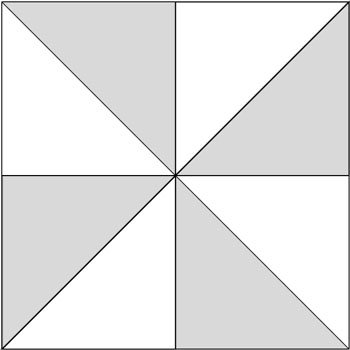 Traditional Pinwheel quilt block design
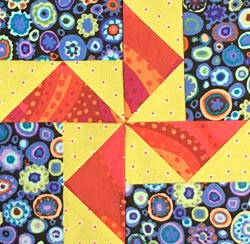
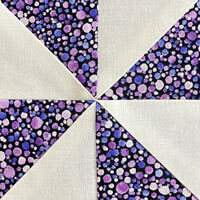
The basic design is created when a half square triangle is repeated and rotated a quarter turn as you make your way around the block.
There are several methods for making half square triangles.
Choose from the following lists based on your needs. (The number of half square triangles with the same fabric pairings is enclosed in parentheses.)
- Bonus pair method (2—1 of each of two different sizes)
- No mark, 4 at a time (4 - my least favorite method)
- Specialty Rulers (2)
- Triangle paper - (many, depends on the size of the HST, free to print from this website)
- Even more triangle paper options (again, many, but these are purchased papers)
Finally, a paper pieced version of the Pinwheel quilt block is found here. It includes free downloads of the pattern in 2", 3", 4", 5", and 6" finished sizes, plus the cutting chart and a coloring/fabric planning page.
Something for almost any quilt you're working on.
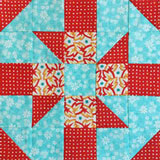
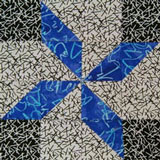
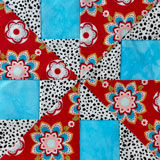
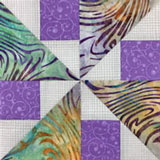
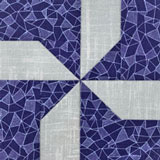
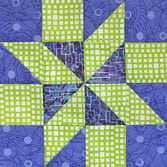
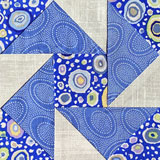
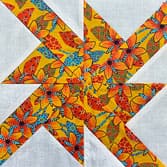
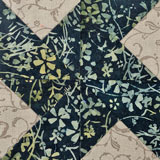
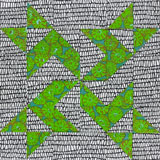
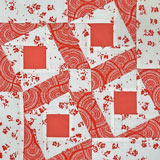
Pinwheel quilt blocks collection
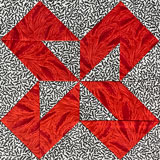
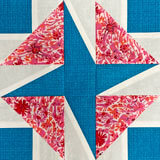
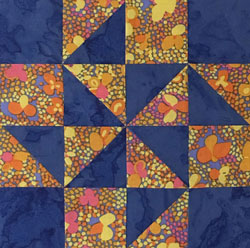
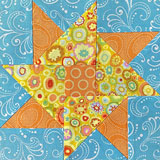
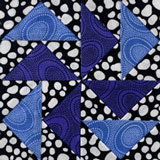
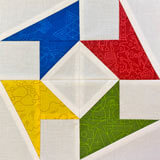
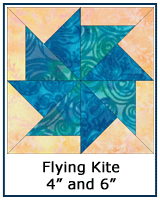
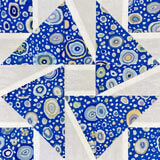
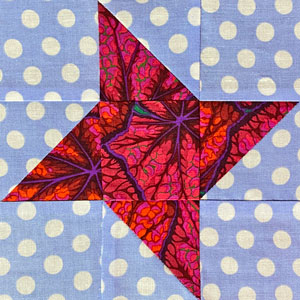
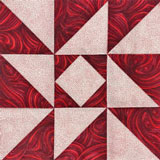
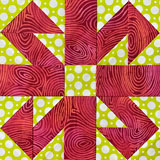
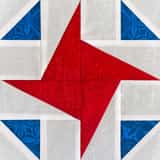
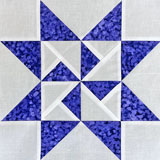
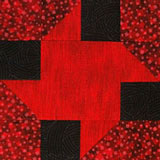
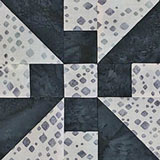
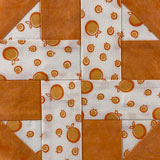
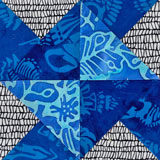
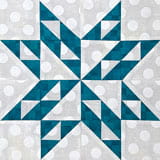
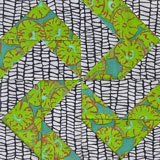
Tutorials for all of these Pinwheel blocks are here on the website. Some form a pinwheel in the center, others have outside corners that rotate a 1/4 turn around a center square or unit.
Regardless, they all have that twirly presence that adds movement to your quilt design.

The finished sizes are listed below each one. If there is any paper piecing in the block, there'll be patterns to download for each of the different sizes.
If you love Pinwheels, remember to bookmark this page.
As new tutorials (and that includes any free paper piecing patterns or templates) are added, they'll be added both here and in the main Free Quilt Block Patterns library.
From Victorian times to modern-day, one thing is clear: Quilters love the pinwheel quilt block!
Which one will you choose to make today?
My favorite tool for trimming HSTs for Pinwheel blocks
The ideal ruler for checking the accuracy of and trimming half square triangles to size has the following characteristics:
A square ruler larger than the Pinwheel
I find it much easier to align a line on the ruler with a cut edge instead of trying to even up the cut edge with the edge of the ruler.
Much less eye strain, especially for these far-sighted eyes.
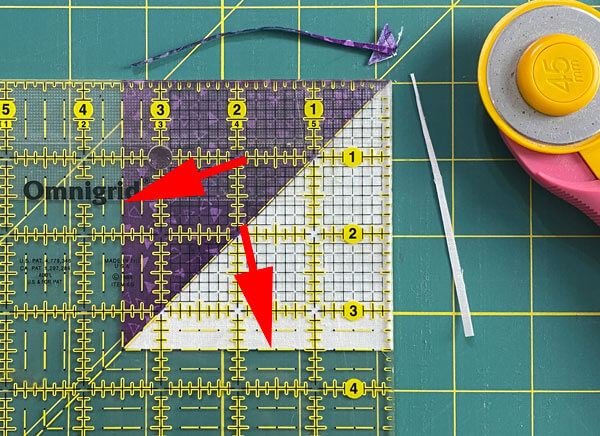 It's so much easier to align the lines on the ruler with the trimmed edges of the HST. The red arrows point to the 3-1/2" marks on the ruler, the unfinished size of HSTs for a 6" finished block.
Diagonal line (45°) from corner to corner
This line should be easy to see as you position directly over the seam allowance. With square rulers, this line is ALWAYS in the same place—right through the center diagonal.
Most rectangular rulers also have the 45° line. Many times, though, it isn't at the corner, as in this Omnigrid 6" x 24" (red arrow).
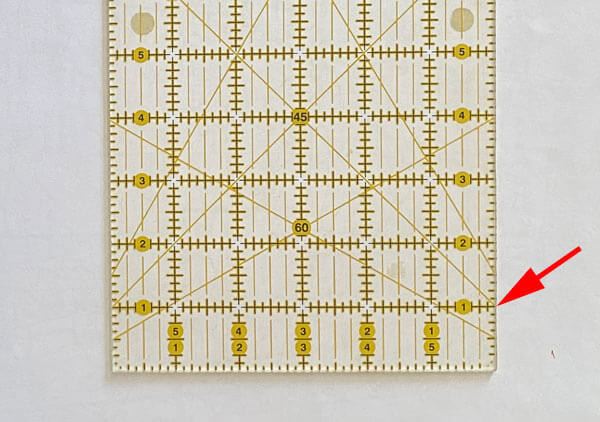 This 45° mark is useless for trimming HSTs.
Grippy bottom
If you've had problems with your ruler slipping a bit as you trim your HST, try a ruler with a grippy bottom.
I've used Quilters Select rulers, Creative Grids, and even my standard 6" square with a product called Grippy®; sprayed on the bottom or with Nexcare Tape stuck on the bottom.
For the longest time, the Quilters Select was my absolute favorite. But the 'grippy' stuff is coming off in the corners now (red arrow). The ruler has roughly 5 years of use, but I'm not seeing wear anything like this on my oldest Omnigrid rulers.
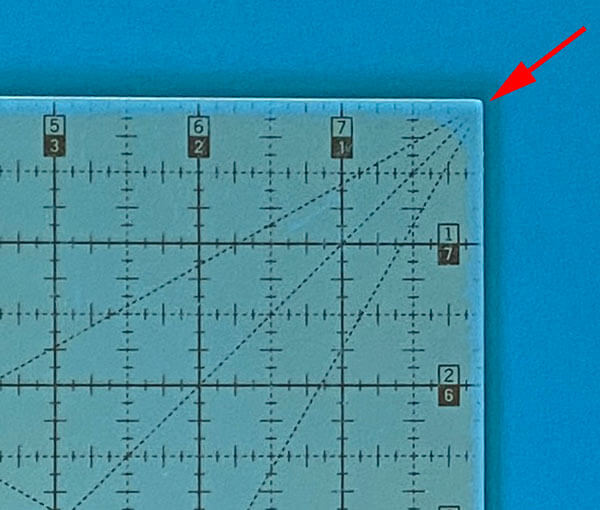 The 'grippy' stuff is a yellow film. It's brighter turquoise where the film has worn away with use. That was unexpected.
Creative Grids textured 'dots' on the bottom side of the ruler grab and hold the fabric nicely. Creative Grids ALSO has this texture in the seam allowances, too.
There's texture all the way to the edge to hold your fabric in place as you cut.
But what if you would rather not replace your rulers? They're expensive, right?
Grippy® saved my everyday square ruler (my bee-mates like it, too, when they tested it for me) by making the bottom grippy without being sticky or obscuring the markings.
It's all in the name, right?!!!
It can be a bit stinky, so do it outside. You won't accidentally get any gook spread about in your studio either. It dries fast, too.
And it can be reapplied if needed.
Finally, there's Nexcare Flexible Clear Tape. It can be applied to your older, still good, rulers. Add this to the underside of your ruler at the edges.
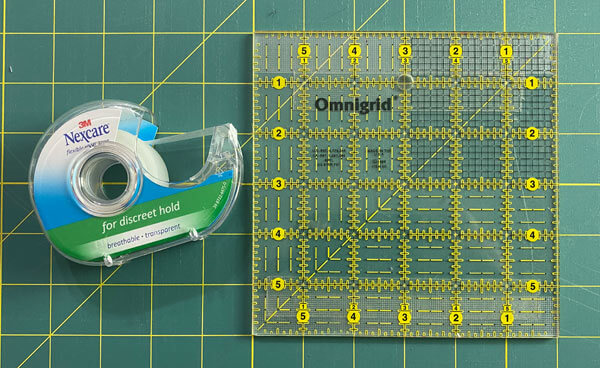 The Nexcare has a bit of texture to it, not as much as the Creative Grids texture. It's the milky bits about 1" down from the top and up from the bottom.
Any excess can be trimmed away with your rotary cutter.
You might have expected me to say the Bloc Loc ruler. <heavy sigh> I wish I could because it's a foolproof way to line up the seam allowance of the center diagonal.
Unfortunately, I find that I've got to cut the upper right corner twice (I'm right-handed). The fabric always seems to shift a bit there. Two extra cuts just isn't efficient for me.
To address my problem, I've added strips of Nexcare Flexible Clear Tape to the trimming corners of my Bloc Loc. It does help.
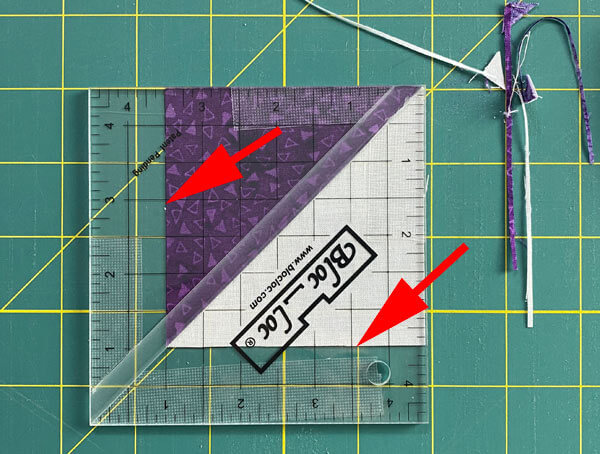 You can just make out the texture of the Nexcare tape in the upper right and lower left corners. Even with the Bloc Loc I prefer an over-sized ruler. It's easier to match up the trimmed edges (red arrows).
Tips for making better, flatter Pinwheel quilt blocks
All quilters can agree that patches go together easiest when they're cut, stitched, and pressed accurately.
In my experience, starching your quilt fabrics before cutting makes all the different in the world.
The quilt fabric has less tendency to slip as you're cutting and stitching. If you use a 1/4" foot with a guide or flange on the right-hand side, the stiff starched fabric is easier to maneuver under the needle and up against the guide.
Starch fabric holds the crease from fingerpressing so much better than non-starched fabrics. By fingerpressing the seams, it much less likely that I'll get a tuck in the seam allowance.
Dealing with the bulk
At the center of a traditional Pinwheel, 8 seams meet. That adds up to a lot of bulk.
One of the best ways I've found to deal with this is to twirl or fan the seam allowance. You'll find this technique described in many of the tutorials on this site right where you need it in the instructions.
On the backside, a cute little pinwheel forms in the very center.
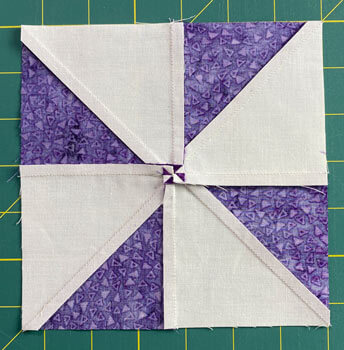 Another benefit is all the seams are pressed toward the darker fabric.
If you choose not to twirl the seam allowance, or you can't because you paper pieced, or if there aren't so many seams at the center, then check out this simple pressing trick for super flat blocks.
It's difficult to believe that something as light as your rotary ruler can make such a big difference in the flatness of the finished block.
Pressing seams
Should your seams be pressed open—or closed and toward the darker fabric?
This really is a personal decision. I like to have seams that nest or abut to make matching them easier.
If you decide to press those seams open, you'll be pinning to hold the patches in place as you stitch.
Fine pins (my favorites are the IBC brand that are .50mm thick) a helpful, too, because they don't distort the fabric as much as thicker ones do.
A pinning tip...remember as you pin, to pin through the sew patches that are the front of the block and not through all the layers in the seam allowances.
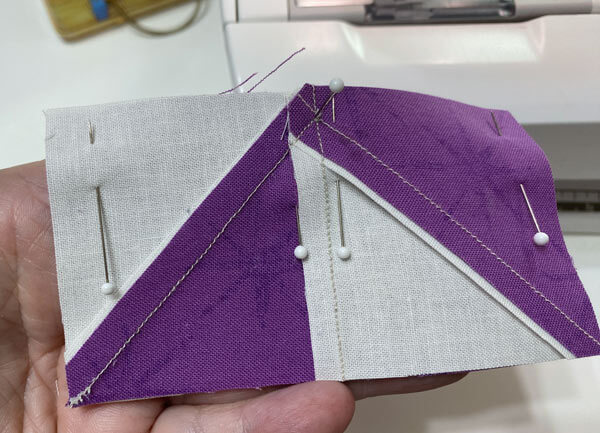
The units will feed through your sewing machine much flatter.
And finally, always stop right before you hit all the lumpiness at the center of the seam. Raise your presser foot, either manually or with a tap of your foot pedal depending on your sewing machine. Then lower the presser foot down on top of the lumpy part.
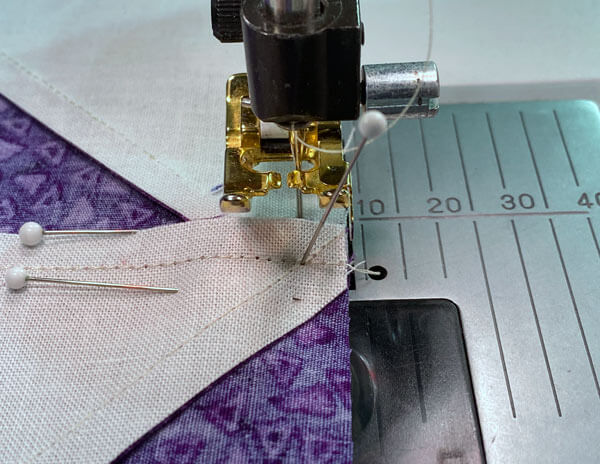 Pin your unit so the edge of the seam feeds under your presser foot first. Stop just as you reach the bulk. Raise your presser foot and set it down on top of the bulk. Continue sewing. You'll get a better match at the center of your block.
Your sewing machine will have less tendency to push the lumpy parts forward. A better match is more likely.
Let's cut to the chase
You've been staring at that quilt fabric for much too long. It's time to get creative!
From classic to bold variations, this collection of 37 Pinwheel quilt blocks has something sure to make heads turn in admiration when they see what you can do.
Plus tips on making flatter blocks? You’re welcome. ;)
Stop waiting around—start mastering one of history’s most beloved block patterns today.
For even MORE blocks to make… 🧩🎨

...visit our Free Quilt Block Pattern Library, with over 260+ blocks to choose from in multiple sizes.
Free downloads are included in all sizes for any blocks require paper piecing patterns or templates.
- Home
- Free Quilt Block Patterns
- Find a Pinwheel quilt block pattern
