- Home
- Free Quilt Block Patterns
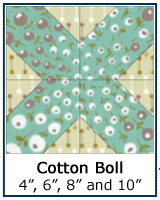
- Cotton Boll Quilt Block
Learn to Make a Cotton Boll Quilt Block
Connector Corners make it Easy!
This post contains affiliate links, for which I receive compensation.
Skill Level: Beginner
The Cotton Boll quilt block is quick and easy to make using the simple Connector Corners technique, sometimes called 'stitch and flip'.
Perfect triangles—but no triangles to cut and no bias edges to contend with. That's the beauty of this method.
 Pin It for later!
If you like the technique, you'll find links at the bottom of this page to several other blocks that use this method of creating triangle-shapes within your quilt blocks—all without any bias edges!
📋 General Instructions

Several abbreviations are used on this page:
- SA - seam allowance
- RST - right sides together
Seam allowances (SA) are 1/4" unless otherwise noted.

I prefer the open toe applique foot for stitching on the drawn sewing lines. It's just plain easier to see.
I switch to my favorite 1/4" foot with a guide to assemble the units into the Cotton Boll block.
I also like to use a 50/50 mixture of StaFlo Liquid Starch Concentrate and water on my fabric before cutting.
It's my experience that starched quilt fabric makes cutting and sewing more accurate and finger pressing a dream.
New quilt fabrics to tickle your fancy...
Click the images below to see the full collection. We share any commercial and/or free patterns that showcase them, too. (For inspiration, of course!)


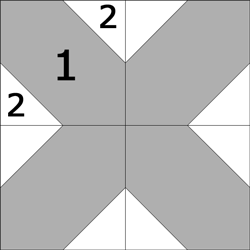
Step 1: Cutting patches for a Cotton Boll
Sample Size: 6" finished / 6½" unfinished
Grid: 4x4
Attribution: KC Star
AKA: Lattice (NP), A quilt of Variety (KCS), Five Cross (CS), Five Crosses (NC), The Quint Five Quilt (KCS)
Design Type: 4-patch, Folded or Connector Corners
Though the sample block is stitched with just two fabrics, there's absolutely no reason why you couldn't make this a scrappy block.
Just be mindful of the contrast between the fabric values so that the patchwork design shows up.
All the numbers in the chart are for squares, i.e. 2-1/2" means cut a 2-1/2" x 2-1/2" square.
 |
Cutting Chart for a~ Connector Corners ~ | |||||
|---|---|---|---|---|---|---|
| Patch | Fabric | Qty | Finished Block Size | |||
| 4" | 6" | 8" | 10" | |||
| 1 | A | 4 | 2-1/2” | 3-1/2” | 4-1/2” | 5-1/2” |
| 2 | Background | 8 | 1-1/2” | 2” | 2-1/2” | 3” |
| Unfinished Block Size | 4 1/2" | 6 1/2" | 8 1/2" | 10 1/2” | ||
| Grid Size | 1" | 1 1/2" | 2" | 2 1/2” | ||

Step 2: Create the units for our Cotton Boll block
Make 4
Draw a diagonal line on the backsides of all eight #2 squares. I prefer a mechanical pencil for this. The line remains the same thickness because the lead never dulls and thickens.
Be sure that the line bisects the corners exactly.
With right sides together, position a #2 with a #1 so that the drawn line touches two sides.
Stitch on the line.
Notice how I've alternated the direction of the patches so that they line up nicely at the needle.
 Using an open toe applique foot makes it easy to see the line.
Add the second square in the same manner diagonally opposite from the first.
 Again, I've alternated the patches as they are fed into the machine so that they snug up to each other.
Press the unit flat as it was stitched.
It's time to trim away the excess and you've a choice to make.
The first option is to trim away the extra from just the smaller #2 patch, leaving a 1/4" SA closest to the corner. (below, left)
Or you can choose to trim away the excess from both layers, leaving behind the same 1/4" seam. (below, right)

If you are hand quilting the finished quilt, trimming both layers is your best bet because there is less fabric for you to push the needle through while you quilt.
Since I rarely hand quilt anymore, my preference is to remove just the one layer, leaving behind the perfectly cut larger square. That way, even if I veered from the drawn line a bit, the unit itself is perfectly sized.
After trimming, press the units with the patches opened and in position.
Step 3: Assemble the Cotton Boll quilt block
Arrange the units so that they form an 'X' design.

With RST, stitch the pairs together matching the seams. Because I chose NOT to cut away the extra layer (you can just see it peeking out in the lower left patch above), I used pins to insure the match through the extra bulk.
 SAs are pressed in the direction of the arrows.
The match turned out pretty good! SAs are pressed in opposite directions.
With RST, stitch the rows together. Again, I pinned to guarantee the match at the bulkier seams.
 The finished Cotton Boll quilt block!
And it was totally worth the few seconds worth of extra effort.
This Cotton Boll quilt block is finished!
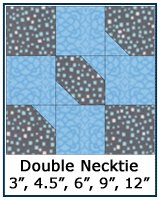
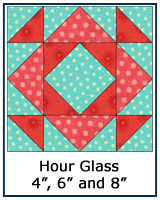
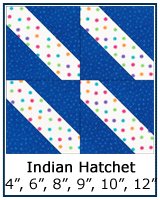
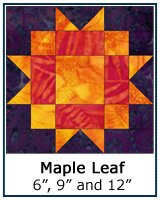
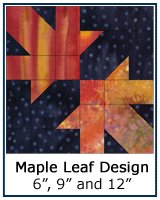
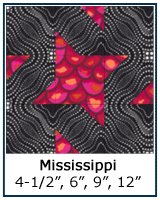
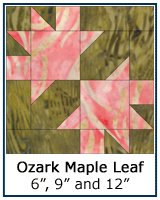
More blocks that use Connector Corners
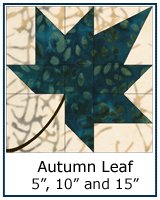
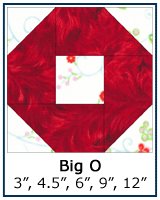
As promised, below is a sampling of the free quilt block patterns found on this website that use this simple technique for creating triangle shapes out of nothing more than cut squares and rectangles.
Click each image to go to those instruction pages.


For even more patterns, visit our Free Quilt Block Patterns Library.
What about a different quilt block?
For a list of all the 220+ quilt block patterns on this site, start here.
If you know the name of the block, shorten your search by using these links:
Click here if you're looking for blocks with at least some paper piecing.
Click here if you're looking for the basic building blocks of quilting, i.e., Flying Geese, half square triangles, quarter square triangles, etc., along with several techniques to make each.
And finally, use these links to find blocks in these finished sizes:


Yummy fabrics
to drool over
Click any image below to see the full collection and find pricing and ordering information.


By Julie Baird
Copyright © 2008-2026 Generation Quilt Patterns, LLC
All Rights Reserved
Generations-quilt-patterns.com does not sell any personal information. (See Privacy Policy)