- Home
- Free Quilt Block Patterns
- January Thaw Quilt Block
January Thaw Quilt Block Tutorial: 6", 9", 12", 15" and 18" finished blocks
From our Free Quilt Block Patterns Library
This post contains affiliate links, for which I receive compensation.
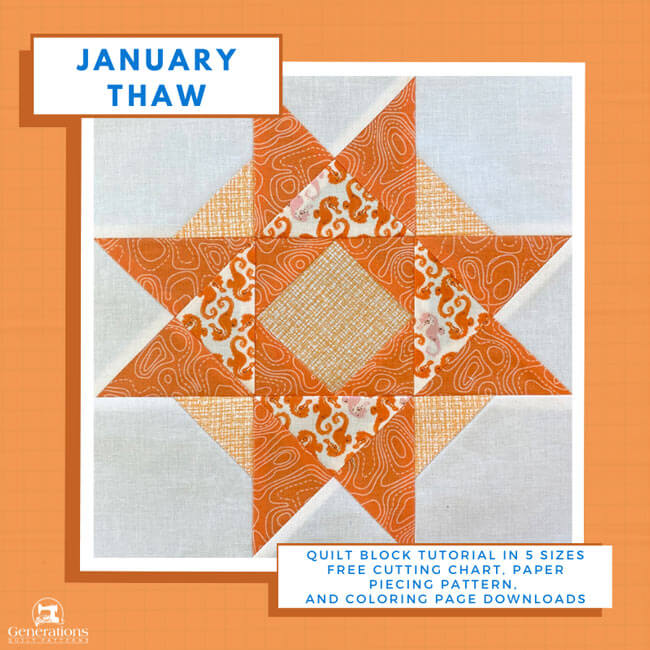
Step by step, we'll transform the January Thaw quilt block from daunting to doable.
With a combination of traditional piecing, paper piecing, and connector corners—nothing's off-limits—you can expect your winter blues to melt away with each precise stitch as you create something truly beautiful that will last for years.
So let’s get ready to thaw out this January together – one magnificent block at a time!
📋General Instructions
We use several abbreviations on this page:
- SA - seam allowance
- RST - right sides together
- HST - half square triangles
- QST - quarter square triangles
- SiaS - square in a square
- CC - connector corners or folded corners
1/4" SA are used through this tutorial.
Pressing instructions are highlighted in yellow throughout this tutorial to make them easy to spot.
When instructed to press, first press the patches in the closed position just as they came off your sewing machine. This sets the seam, melding the fibers of the threads into the fibers of the fabric.
Then press the SA to the dark unless otherwise noted.
Download and print paper piecing pattern
You'll need the most current version of Adobe installed on your computer to download the pattern.
On the Adobe Print Menu page, under 'Page Size and Handling' set 'Custom Scale' to 100% before printing for accurate results. Click here to see what it looks like on the Print Menu page.
Choose your finished block size from the chart below and print one copy.
Print the Square in a Square Unit | ||
|---|---|---|
| Finished Block Size | # of copies | Link to Print Download |
| 2" | 1 | 2" |
| 3" | 1 | 3" |
| 4" | 1 | 4" |
| 5" | 1 | 5" |
| 6" | 1 | 6" |
After printing, use the 1" square graphic on the printed page(s) to double check that your patterns printed at the correct size.

Not sure which paper to use?
Take a look at my review of several of the most popular brands available to us quilters on the market.
You want a super-easy paper to tear away—less stress on the stitches.
New quilt fabrics to tickle your fancy...
Click the images below to see the full collection. We share any commercial and/or free patterns that showcase them, too. (For inspiration, of course!)
✂️Cutting patches for your January Thaw
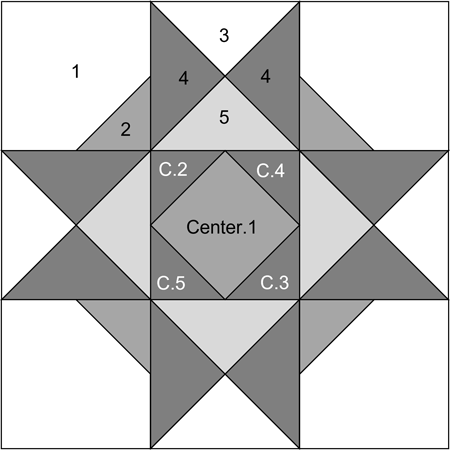 January Thaw quilt block design
Sample Block Size: 9" finished / 9½" unfinished
Grid: 6×6
Attribution: Traditional Quiltworks
Design Type: Even 9-patch | Star
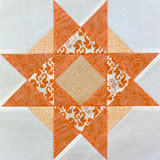
With it so dreary outside this January, I couldn't resist these cute little seahorses and the bright orange. So miss seeing the sun on these short days!
Please label all your patches. We use their numbers throughout this tutorial.
To print a copy of the block design and cutting chart to use at your cutting table, click here.
 | Cutting Chart for a~ Paper PLUS Traditional Piecing ~ | ||||||
|---|---|---|---|---|---|---|---|
| Patch | Fabric | Qty | Finished Block Size | ||||
| 6'' | 9 '' | 12'' | 15 '' | 18'' | |||
| 1 | Bac | 4 | 2½'' x 2½'' | 3½'' x 3½'' | 4½'' x 4½'' | 5½'' x 5½'' | 6½'' x 6½'' |
| 2 | Medium | 4 | 1½'' x 1½'' | 2" x 2" | 2½'' x 2½'' | 3" x 3" | 3½'' x 3½'' |
| 3 | Bac | 1 | 3½'' x 3½'' | 4½'' x 4½'' | 5½'' x 5½'' | 6½'' x 6½'' | 7½'' x 7½'' |
| 4 | Dark | 2 | 3½'' x 3½'' | 4½'' x 4½'' | 5½'' x 5½'' | 6½'' x 6½'' | 7½'' x 7½'' |
| 5 | Light | 1 | 3½'' x 3½'' | 4½'' x 4½'' | 5½'' x 5½'' | 6½'' x 6½'' | 7½'' x 7½'' |
| Center.1 | Medium | 1 | 1⅞'' x 1⅞'' | 2⅝'' x 2⅝'' | 3⅜'' x 3⅜'' | 4⅛'' x 4⅛'' | 4¾'' x 4¾'' |
| C2, C3 C4, C5 | Dark | 2 | 2⅜'' x 2⅜'' | 2⅞'' x 2⅞'' | 3⅜'' x 3⅜'' | 3⅞'' x 3⅞'' | 4⅜'' x 4⅜'' |
| Unfinished Block Size | 6½'' | 9½'' | 12½'' | 15½'' | 18½'' | ||
| Grid Size | 1'' | 1½'' | 2'' | 2½'' | 3'' | ||
Marking patches
Draw a diagonal line on the backsides of the smaller #2s, and the larger #3 and #5.
Make it only as dark as you need to be able to see it.
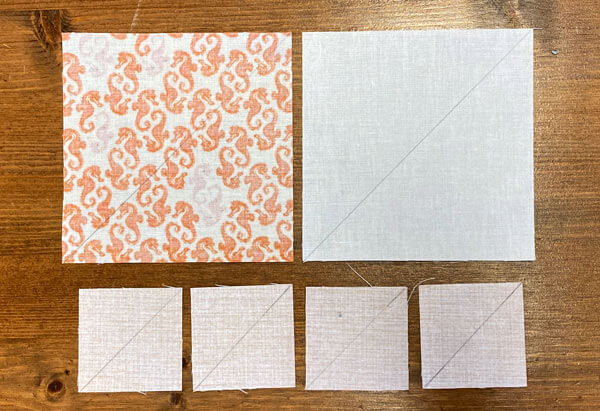 I like a mechanical pencil for these lines because the line always stays the same thickness
🪡Assemble the units for a January Thaw
Square in a Square Unit
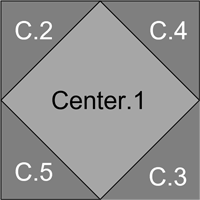
Make 1
Cut the two C squares in half on the diagonal to create 4 triangles.
Use a tiny swipe of your Elmer's Washable Glue Stick to hold the Center.1 patch in place between the dashed lines.
You can just barely make it out in the photo below.
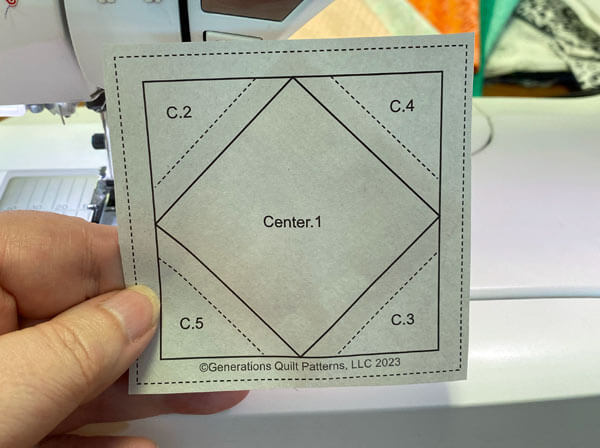
General Sewing Machine Setup for Paperpiecing
- Reduce your stitch length to 16–20 stitches per inch (1.3-1.6 mm). This perforates the paper and stabilizes the seam when you remove the pattern. [Learn more about stitch length here.]
- Reduce your machine's speed or just plain slow down. Sew only as fast as you can stay on the stitching lines.
- Install an open toe appliqué foot (sometimes called an 'embroidery' or 'satin stitch' foot) if you have one (it's easier to see where you're stitching with one installed).
- Use a larger needle (90/14) if you have problems removing the pattern.
- If your machine has a needle stop up, use it. The stitching goes faster when you don't have to lift the presser foot with every seam.
- As you stitch each seam, start and stop a generous 1/4” before and after the solid stitching lines. ALWAYS. Future lines of stitching secure the ends.
After adding each patch, press the unit as it was sewn to set the seam and then open. The SA is automatically pressed towards the last patch added.
Before adding the next patch, take a look to make sure the one you just added covers the space plus seam allowance that it is supposed to.
Steam is optional and usually curls the pattern.
If that bothers you, don't use steam. Sometimes I do. Sometimes I don't.
It truly depends on my mood.
Remember, as you follow this paper piecing tutorial, the printed and the fabric sides of this block are mirror-images of each other.
At last!
Let's sew!
With RST, match the long bias edge of C.2 to Center.1.
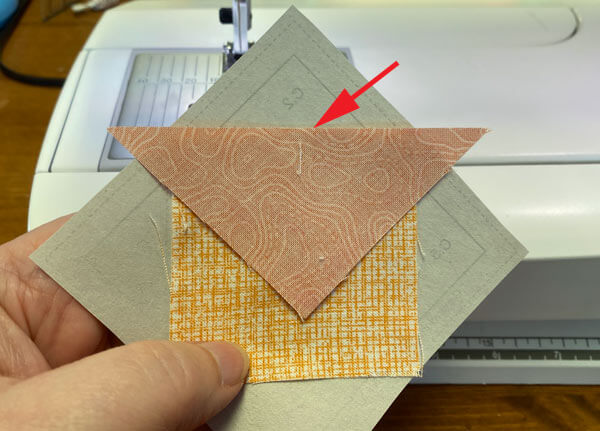
From the printed side, sew the seam between Center.1 and C.2 starting and ending past the outside dashed lines that surround the block.
Press.
Add C.3 in the same manner, pressing after stitching.
NOTE: When this unit is one of the larger sizes, you can add both C.2 and C.3 at the same time, then press.
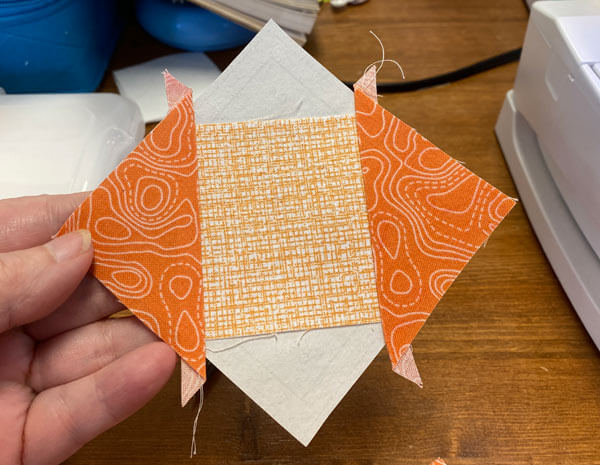 Our SiaS after sewing and pressing C2. and C.3
Add C.4 and finally C.5.
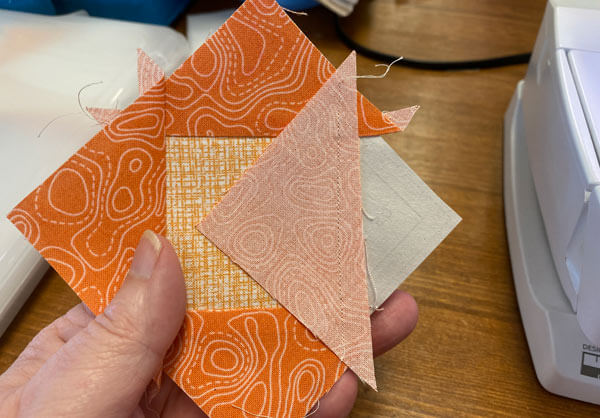 I like to trim away those dog ears created by the C.2 and C.3 patches. Here I've trimmed away the bottom one and not (yet) the top one on the right side.
Give the unit a good press.
Trim to size by lining up the 1/4" line on your ruler (red arrow) with the solid line. Trim away the excess to create the perfect 1/4" SA.
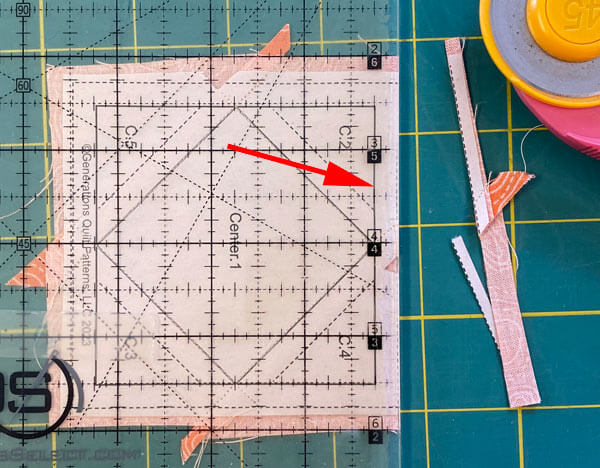
Repeat for the remaining three sides.
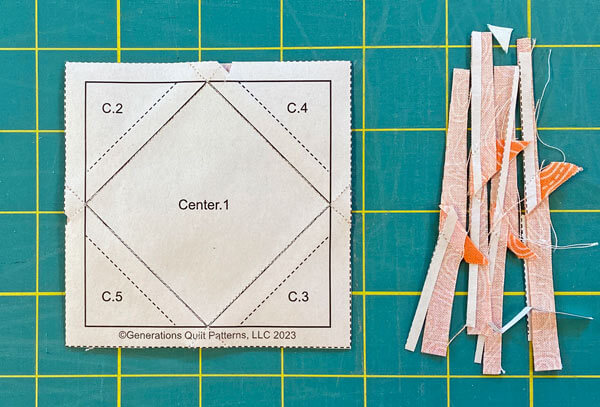
Your patches were pre-cut to ensure the outside edges of this SiaS are all on the straight of grain. That means you can remove the paper pattern now.

The paper piecing is complete. From this point forward, return your stitch length to the one you regularly use for piecing and install your favorite 1/4" presser foot.
QST Unit
Make 4
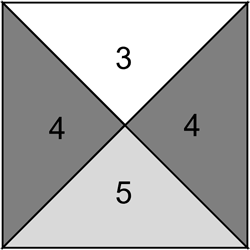
After cutting was finished, we marked a single diagonal line was marked on the backside of both #3 and #5.
With RST, layer a #3 and #4 together. Stitch 1/4" away from both sides of that marking.
Repeat the process for a #5 and #4 layered RST.
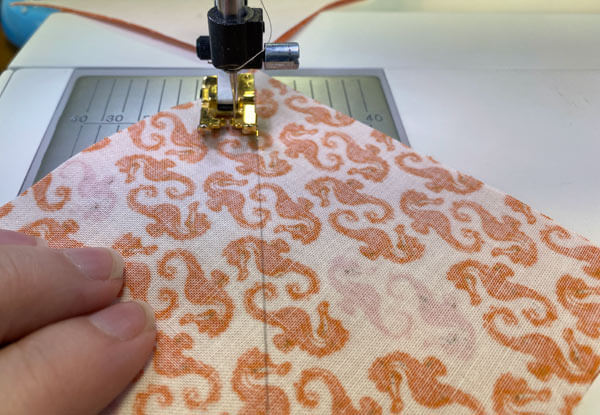
Press the units flat to set the seams.
Cut each pair in half between the sewing lines.
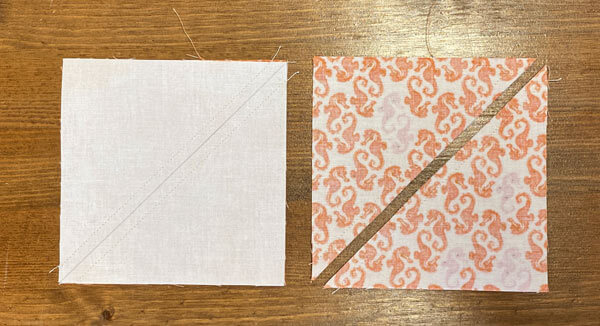 After pressing (left) and cutting in half (right)
After pressing each with SA to the darker #4, you now have 4 oversized HSTs that look something like this.

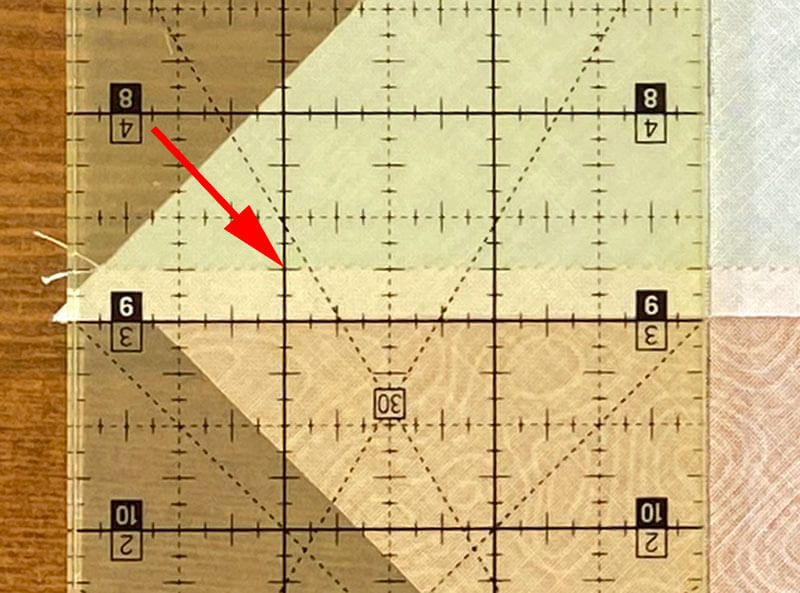
On the backside of the pair that's easiest to see your pencil line on, draw a diagonal line. Align a straight line on your ruler with the stitching (red arrow) to ensure you'll have a 90° angle in the center of your QST.
It's possible that your drawn lines won't go exactly through the corners. It happens.
And it certainly did with mine below. That's why we cut oversized units to begin with.
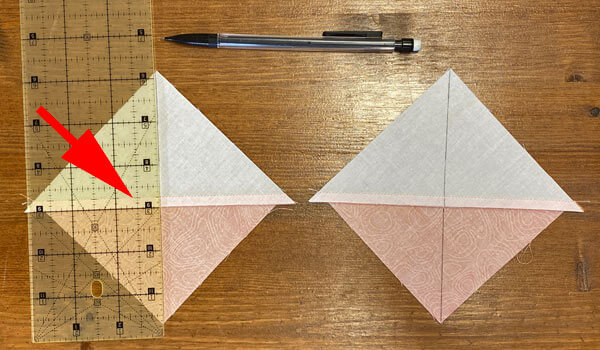
Here's a close-up of the ruler position over the stitches.
With RST, pair up the marked and unmarked HSTs.
Wiggle the SA together and use pins to hold it in place as you stitch.
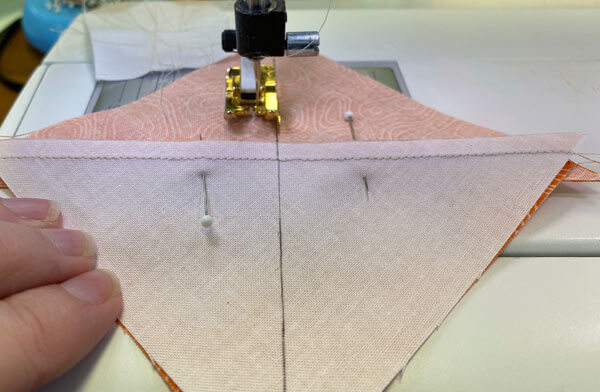 Here I've pinned past the outside edge of my presser foot to avoid having to remove the pins while stitching
Press flat. Then open up each side of the sewn pairs to see if the match is to your liking.
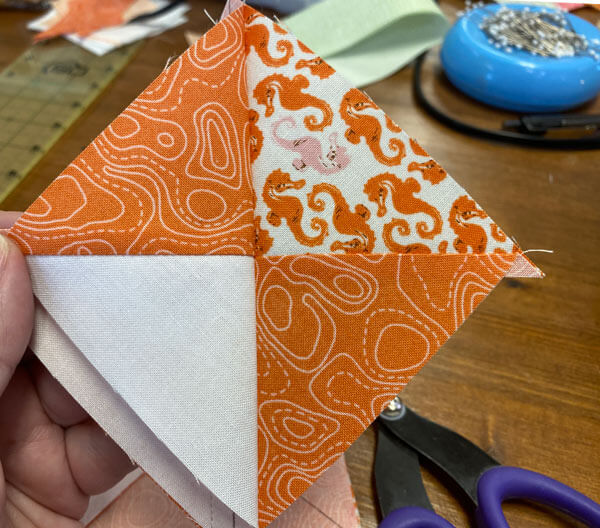
After it is, then cut each pair in half between the stitching.
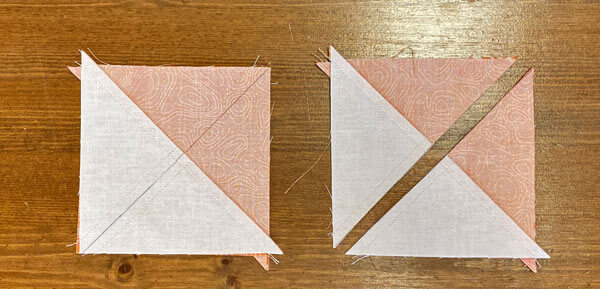 After sewing (left) and after cutting in half (right)
Press the units open.
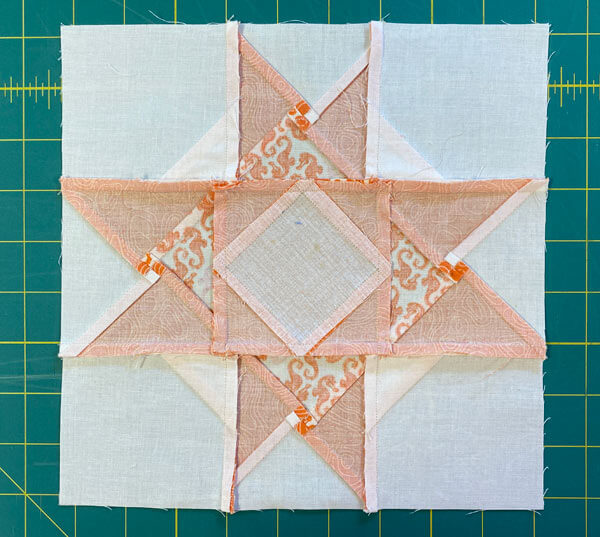
The seam can either be pressed to one side or twirled and fanned. I chose to twirl mine as you'll see in the very last photo on this page.
All that's left is to trim our Quarter Square Triangles to size.
Using the chart below, find the 'Center' measurement for your finished block size.
QST Dimensions | ||
|---|---|---|
| Finished Block Size | Center Measurement | Trim QST to… |
| 6" | 1¼" | 2½" x 2½" |
| 9 '' | 1¾" | 3½" x 3½" |
| 12" | 2¼" | 4½" x 4½" |
| 15 '' | 2¾" | 5½" x 5½" |
| 18 '' | 3¼" | 6½" x 6½" |
For our 9" finished sample, the Center is 1-3/4"—that's half the unfinished size of our QST.
At the cutting mat, position your ruler so that the Center Measurement is directly over the center of the QST, where all the seams match. (red arrow)
The dashed 45° line on the ruler is directly over the seam running upper right to lower left.
For the upper left to lower right seam, the 'Trim QST to' size of the unit (3-1/2" for our sample) intersects that seam.
Trim away the excess on the top and right-side exposed edges.
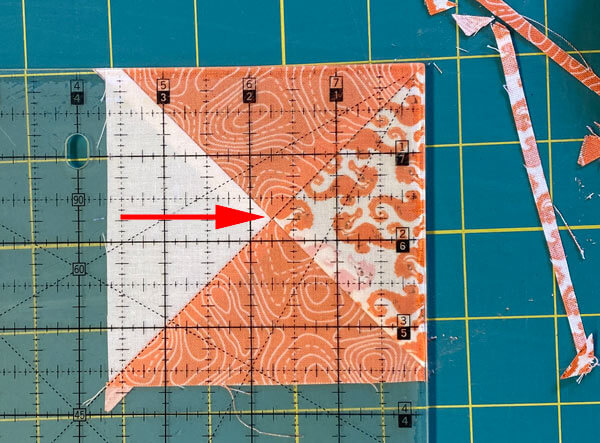 The 1-3/4" mark is positioned directly over the seam intersections in the center of our QST.
Flip the block 180°. (This is one of those times a rotating cutting mat is helpful!)
Match the freshly cut edges to the 'Trim QST to' size (again, 3-1/2" for our sample), the Center and dashed diagonal line are positioned just as for the first trim.
Trim away the exposed fabric and you have the perfect quarter square triangle.
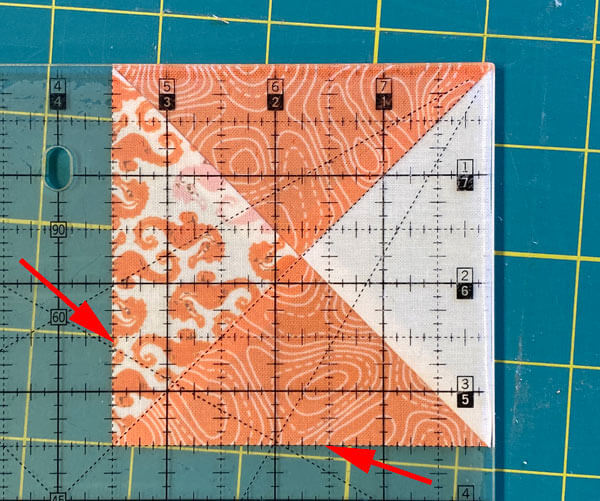
Repeat for the remaining three QSTs.
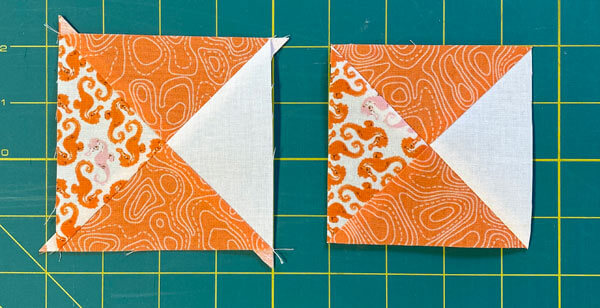 From untrimmed and over-sized (left) to perfection (right)
Corners
Make 4
If you've used any of the other block tutorials on this website, you'll know that the Connector or Folded Corners technique isn't my favorite. They can be less than accurate when you need to match points between patches—especially if you have a butt-load to make.
But our January Thaw doesn't require that kind of perfection— the points of the #2 patch don't need to match anything else. Whew!
Here Connector Corners add a nice design element to this block without any difficulty.
We've already drawn the diagonal line on the backside of the #2 patches.
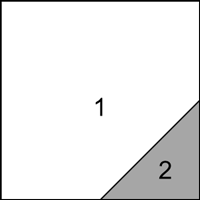
Position that marked #2, RST with a larger #1. The ends of the marked line touch two adjacent sides of #1.
Sew on the line.
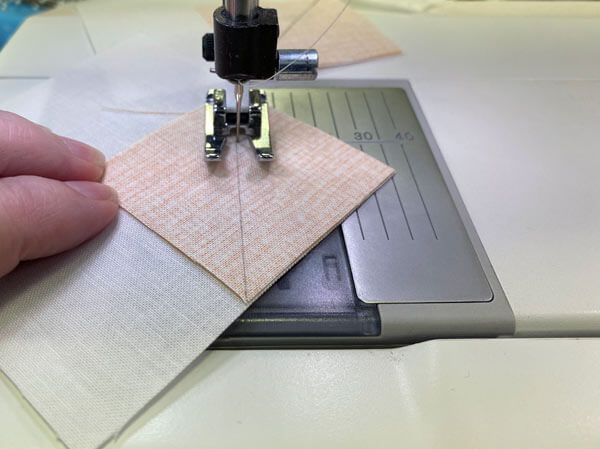
Press flat to set the seam.
Trim away the excess leaving behind a 1/4" SA. (While I always leave the #1 uncut, you can cut away the excess on that piece, too. It's a personal preference.)
Pressing for a second time, the SA is automatically towards the darker #2.
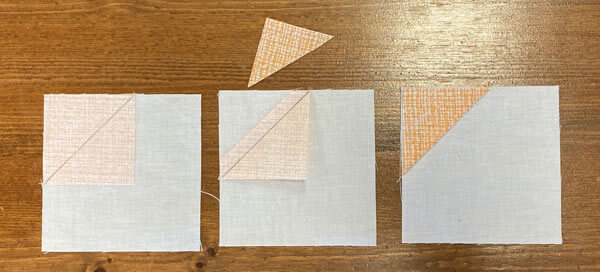
Repeat for a total of 4 units.
🧩Assemble your January Thaw quilt block
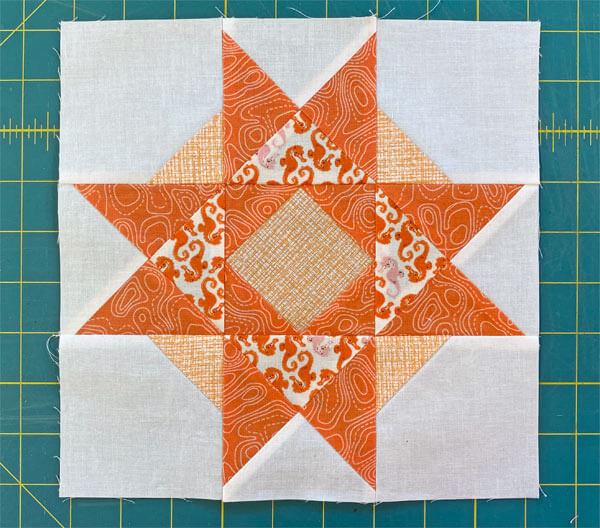
Arrange all the sewn patches to create the January Thaw design. The background fabric in each unit is on the outside edge of the block.
Notice how the directional seahorse print has all its seahorses in the proper orientation. If you have a directional (up and down) print, our QST makes this happen automatically.
You just need to watch how you position the QSTs as you lay out YOUR block. And if the direction doesn't matter to YOU, then that's OK, too. It's your quilt.
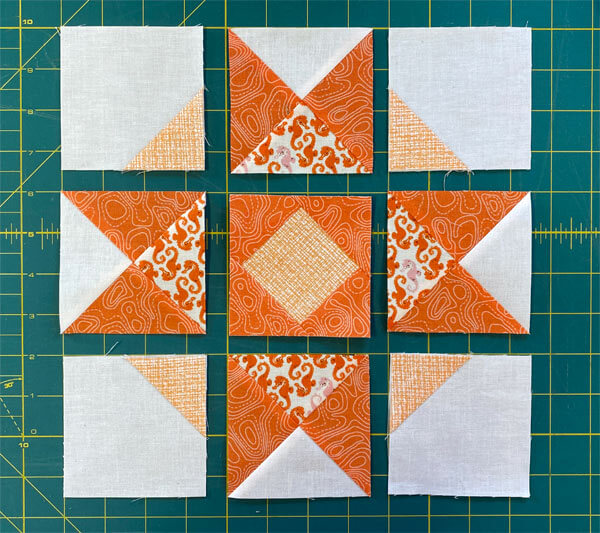
Stitch the units together in each row.
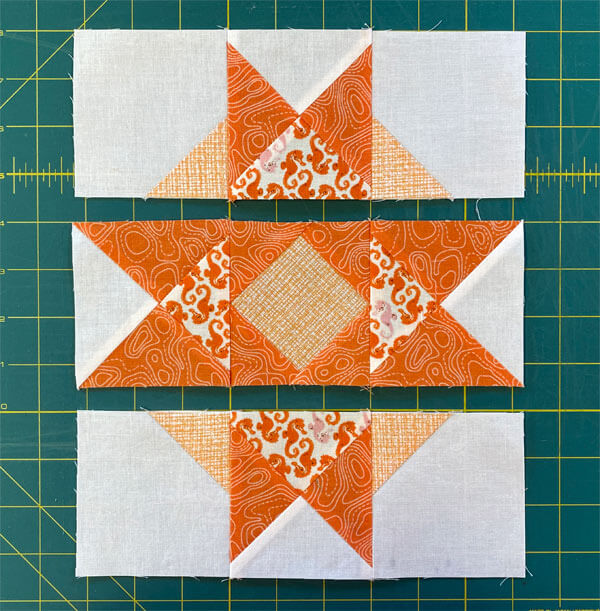
SAs are pressed towards the QSTs in each row to create nesting seam allowances,
Our blocks can be a bit lumpy at the seams.
To help manage the bulky bumps, set your sewing machine to 'needle stop down'.
Sew up to the edge of the SA and stop. With the needle down through all the patches, raise your presser foot and set it back down on top of the seam. Then continue slowly stitching.
There's less chance of your presser foot catching the edge of the SA, pushing it forward, and messing up the match.
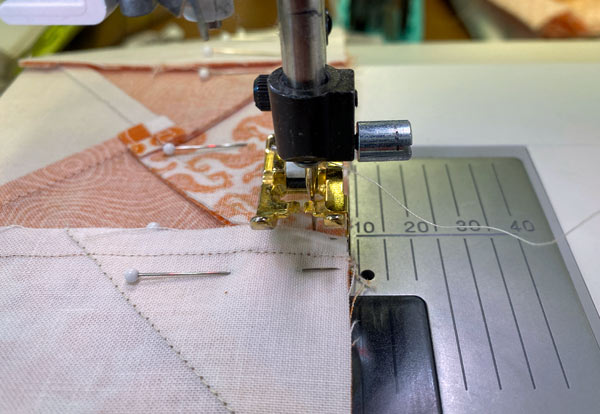 Here my needle has just reached the edge of the SA. I've stopped with my needle down through the fabric and now will continue with the presser foot setting down on the SA instead of pushing through it.
After sewing the rows together, the finished January Thaw quilt block looks like this.
Taking a look at the back reveals our 'twirled' SAs in the QSTs and all the other pressing we did.
More related 8-pointed star quilt block patterns
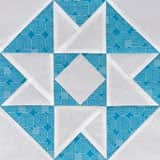
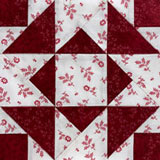
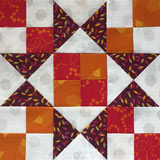
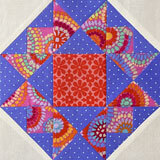
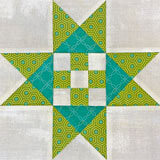
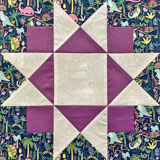
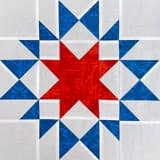
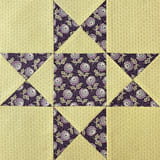
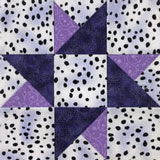
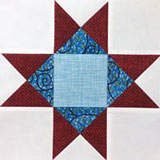
There are several tutorials available to you on this website that start with an Ohio star as its base. Click on any of the images below to go straight to that tutorial.
Aunt Dinah and Twin Star may seem a little suspect.
But look closely. Those are 3-patch quarter square triangles on each side.
You'll find confirmation in Barbara Brackman's BlockBase+ (love the software). These blocks are listed in the '09 Equal Nine Patch' library in '03 Like Ohio Star'.
🔭 Looking for something truly stellar?
You've finished your star quilt block, and you're ready for more!
Browse our collection of 70 stellar star quilt block patterns. All have instructions and cutting charts in multiple sizes. If templates or paper piecing is used in the tutorial, there's a free download for you of those materials.

Eeny. Meenie. Miney. Moe.
Which star quilt block will you sew?
For a star-studded quilting experience, choose from 100+ bedazzling star quilt patterns—for beginners and beyond—click here.
For even MORE blocks to make… 🧩🎨

...visit our Free Quilt Block Pattern Library, with over 260+ blocks to choose from in multiple sizes.
Free downloads are included in all sizes for any blocks require paper piecing patterns or templates.
- Home
- Free Quilt Block Patterns
- January Thaw Quilt Block

