- Home
- Free Quilt Block Patterns
- Massachusetts Quilt Block
From Sea to Shining Seam: The Massachusetts Quilt Block
Stitch Your Way to Colonial Chic!
This post contains affiliate links, for which I receive compensation.
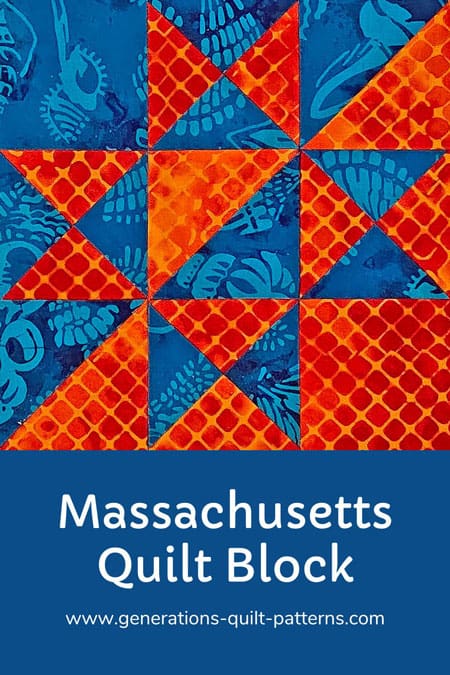
Ready to stitch a star-spangled tribute to the Bay State? 🌟 The Massachusetts quilt block awaits!
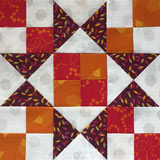
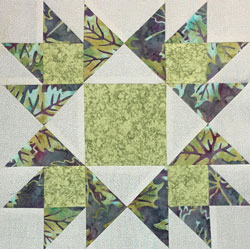
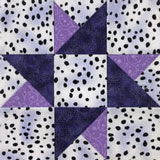
This Ohio Star cousin dazzles with its distinctive quarter-square triangles and mirror-image design. 🪞 High-contrast fabrics are your secret weapon here.
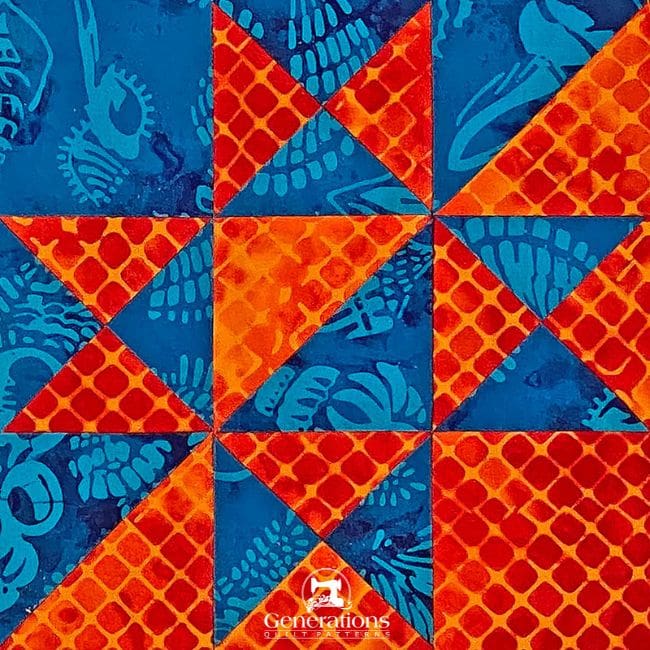
While assembly might seem like a puzzle, it's a rewarding challenge that'll sharpen your skills. Imagine a diagonal divide: each half reflects the other perfectly.
Time to channel some New England spirit into your quilt! Let's create Massachusetts magic, one seam at a time. 🧵🪡
🧭Navigate the seas of seams with ease! 🔍
Use these links 🧭🗺️ to chart your course through the Massachusetts Block tutorial 🌟🧵✂️.
Cut. Sew. Press. Transform your scraps into a Yankee Sensation!
General Instructions
These abbreviations are used in this tutorial:
- SA - seam allowance
- RST - right sides together
- HST - half square triangle
- QST - quarter square triangle
SA are 1/4" and pressed toward the darker fabric unless noted otherwise.
When you are instructed to press, first press the pieced unit flat to set the seam. Then open the patch, pressing from the front.
The newest quilt fabrics to tickle your fancy...
Click the images below to see the full collection. We share any commercial and/or free patterns that showcase them, too. (For inspiration, of course!)
✂️ Cut the patches for your Massachusetts block
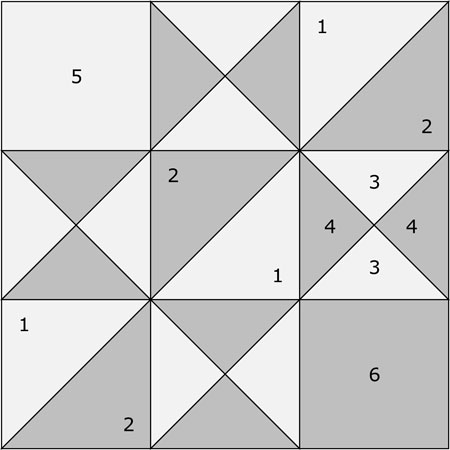
Sample Size: 7½" finished / 8" unfinished
Grid: 3x3
Design type: Star | Equal 9 Patch
Patches are cut based on the Quick Pieced method for HSTs and the Sandwich technique for QSTs.
I prefer to use over-sized squares for both QSTs and HSTs, stitch the unit and then trim to the perfect size. QST patches are marked with ***, HST patches are marked with **.
Charts for trimming HSTs and QSTs to their final sizes are provided later in this tutorial right where you need them.
 | Cutting Chart for a~ Traditional Piecing ~ | ||||||
|---|---|---|---|---|---|---|---|
| Patch | Fabric | Qty | Finished Block Size | ||||
| 4½'' | 6'' | 7½'' | 9'' | 12'' | |||
| 1** | Light | 2 | 2⅜'' x 2⅜'' | 2⅞'' x 2⅞'' | 3⅜'' x 3⅜'' | 3⅞'' x 3⅞'' | 4⅞'' x 4⅞'' |
| 2** | Dark | 2 | 2⅜'' x 2⅜'' | 2⅞'' x 2⅞'' | 3⅜'' x 3⅜'' | 3⅞'' x 3⅞'' | 4⅞'' x 4⅞'' |
| 3*** | Light | 2 | 2¾'' x 2¾'' | 3¼'' x 3¼'' | 3¾'' x 3¾'' | 4¼'' x 4¼'' | 5¼'' x 5¼'' |
| 4*** | Dark | 2 | 2¾'' x 2¾'' | 3¼'' x 3¼'' | 3¾'' x 3¾'' | 4¼'' x 4¼'' | 5¼'' x 5¼'' |
| 5 | Light | 1 | 2'' x 2'' | 2½'' x 2½'' | 3'' x 3'' | 3½'' x 3½'' | 4½'' x 4½'' |
| 6 | Dark | 1 | 2'' x 2'' | 2½'' x 2½'' | 3'' x 3'' | 3½'' x 3½'' | 4½'' x 4½'' |
| Unfinished Block Size | 5'' | 6½'' | 8 '' | 9½'' | 12½'' | ||
| Grid Size | 1½" | 2'' | 2½'' | 3'' | 4'' | ||
| **I recommend cutting patches #1 and #2 larger than needed. Add 3/8" to each dimension listed in the cutting chart. This allows for trimming to the exact size after stitching. ***Similarly, cut patches #3 and #4 larger than specified. Add 1/2" to each dimension listed in the cutting chart. This extra allowance enables precise trimming after stitching. If you consistently achieve a perfect 1/4" SA, use the exact dimensions provided in the cutting chart without adding extra allowances. | |||||||
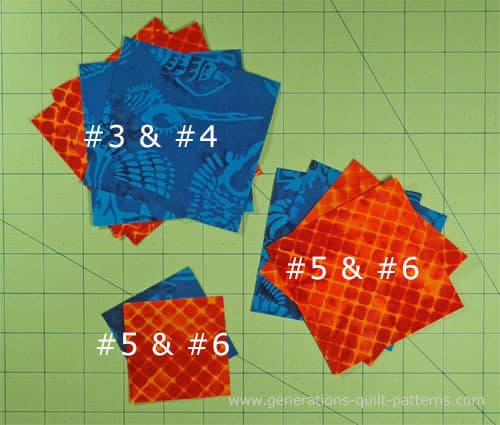
These are the cut patches.
🪡 Assemble the units for your Massachusetts block
Let's get the marking out of the way first. Draw a diagonal line on the back of all four light #1 and #3 (orange) squares.
I've used a Bohin mechanical chalk pencil for these marks.
HST
Make 3 - There will be one leftover unit
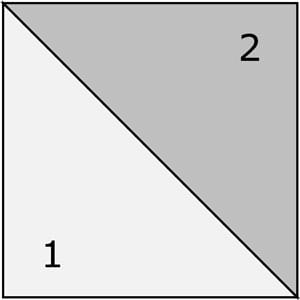
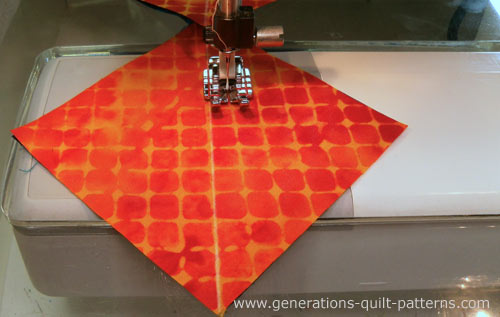
With RST, layer a light and a dark #1 and #2 square. Stitch 1/4" from both sides of your drawn line with your favorite 1/4" presser foot.
Cut apart on the drawn line.
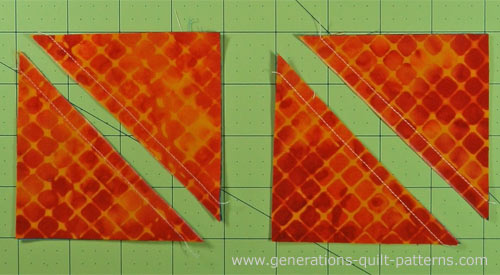
Press, SA toward the darker fabric.
Use the chart below to check the accuracy of your sewing. Trim your HST to size as needed.
HST Dimensions | |
|---|---|
| Finished Block Size | Trim HST to… |
| 4½'' | 2" x 2" |
| 6" | 2½" x 2½" |
| 7½'' | 3" x 3" |
| 9" | 3½" x 3½" |
| 12" | 4½" x 4½" |
The finished HST—our Massachusetts block uses just three of them, so one is left untrimmed.
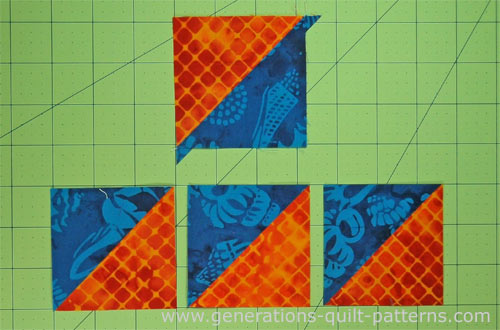
For more detailed information on this Quick Piecing technique click here.
QST
Make 4
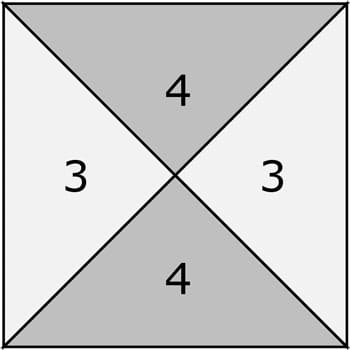
With RST, layer a light and a dark #3 and #4 square and stitch 1/4" from both sides of the drawn line. (Remember, we marked all the #1 and #3 squares at the beginning.)
Cut each unit apart on the drawn line and press, with seam allowances towards the dark fabric.
Voilà! You've just made four half-square triangle units…the first step!
On two of these HSTs, draw a diagonal line that bisects the seam allowance and two opposite corners.
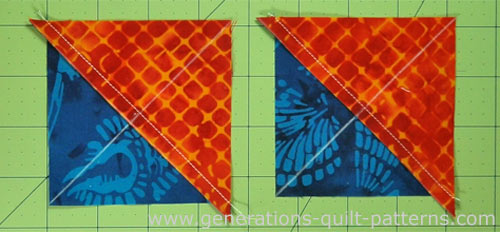
With RST, layer a marked and an unmarked unit alternating light and dark patches, and, again, stitch 1/4" from both sides of the line. If you need pins to keep everything aligned, use them.
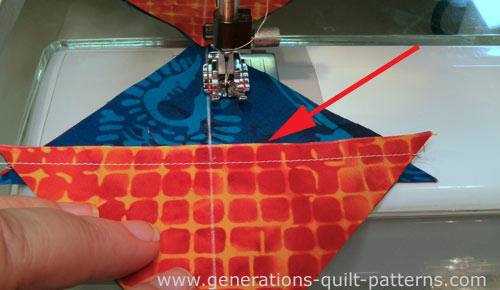 Notice how the seam allowance points into the presser foot. That helps to keep the seams matched when I'm not using pins for the job.
Cut apart on the drawn line and press. This time, twirl or spin the seam allowances to reduce bulk in the center of the QSTs (below, right).
You need to loosen a few stitches in the center, but DO NOT cut the thread tails. They help maintain the stability of the QST.
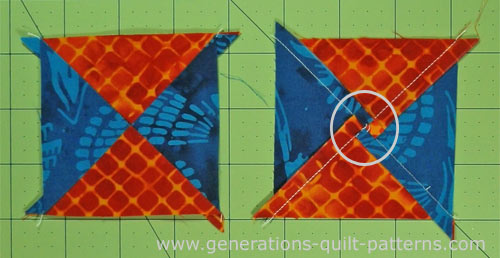
Use the chart below to check the accuracy of your sewing. Trim your QST to size as needed.
QST Dimensions | ||
|---|---|---|
| Finished Block Size | Center Measurement | Trim QST to… |
| 4½'' | 1" | 2" x 2" |
| 6 '' | 1¼" | 2½" x 2½" |
| 7½'' | 1½" | 3" x 3" |
| 9 '' | 1¾" | 3½" x 3½" |
| 12 '' | 2¼" | 4½" x 4½" |
Find the Center measurement for your chosen block size.
To trim these QST, place the intersection of this measurement directly over the center of your QST. Line up the dashed 45° line on your ruler with the seam line to trim away the excess on the exposed two sides.
For our 7-1/2" finished Massachusetts block, the Center is at 1½". The intersection of the 1-1/2" horizontal and vertical line are positioned over the center of the QST to trim.
Turn the unit so that the trimmed edges are under the ruler. Line up the Edge-to-Edge measurement with those trimmed edges. With the dashed 45° line on the seam, trim the remaining two sides.
🧩Piecing it all together
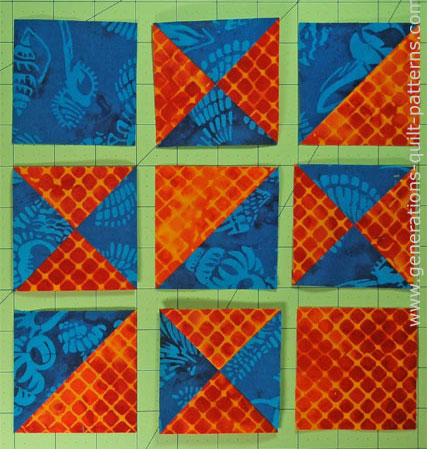
Lay out the HSTs, QSTs and cut squares into the Massachusetts quilt block design…remember each side is a mirror image of the other across the diagonal line.
One fabric frames the left and top edges of the block; the second fabric frames the bottom and right sides.
Stitch the patches into rows, double-checking that they are in the correct order.
You may need to rotate a QST 180° to get the SAs to nest for easier matching.
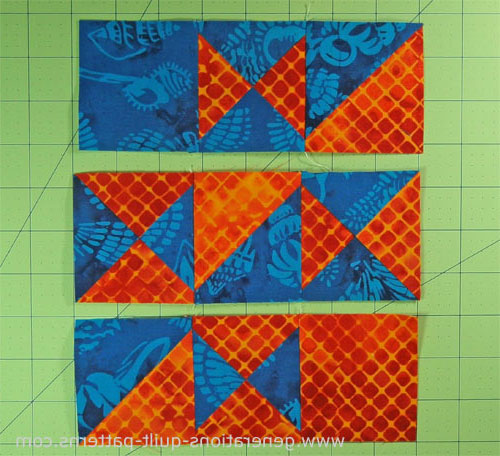
Press with seam allowances away from the QST-units.
Stitch the rows together.
You may need to reposition a seam allowance or two on the quarter squares as I did. Rotate the patch first to see if that works. Then simply press the long seam in the opposite direction. Easy Peasy!
Let's take a quick peek at the backside.
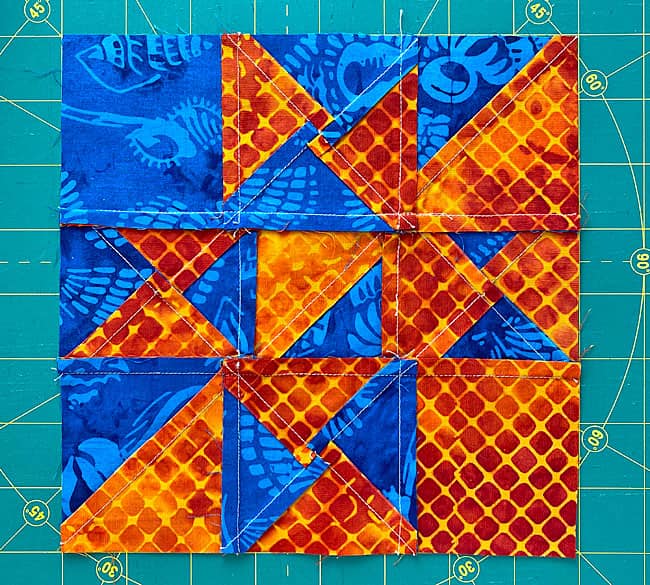
This is your finished Massachusetts quilt block ready to be pieced into your quilt!
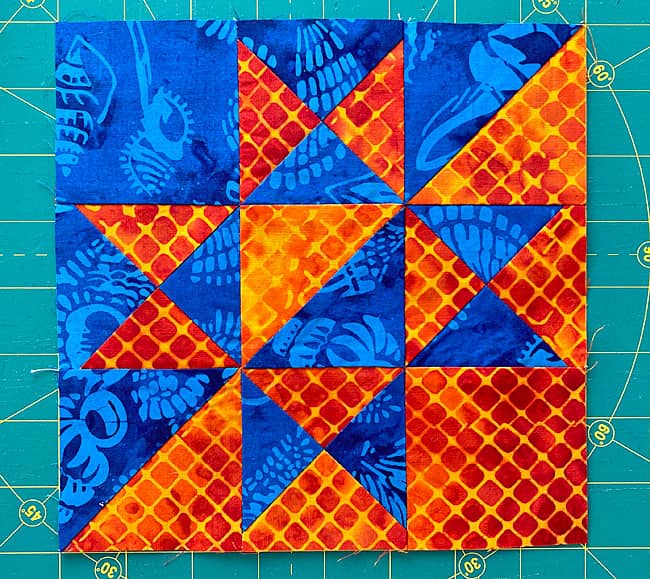
And there you have it, fabulous fabric wizards! 🧙♀️✨ You've successfully navigated the treacherous waters of HSTs and QSTs to emerge victorious with your very own Massachusetts quilt block. 🌊🏆
Whether you're planning a full-scale quilt invasion or just adding a touch of colonial charm, you're now armed and dangerous with the power of New England nostalgia. 🇺🇸🧵
Until next time, may your points be sharp, your seams be straight.
🗺️ X marks the spot of quilting treasure!
Pin this Massachusetts block guide and start your patchwork adventure. ☠️🏴☠️
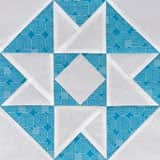
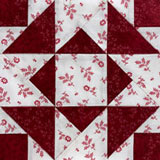
More related 8-pointed star quilt block patterns
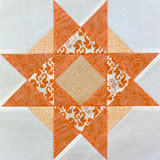
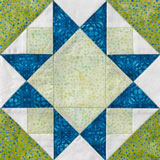
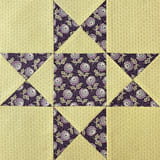
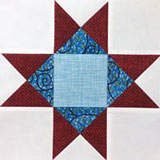
There are several tutorials available to you on this website that start with an Ohio star as its base. Click on any of the images below to go straight to that tutorial.
Aunt Dinah and Twin Star may seem a little suspect.
But look closely. Those are 3-patch quarter square triangles on each side.
You'll find confirmation in Barbara Brackman's BlockBase+ (love the software). These blocks are listed in the '09 Equal Nine Patch' library in '03 Like Ohio Star'.
🔭 Looking for something truly stellar?
You've finished your star quilt block, and you're ready for more!
Browse our collection of 70 stellar star quilt block patterns. All have instructions and cutting charts in multiple sizes. If templates or paper piecing is used in the tutorial, there's a free download for you of those materials.

Eeny. Meenie. Miney. Moe.
Which star quilt block will you sew?
For a star-studded quilting experience, choose from 100+ bedazzling star quilt patterns—for beginners and beyond—click here.
For even MORE blocks to make… 🧩🎨

...visit our Free Quilt Block Pattern Library, with over 260+ blocks to choose from in multiple sizes.
Free downloads are included in all sizes for any blocks require paper piecing patterns or templates.
- Home
- Free Quilt Block Patterns
- Massachusetts Quilt Block
