- Home
- Free Quilt Block Patterns
- Hourglass Quilt Block
Hourglass Quilt Block Pattern Tutorial
From our Free Quilt Block Patterns Library
This post contains affiliate links, for which I receive compensation.
Skill Level: Beginner
The Hourglass quilt block is a block full of triangle shapes—but you don't have to cut a single triangle or deal with a bias edge to make this block!
Sometimes you'll see it referred to as a 'Cotton Reel'.
Simply put, its really just a big ol' quarter square triangle. (Click here for other methods to make quarter square triangles.)
When used as an alternate block it forms a nice secondary pattern with almost any other block you put it with.

A terrific block to have in your quilting repertoire!
On this page you'll find instructions to make this block in 5 different sizes, along with illustrations and instructions for other blocks that use the same name.
Let's get to piecing!
📋 General Instructions
Abbreviations used on this page include:
- SA - seam allowance
- RST - right sides together
SA are 1/4" and are pressed toward the darker fabric unless otherwise noted.
When instructed to press, first press the pieced unit flat to set the seam. Then open the patch, pressing from the front.
The newest quilt fabrics to tickle your fancy...
Click the images below to see the full collection. We share any commercial and/or free patterns that showcase them, too. (For inspiration, of course!)


Step 1: Cut patches for an Hourglass block
 Hourglass design
Sample Size: 3" finished / 3-1/2" unfinished
Grid: 2x2
AKA: Cotton Reel
Design Type: Basic quilt block
My preference is to make the Hourglass quilt block with oversized patches, stitch it and then trim it to size at the end. Perfect blocks make assemblying the top so much easier.
The dimensions in the chart below are for squares.
For the 3" finished block in this example, for Fabric A, 4-1/4" refers to cutting a 4-1/4" x 4-1/4" square.
Because I like to use oversized squares, I add 3/8" to each measurement, meaning I cut it 4-5/8" x 4-5/8".
Every two squares creates 2 blocks.
 |
Cutting Chart for an~ Traditional Piecing ~ | ||||||
|---|---|---|---|---|---|---|---|
| Patch | Qty | Finished Block Size | |||||
| 2” | 3” | 4" | 5” | 6” | |||
| A | 1 | 3-1/4” | 4-1/4” | 5-1/4” | 6-1/4” | 7-1/4” | |
| B | 1 | 3-1/4” | 4-1/4” | 5-1/4” | 6-1/4” | 7-1/4” | |
| Grid Size | 1” | 1-1/2” | 2” | 2-1/2” | 3” | ||
| Unfinished block size | 2-1/2" | 3-1/2" | 4-1/2" | 5-1/2" | 6-1/2" | ||

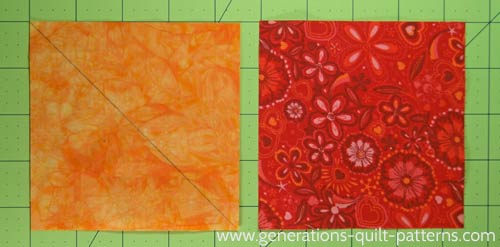
Click here to see the cut patches. I've already drawn a diagonal line corner to corner on the lighter patch in preparation for the first round of sewing.
Step 2: Stitch the Hourglass quilt block
Layer the A and the B square with right sides together (RST).
Use pins to hold them together (especially as they get larger or if you've cut the patches the 'exact' size).
Stitch a 1/4" away from the drawn line on both sides.
 Stitch 1/4" away from both sides of the diagonal line
The orange arrow above points to my anchor cloth. (I use this folded piece of scrap fabric to save thread and to ensure that my sewing machine doesn't 'eat the points' as the fabric is fed through.)
Cut the stitched unit apart on the drawn line with either a scissor or rotary cutter.

Press the units. First in the closed position (Fig. 1). And then open (Fig. 2).
If you start with the dark fabric on top, then when you open them, they are automatically pressed to the dark side.

Draw a diagonal line, perpendicular with the sewn seam on just one of the sewn units.

With RST, layer the two sewn squares.
The SAs nest to make matching the seam much easier. Use pins if needed.
In the photo below, notice how the SA is pointing towards the needle. That helps to keep the seams aligned during stitching. Stitch 1/4" away from both side of the line.

Cut the unit apart on the drawn line.

Press. First closed to set the SA, and then open.
Below one seam is pressed to one side, the other is pressed so that the SAs 'twirl'. This is to reduce bulk.
 Twirling the SA on the Hourglass
To trim these units to size, find the Midpoint or Center measurement of the unfinished block.
This is simply the unfinished dimension divided by 2 or...
3-1/2" divided by 2 = 1-3/4"
Or use the chart below:
Hourglass Dimensions | ||
|---|---|---|
| Finished Block Size | Center/Midpoint Measurement | Trim block to |
| 2" | 1-1/4" | 2-1/2" |
| 3" | 1-3/4" | 3-1/2" |
| 4" | 2-1/4" | 4-1/2" |
| 5" | 2-3/4" | 5-1/2" |
| 6" | 3-1/4" | 6-1/2" |
Match the 45 degree mark on the ruler with the diagonal seamline.
Match the Center/Midpoint of 1-3/4" with the intersection of the center seams (black arrow above). Double check your ruler positioning and then trim two sides with your rotary cutter.
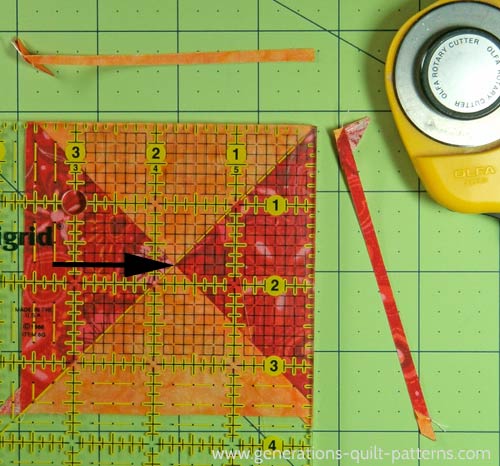
Flip the block so that the two untrimmed sides are exposed. Find the midpoint, align the ruler and trim so that the block is the finished size PLUS 1/2" or 3-1/2".
This is your finished pair of Hourglass quilt blocks.
 A pair of finished Hourglass quilt blocks
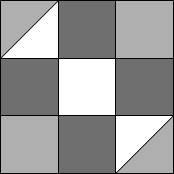
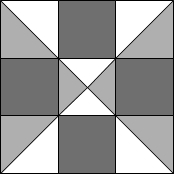
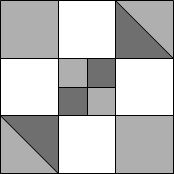
Same name, different block
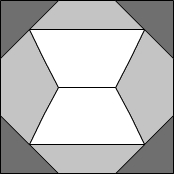
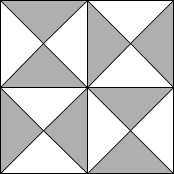
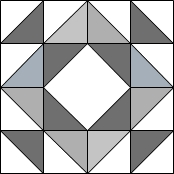
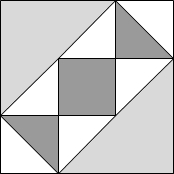
'Hourglass' is a unbelievably common name for quilt blocks. The ones shown below are know as Hourglass quilt blocks, too.
Use your cursor to click on the colored illustrations to go to instructions on how to make that particular version of the Hourglass or additional names for the block.


What about a different quilt block?
For a list of all the 220+ quilt block patterns on this site, start here.
If you know the name of the block, shorten your search by using these links:
Click here if you're looking for blocks with at least some paper piecing.
Click here if you're looking for the basic building blocks of quilting, i.e., Flying Geese, half square triangles, quarter square triangles, etc., along with several techniques to make each.
And finally, use these links to find blocks in these finished sizes:
For even more blocks to make...

For you, are quilt block designs like potato chips...
...you can't have just one?!!
Check the amazing resources I rely on for all the quilt block designs you see on this website.
To see if they're worthy of a spot in YOUR quilting library, CLICK HERE.


Yummy fabrics
to drool over
Click any image below to see the full collection and find pricing and ordering information.


By Julie Baird
Copyright © 2008-2025 Generation Quilt Patterns, LLC
All Rights Reserved
Generations-quilt-patterns.com does not sell any personal information. (See Privacy Policy)