- Home
- Free Quilt Block Patterns
- Duck Tracks Quilt Block
Make a Duck Tracks Quilt Block
From our Free Quilt Block Patterns Library
This post contains affiliate links, for which I receive compensation.
If it walks like a duck...
Quacks like a duck...
It must be...
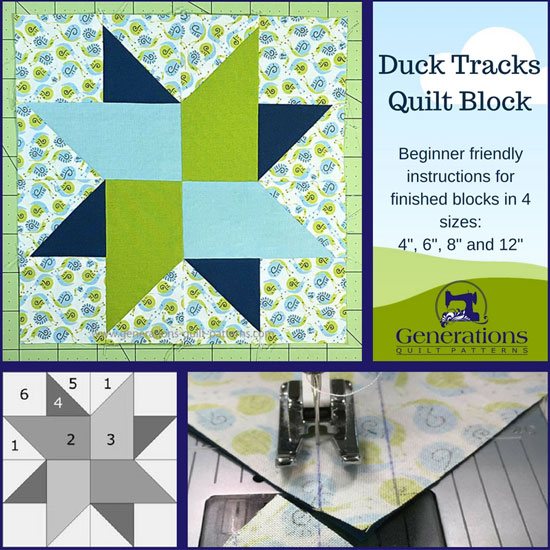
...a Duck Tracks quilt block!
To create this little gem, we'll use connector corners and quick-pieced half square triangles. With these techniques you won't be quacking like a duck, you'll be soaring like an eagle.
Let's get started.
📋 General Instructions
All seams are a 1/4" unless otherwise noted.
Pressing instructions are included at each step.
The following abbreviations are used:
- HST for half square triangle
- SA for seam allowance
- Bac for Background fabric
I do like to starch my fabric before cutting. It makes finger-pressing the seams of the connector corner units much easier.
And finally, sometimes the connector corners can get a bit lumpy. Use this simple pressing technique to flatten them with ease.
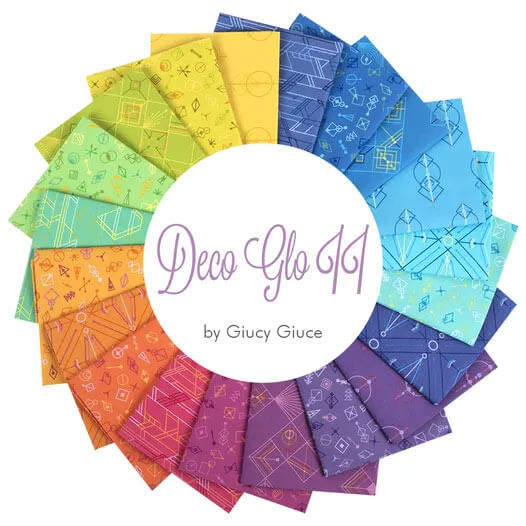
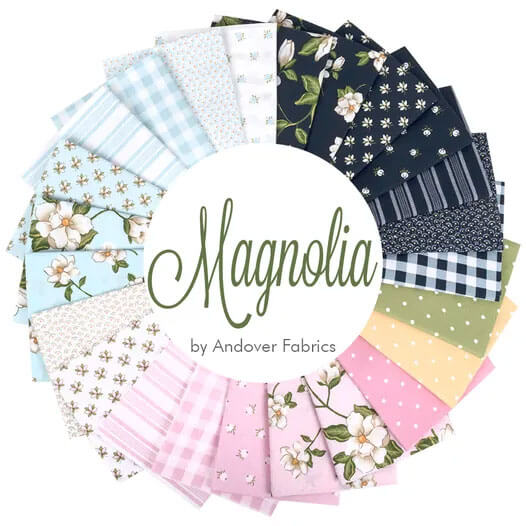
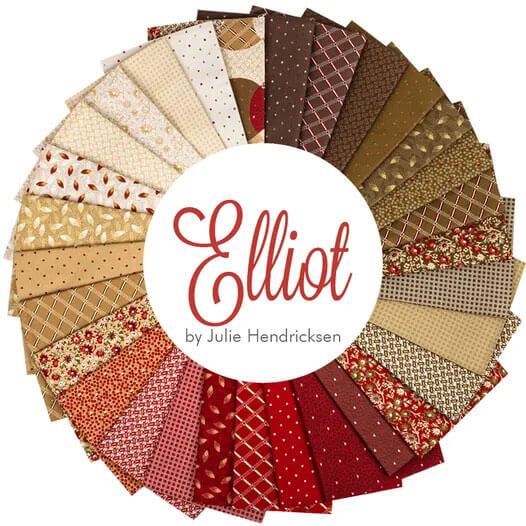
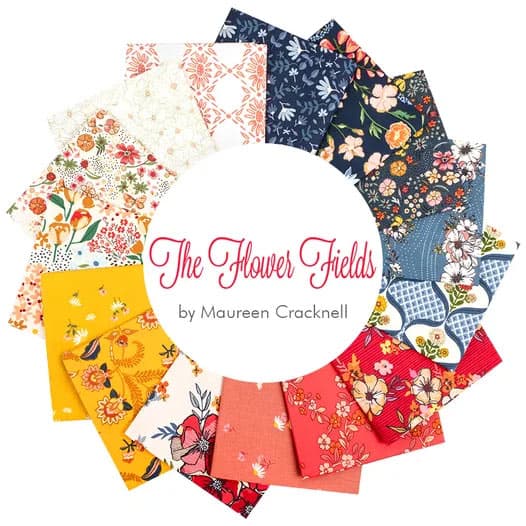
The newest quilt fabrics to tickle your fancy...
Click the images below to see the full collection. We share any commercial and/or free patterns that showcase them, too. (For inspiration, of course!)
Step 1: Cutting patches for your Duck Tracks
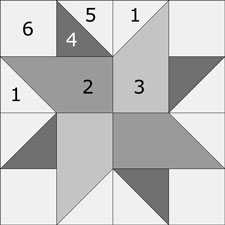 The Duck Tracks pattern
Sample Size: 8" finished /8½" unfinished
Grid: 4x4
Design Type: 4-patch, Pinwheel, Star
This design could be used to represent flowers—use a leafy green for the #4 patches and then all sorts of florals or floral/solid combinations for #2/#3.
Remember. YOU. Are. The. Designer!
In the cutting chart below, there's an asterisk next to Patches #4 and #5.
Because I prefer to cut my HST patches a bit larger, stitch them and then trim to perfection, I add an extra 1/4" to the measurements listed in the chart, i.e. for the 8" sample in this tutorial, I cut those patches at 3⅛" square or 2⅞" + ¼" = 3⅛".
If you have the perfect quarter inch seam, cut those patches at the measurements listed.
 |
Cutting Chart for a~ Traditional Piecing ~ | ||||||
|---|---|---|---|---|---|---|---|
| Patch | Fabric | Qty | Finished Block Size | ||||
| 4" | 6" | 8" | 12" | ||||
| 1, 6 | Bac | 8 | 1½" x 1½" | 2" x 2" | 2½" x 2½" | 3½" x 3½" | |
| 2 | A | 2 | 1½" x 2½" | 2" x 3½" | 2½" x 4½" | 3½" x 6½" | |
| 3 | B | 2 | 1½" x 2½" | 2" x 3½" | 2½" x 4½" | 3½" x 6½" | |
| 4* | C | 2 | 1⅞" x 1⅞" | 2⅜" x 2⅜" | 2⅞" x 2⅞" | 3⅞" x 3⅞" | |
| 5* | Bac | 2 | 1⅞" x 1⅞" | 2⅜" x 2⅜" | 2⅞" x 2⅞" | 3⅞" x 3⅞" | |
| Unfinished Block Size | 4½" | 6½" | 8½" | 12½" | |||
| Grid Size | 1" | 1½" | 2" | 3" | |||
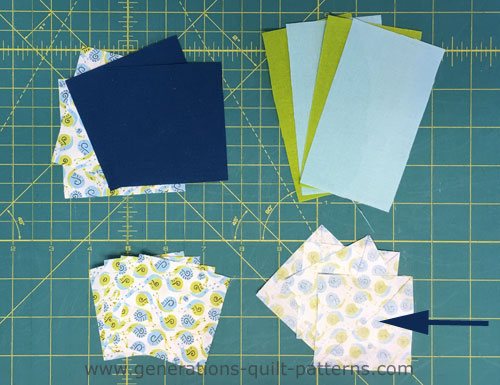
And these are the cut patches. I've already drawn the diagonal line (see arrow) on the back of the four #1 squares.
Step 2: Create the units
Connector Corner Rectangles
Make 2 each with #2 and #3
It's a good idea to lay out the #1 light squares, #2 and #3 rectangular patches as shown below. It's much too easy to turn the #1 squares the other way. (The drawn line should touch the upper right corner of the short side of the rectangular patches.)
Ripping is not my idea of a good time.
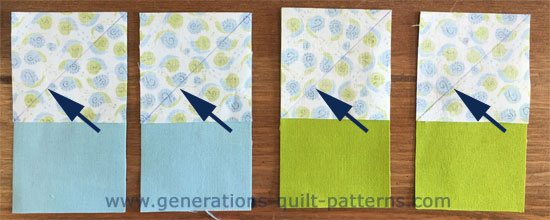 Draw the line only as dark as you need to see it.
Sew on the drawn line. I prefer my open toe applique foot for this. It sure is easy to see that line, isn't it!
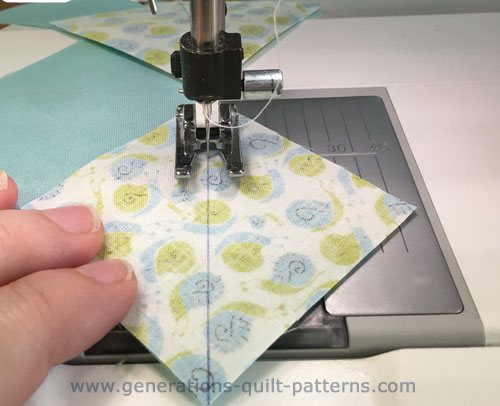 Your line should just dark enough for you to see. Here I've used a pen to mark (a no-no) so that you could see the line clearly—one of those 'do as I say, not as I do' moments...
Trim away the excess #1 (light square) fabric from the #2s and #3s, leaving behind a quarter inch seam allowance. Eyeballing this cut and using a scissor is good enough.
Press the units flat to set the seam and then with the #1 opened and towards the corner.
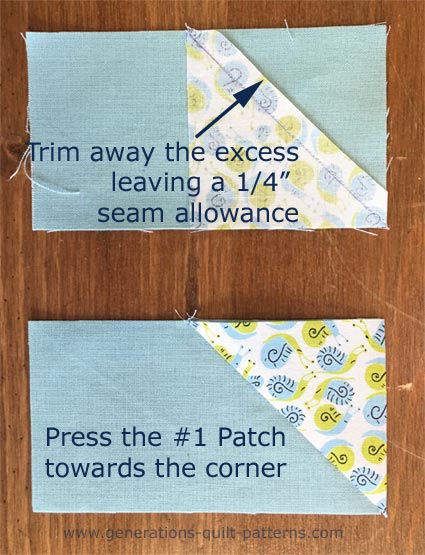 Repeat for all 4 units—two blue and two green for our sample Duck Tracks block.
Half Square Triangles (HST)
Make 4
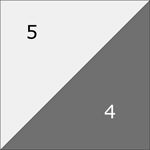
We're using the Quick Pieced method for our HST units.
I've used the Quick Quarter Ruler to mark the stitching lines. Sewing with an open toe applique foot makes the lines easier to see.
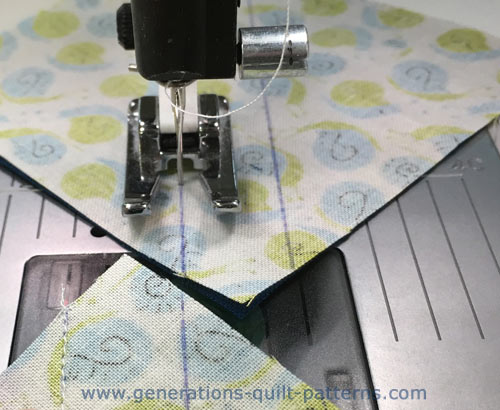 Again, I've used pen so that you can see the lines. For your project, use something a bit less permanent. My marker of choice is the Bohin Mechanical Chalk pencil.
No Quick Quarter?
You could choose to mark the center diagonal line with your everyday ruler. Then use your quarter inch foot to stitch 1/4" away from both sides of that single marked line. [Click here for illustration of this second marking option.]
Find the finished size of your Duck Tracks quilt block in the chart below and the corresponding HST size. Trim if needed.
| Finished Block Size | Trim HSTs to... |
|---|---|
| 4" | 1-1/2" |
| 6" | 2" |
| 8" | 2-1/2" |
| 12" | 3-1/2" |
Duck Tracks units
Make two units with #2 and two with #3
From this point forward use your favorite quarter inch foot.
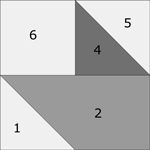 Make 2
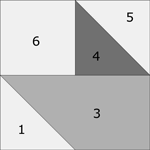 Make 2
With RST, stitch a HST to a #6 background square. Press the SA away from the HST. (Arrow 1)
Stitch this to the Connector Corner unit. Press SA toward the Connector corner unit. (Arrow 2)
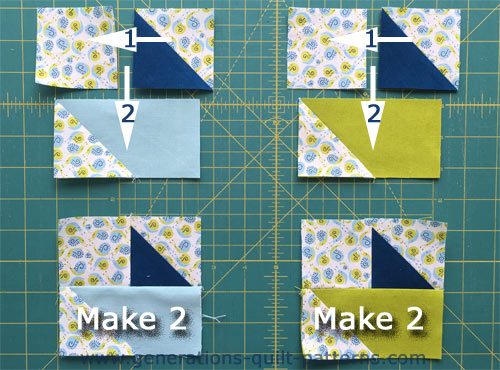 Press SA in the direction of the arrows.
| Finished Block Size | Duck Tracks unit measures… |
|---|---|
| 4" | 2-1/2" x 2-1/2" |
| 6" | 3-1/2" x 3-1/2" |
| 8" | 4-1/2" x 4-1/2" |
| 12" | 6-1/2" x 6-1/2" |
Make any adjustments you need before assembling the block.
Step 3: Assemble the Duck Tracks quilt block
Arrange the units as shown below. Each is turned a quarter turn just as you would a Pinwheel design.
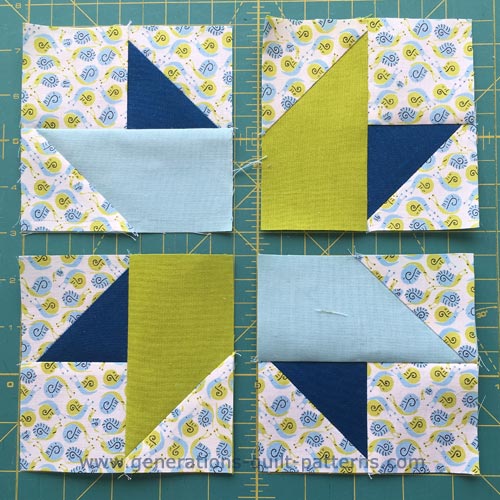 The units are rotated a 1/4 turn as you move around the block.
Stitch the units into rows.
I urge my students to make a sample block when starting a new quilt pattern.
This particular block illustrates one of the reasons why.
I anticipated pressing the seams that join the blocks into rows AWAY from the connector corner units (away from the bright green and towards the light blue) to minimize bulk.
I was totally wrong.
Press the SA TOWARD the green(#3) and in the direction of the arrows.
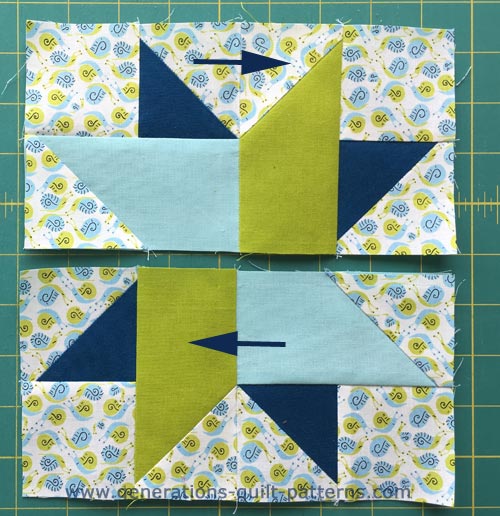
To complete the block, sew the rows together. Use pins to help you match those points if needed. (Click here if you need help pin matching your points.)
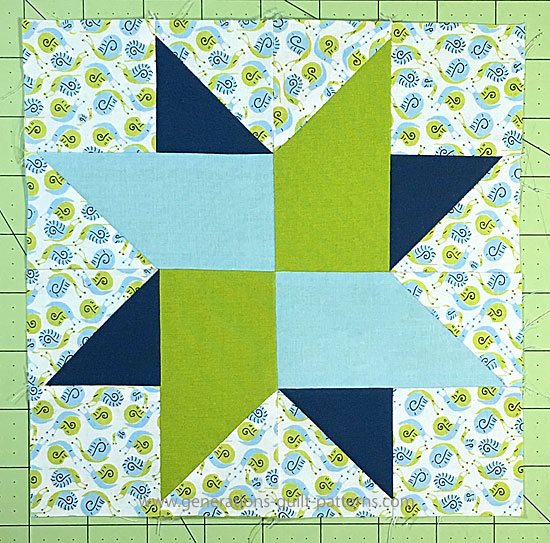 Ta-Da! It's finished!
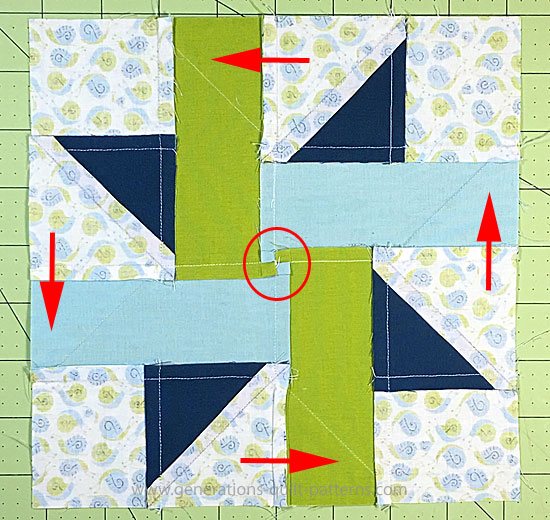
To minimize bulk in the center of the block, I've 'twirled' the SA (red circle).
To do this give a tug on the seam allowance to pull out the stitches. Don't trim the threads—just undo the stitches.
The seams that join the units together are pressed counterclockwise around the center (red arrows).
This is what our Duck Tracks quilt block looks like from the back.
🔭 Looking for something truly stellar?
You've finished your star quilt block, and you're ready for more!
Browse our collection of 70 stellar star quilt block patterns. All have instructions and cutting charts in multiple sizes. If templates or paper piecing is used in the tutorial, there's a free download for you of those materials.

Eeny. Meenie. Miney. Moe.
Which star quilt block will you sew?
For a star-studded quilting experience, choose from 100+ bedazzling star quilt patterns—for beginners and beyond—click here.
For even MORE blocks to make… 🧩🎨

...visit our Free Quilt Block Pattern Library, with over 260+ blocks to choose from in multiple sizes.
Free downloads are included in all sizes for any blocks require paper piecing patterns or templates.
What about a different quilt block?
For a list of all the 220+ quilt block patterns on this site, start here.
If you know the name of the block, shorten your search by using these links:
Click here if you're looking for blocks with at least some paper piecing.
Click here if you're looking for the basic building blocks of quilting, i.e., Flying Geese, half square triangles, quarter square triangles, etc., along with several techniques to make each.
And finally, use these links to find blocks in these finished sizes:
- Home
- Free Quilt Block Patterns
- Duck Tracks Quilt Block
