- Home
- Free Quilt Block Patterns
- Twentieth Century Autograph Quilt Block
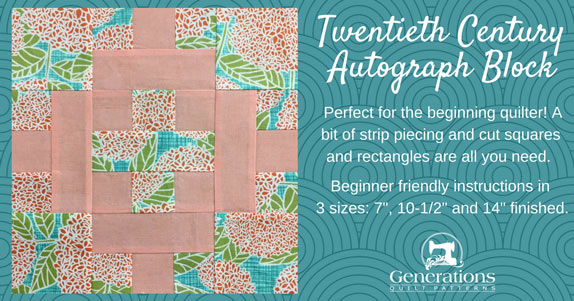
Twentieth Century Autograph Quilt Block
From our Free Quilt Block Patterns Library
This post contains affiliate links, for which I receive compensation.
The Twentieth Century Autograph quilt block.
Wow!
That's a mouthful.
Thankfully it's harder to say than it is to stitch.
It's perfect for the beginning quilter.
A bit of strip piecing. A few cut squares and rectangles. That's all you need. Beginner friendly, fully illustrated instructions to help you if you're new to quilting.
On this page, you'll find:
It's to to cut up and sew!
📋 General Instructions
These abbreviations are used on this page:
- SA - seam allowance
- RST - right sides together
1/4" SA are used through this tutorial.
All the pressing instructions are highlighted in yellow.
When instructed to press, first press the patches in the closed position just as they came off your sewing machine. This sets the seam, melding the fibers of the threads into the fibers of the fabric.
Starched quilt fabric is my preference when piecing. If you've never starched your fabric before, click here to learn more about this technique.
New quilt fabrics to tickle your fancy...
Click the images below to see the full collection. We share any commercial and/or free patterns that showcase them, too. (For inspiration, of course!)
Step 1: Cutting for your Twentieth Century Autograph block
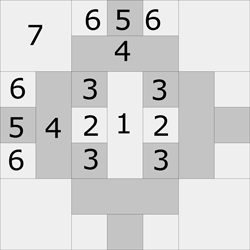 Twentieth Century Autograph design
Sample Size: 10-1/2" finished / 11" unfinished
Grid: 7x7
Design Type: Uneven 9-patch construction
You'll need two fabrics to make the block. Choose ones with good contrast so that your piecing shows.
In the sample block, when I chose my fabrics, it looked like a good contrast as I laid them next to each other. (Click here to see them.)
In the finished block I'm not so sure if it's good enough.
Yes, the fabrics are pretty together, but is there enough distinction between the patches?
When we get there in this tutorial, I'll ask the question again. Maybe you can learn from my mistakes! (A very good thing. :D )
For the sample block the light background fabric is the floral; the dark is the solid peach.
If you'd like to print the block design and cutting chart below, click here.
 | Cutting Chart for a~Traditional Piecing ~ | ||||
|---|---|---|---|---|---|
| Patch | Fabric | Qty | Finished Block Size | ||
| 7" | 10½" | 14" | |||
| 1 | Light | 1 | 1½" x 3½" | 2" x 5" | 2½" x 6½" |
| 2 | Light | 2 | 1½" x 1½" | 2" x 2" | 2½" x 2½" |
| 3 | Dark | 4 | 1½" x 1½" | 2" x 2" | 2½" x 2½" |
| 4 | Dark | 4 | 1½" x 3½" | 2" x 5" | 2½" x 6½" |
| 5 | Dark | 1 | 1½" x 7" | 2" x 9" | 2½" x 11" |
| 6 | Light | 2 | 1½" x 7" | 2" x 9" | 2½" x 11" |
| 7 | Light | 4 | 2½" x 2½" | 3½" x 3½" | 4½" x 4½" |
| Unfinished Block Size | 7½" | 11" | 14 1/2" | ||
| Grid Size | 1" | 1½" | 2" | ||
Step 2: Create the units for your Twentieth Century Autograph block

Center
Make 1
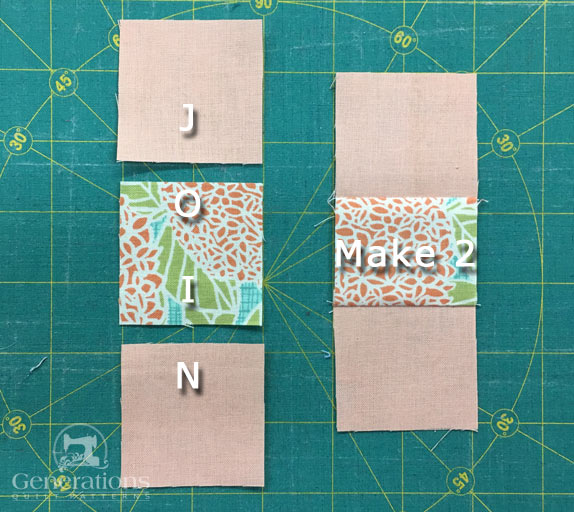
With RST, stitch a #3 to a #2.
Since it doesn't matter which patch it's pressed towards—there are no seams to match—press to the darker one.
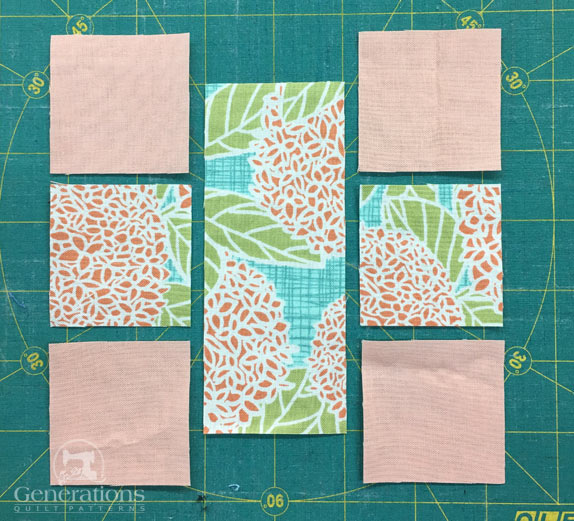
Add a #3 to the opposite side of #2, pressing as before.
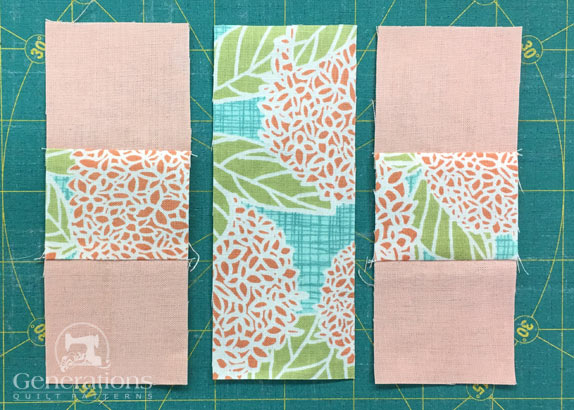
With RST sew a #3/#2/#3 to each side of #1.
These SAs are pressed toward the center.

3-Patch
#6/#5/#6
Make 4
With RST, sew a #6 strip to both long sides of #5.
Press SA towards the darker fabric.
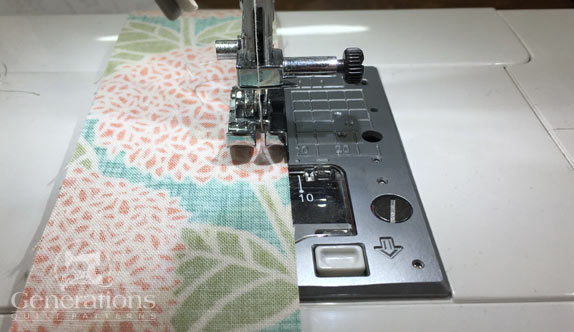
After sewing, use the chart below to check that this short strip set is the correct width—make any necessary adjustments.
StripSet Widths | ||
|---|---|---|
| Finished Block Size | Stripset Width after stitching | SubCut Width |
| 7" | 3 1/2" | 1 1/2" |
| 10½" | 5" | 2" |
| 14" | 6 1/2" | 2 1/2" |
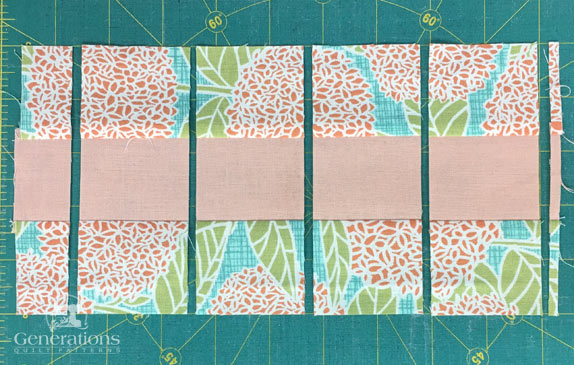
At your cutting mat, straighten one the of the short edges with your rotary cutter and ruler. Then, find the SubCut Width that goes with your Finished Block Size.
Cut four units this width.
For our 10-1/2" sample block, the SubCut width is 2".
Sides

Make 4
With RST, join a #4 rectangle with a #6/#5/#6 strip you just put together.
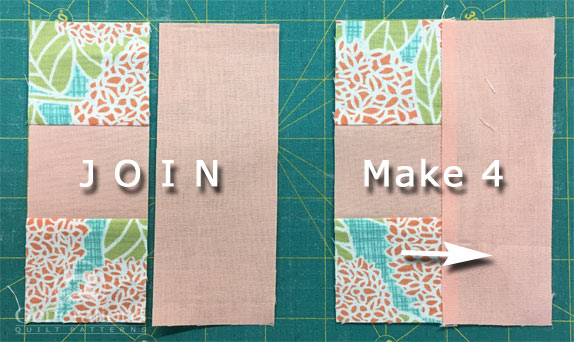
Press SA towards #4 to reduce bulk.
If the darker fabric shadows through the lighter one, trim away a tiny bit of the #6/#5/#6 seam allowance with your scissor.
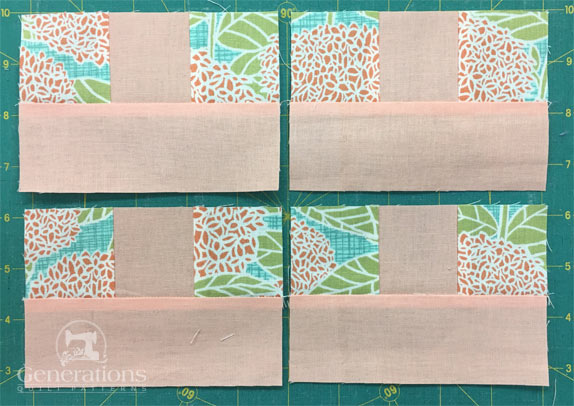 All 4 sides pieced and ready to go
Step 3: Assemble the Twentieth Century Autograph block
Lay out your cut and sewn patches into the Twentieth Century Autograph design, the #4 rectangles are all in the center of the block.
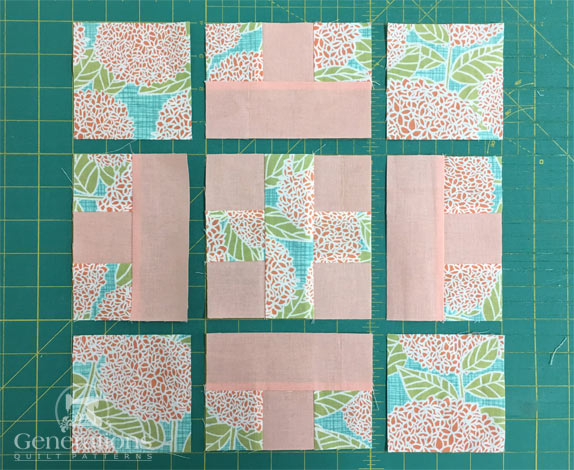
With RST, sew the units into rows. Nothing to match here so pinning is optional.
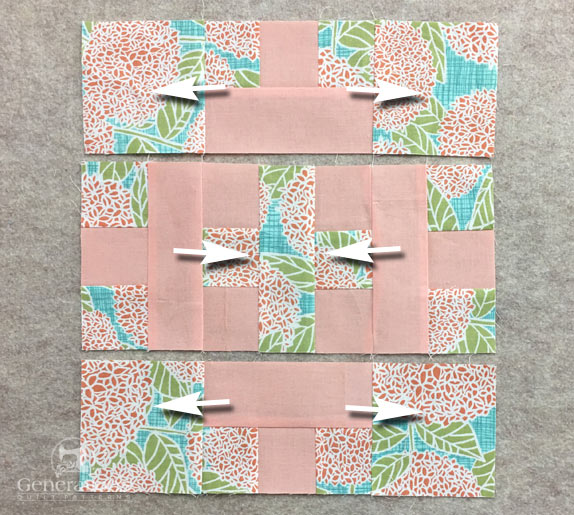
SAs are pressed toward the solid #7 squares in the top and bottom rows and towards the center unit in the middle (white arrows).
With RST sew the rows together. Give it a final pressing.
I've pressed these last two seams toward the outside edges. If you were to set these blocks together edge-to-edge in a quilt, these last two seams should point inwards. That way the seams nest for easier matching.
The Twentieth Century Autograph block is complete.
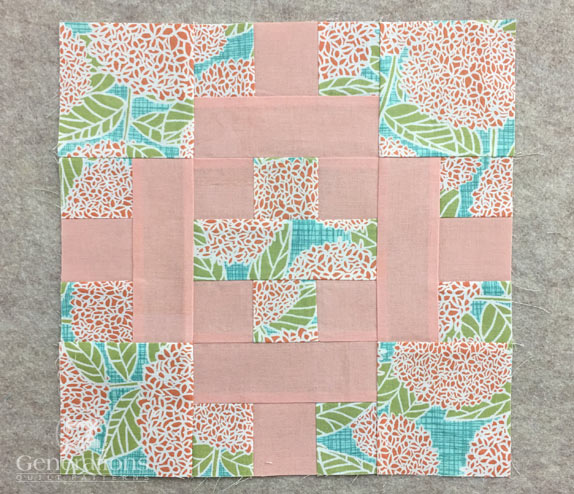
I asked a question at the beginning of the tutorial, "Do you think there's enough contrast between the fabrics?"
Now that the this Twentieth Century Autograph is done, what do you think?
It's always good to plan on making a sample block before diving into your quilt projects to check that your fabric choices work as you expected them to. ;)
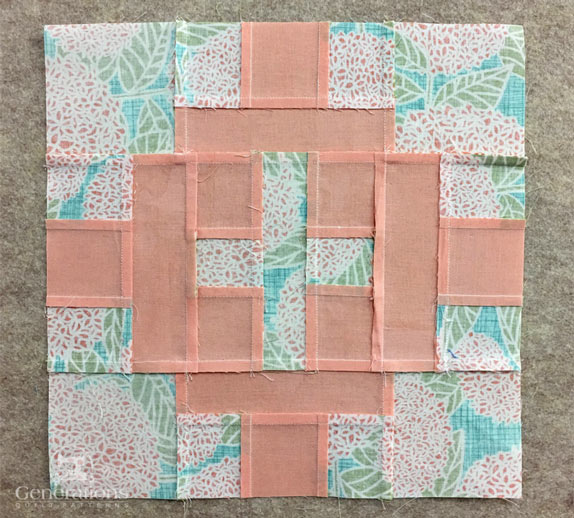
This is the view from the wrong side so that you can all the seams.
What about a different quilt block?
For a list of all the 220+ quilt block patterns on this site, start here.
If you know the name of the block, shorten your search by using these links:
Click here if you're looking for blocks with at least some paper piecing.
Click here if you're looking for the basic building blocks of quilting, i.e., Flying Geese, half square triangles, quarter square triangles, etc., along with several techniques to make each.
And finally, use these links to find blocks in these finished sizes:
