- Home
- Free Quilt Block Patterns
- Farmers Daughter Quilt Block
Farmer's Daughter Quilt Block Pattern
From our Free Quilt Block Patterns Library
This post contains affiliate links, for which I receive compensation.
Skill Level: Beginner
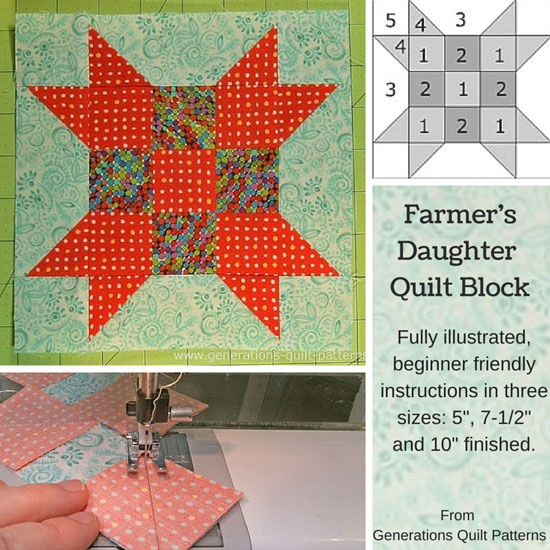
Our Farmer's Daughter quilt block uses connector corners to quickly create perfect points. For the beginning quilter that means no bias edges to deal with!
It makes the block quick to whip up for the experienced quilter. And a good candidate for a quilting bee or guild block swap!
This basic block design is very popular. At the end of this page, you'll find nine different variations to try for yourself.
Let's get started!
📋 General Instructions
These abbreviations are used in this tutorial:
- SA- seam allowance
- BAC - background fabric
- RST - right sides together
Seam allowances (SA) are 1/4" and are pressed toward the darker fabric unless otherwise instructed.
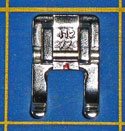
In the tutorial you'll see that I switch presser feet. I prefer an open toe applique foot for my connector corners and a foot with a guide for standard piecing.
It's important to use what works best for YOU!
New quilt fabrics to tickle your fancy...
Click the images below to see the full collection. We share any commercial and/or free patterns that showcase them, too. (For inspiration, of course!)
Step 1: Cutting the Farmer's Daughter patches
 Farmer's Daughter design
Sample Size: 7½" finished / 8" unfinished
Grid: 5x5
Attribution: Ladies Art Company
AKA: Two Crosses (Nancy Cabot)
Design Type: Uneven 9-patch, large center, star
For this three fabric block you'll want to have enough contrast between the medium and background fabric so that your star points show.
Remember that YOU are the designer. While I've stitched the sample up with a light background, you can always substitute in a darker one if it suits your needs better.
 |
Cutting Chart for a~ Traditional Piecing ~ | ||||
|---|---|---|---|---|---|
| Patch | Fabric | Qty | Finished Block Size | ||
| 5 " | 7 1/2" | 10 " | |||
| 1, 4 | Med | 13 | 1 1/2” x 1 1/2” | 2” x 2” | 2 1/2” x 2 1/2” |
| 2 | Dark | 4 | 1 1/2” x 1 1/2” | 2” x 2” | 2 1/2” x 2 1/2” |
| 3 | BAC | 4 | 1 1/2” x 3 1/2” | 2” x 5” | 2 1/2” x 6 1/2” |
| 5 | BAC | 4 | 1 1/2” x 1 1/2” | 2” x 2” | 2 1/2” x 2 1/2” |
| Unfinished Block Size | 5 1/2" | 8" | 10 1/2" | ||
| Grid Size | 1" | 1 1/2" | 2" | ||
Step 2: Creating the units for our Farmer's Daughter
We'll need two different pieced units to complete our Farmer's Daughter.
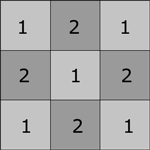
Nine Patch
Make 1
With RST sew a #1 to a #2. Repeat for a total of 3 pairs as shown below. Press SA toward the darker #2.
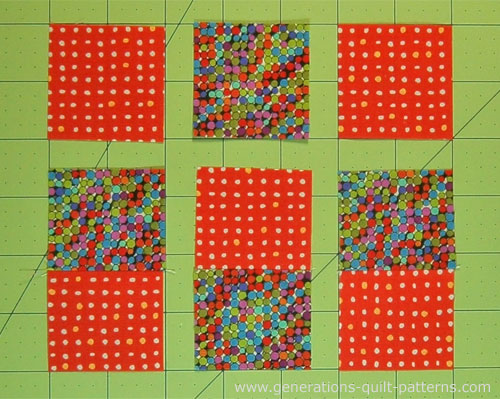
Sew a #1 to each of two of the pairs and a #2 to the final pair so that the fabrics alternate as shown above. Press these subunits again with the SA toward the #2s.
With RST, stitch the subunits together, pinning if it helps keeps the edges and seams aligned.
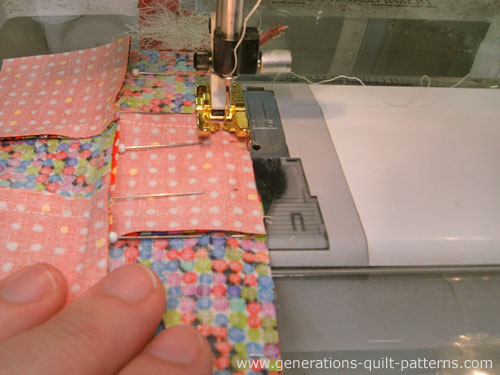 My favorite quarter inch presser foot with a guide is used for this stitching.
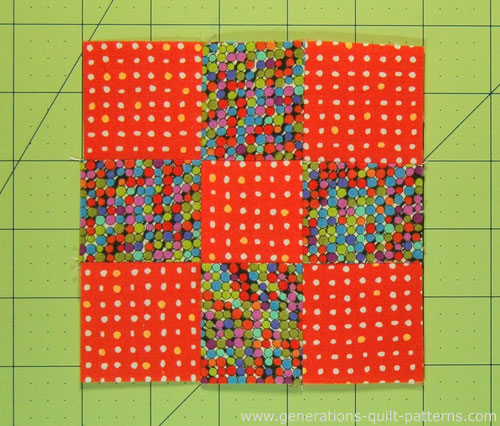
Press again with the SA toward the center of the 9-patch.
It's finished.
Star Points
Make 4

We'll use the connector corners to construct the star points. It's a simple technique that allows us to work with just squares and rectangles. No bias edges involved!
If you have one, switch to an open toe applique foot—it's much easier to see the line to stitch on.
On the back side of the eight #4 squares make a diagonal line with a pencil. I like using a mechanical pencil for this because this line is always fine and uniform.
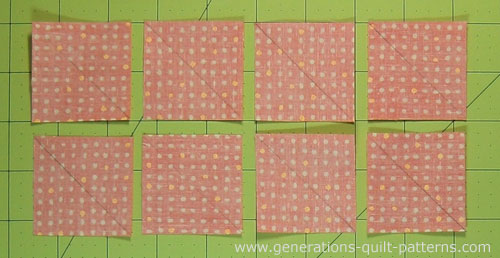 The lines need only be dark enough for YOU to see.
With RST, position a #4 with one side of a #3. Stitch on the line. Repeat for all four #3s.
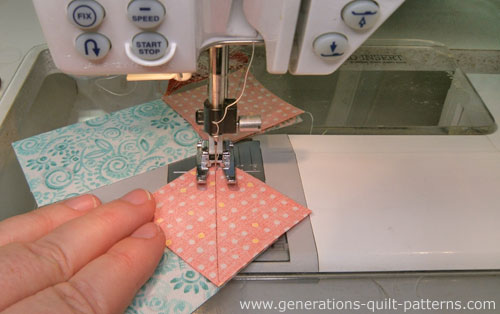 Using this open toe foot provides an unobstructed view of the sewing line.
Add a #4 to the opposite side of the #3. On one long edge the lines bisect the corner; on the opposite long edge the lines point towards the center of the patch. Stitch, repeating until all four #3s have two #4 patches attached.
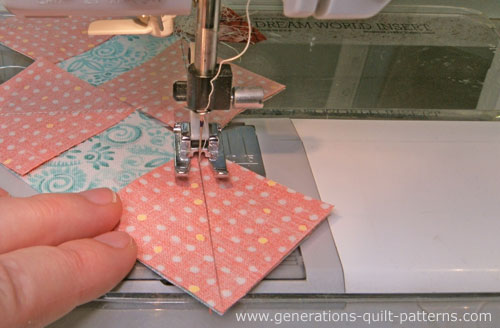
Press the units flat.
Now you have a choice to make. You can either trim away the excess of both fabrics between the seam line and the corner (below center row, left) or trim away just the excess of the #4 fabric (below center row, right). Either way leave behind a quarter inch SA.
Press the #4 patches open and towards the corner.
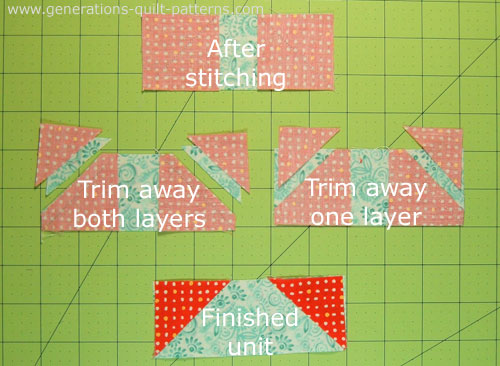
Repeat for a total of four star point units (above, bottom row).
Step 3: Assemble the Farmer's Daughter Quilt Block
Switch back to your favorite quarter inch presser foot to complete the rest of the sewing.
Arrange all your pieced and cut units into rows as shown below.
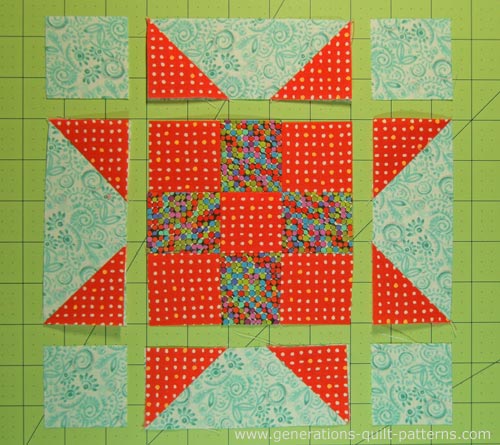
With RST, stitch the units into rows. You may want to pin match the connector corners to the seam lines in the nine-patch.
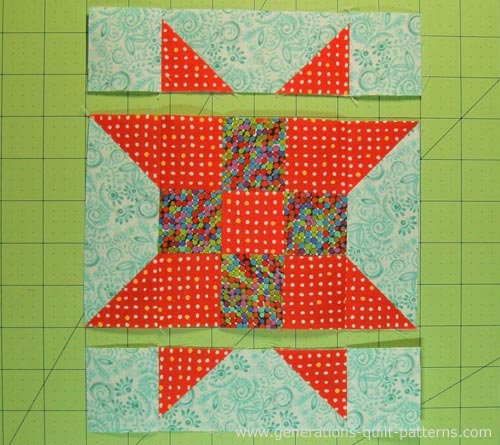 SA are pressed toward the nine-patch in the center, and toward the corner squares in the top and bottom rows.
And finally stitch the rows together. I did pin to keep the star points lined up with the 9-patch seams...just to be sure! :D
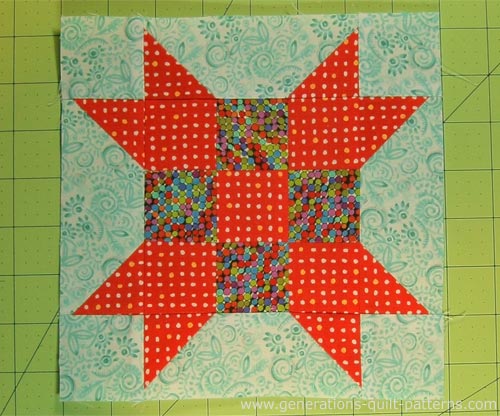 The finished Farmer's Daughter quilt block!
Give your Farmer's Daughter a final press and it's ready for a quilt.
Common Variations
on the Farmer's Daughter Design
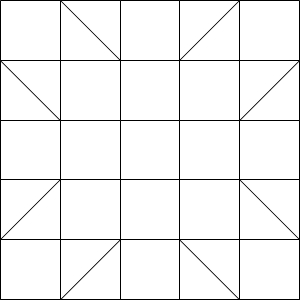
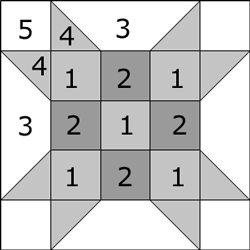
As promised in the introduction, there are quite a few variations on the basic design of our Farmer's Daughter quilt block. The 'bones' of the design are shown to the left.
These are some of the variations.
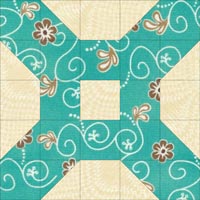
The Domino
Connector corners (CC) simplify the construction of this one, too!
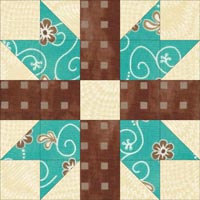
The E-Z Quilt Block
Our two-patch side units are now a single cut rectangle.
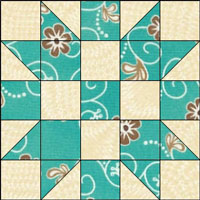
Churn Dasher
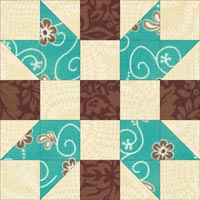
Father's Choice
A slight variation on the Churn Dasher with the addition of a third fabric.
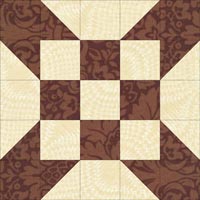
The Nine Patch Star
Sometimes you've got to wonder where the block names come from. This just doesn't look like a star...but I do like the effect.
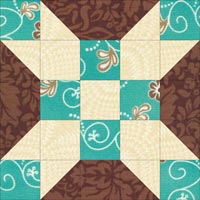
The Rolling Star
Again, CCs is the technique of choice to simplify the construction of the side units.
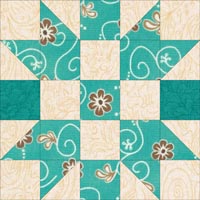
Sister's Choice
Another block very close to the Churn Dasher.
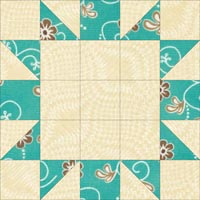
Souvenir Quilt Block
The open center square is a nice frame for embroidery of applique, or possibly even a smaller pieced block.
Click here for the instructions.
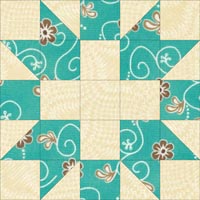
The Star and Cross
To simplify the piecing, cut a rectangle of the background fabric for the very center instead of three separate square patches.
Now, that's a lot of design potential to pull out of a basic design, isn't it!
What about a different quilt block?
For a list of all the 220+ quilt block patterns on this site, start here.
If you know the name of the block, shorten your search by using these links:
Click here if you're looking for blocks with at least some paper piecing.
Click here if you're looking for the basic building blocks of quilting, i.e., Flying Geese, half square triangles, quarter square triangles, etc., along with several techniques to make each.
And finally, use these links to find blocks in these finished sizes:

