- Home
- Free Quilt Block Patterns
- Double T Quilt Block
Double your Fun with the Double T Quilt Block Tutorial
From our Free Quilt Block Patterns Library
This post contains affiliate links, for which I receive compensation.
Skill Level: Confident Beginner
The Double T quilt block is constructed with four pairs of Flying Geese and 5 solid, cut squares using just two fabrics.
While there are several methods to make Flying Geese units (click here to see some of them), my preferred technique is paper piecing when the units are stacked.
It's less likely that the top point of a 'goose' will be lopped off when the units are stitched together.
The trade-off for this accuracy is removing the paper. Not a bad deal in my opinion!
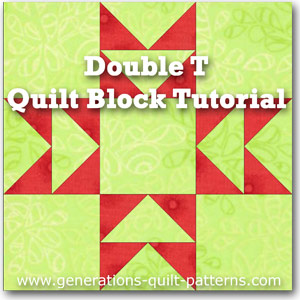
You may know this block by one of its alternate names, 'Capital T' or 'Cut the Corners'.
On this page you'll find the needed paperpiecing patterns in 5 different sizes for download and step-by-step instructions to make the block.
Let's get started!
General Instructions
When you are instructed to 'press', first press the pieced unit flat to set the seam. Then open the patch, pressing from the front.
You may want to reduce or eliminate the use of steam for pressing the paper pieced blocks. Steam tends to curl the paper which can be annoying.
If curled paper doesn't bother you and you like steam, use it.
Check out our favorite, 'secret' technique to get the flattest quilt blocks you'll ever see. It works even with the paper attached. It's a humdinger and oh, so easy!
I've starched the fabric used in this tutorial.
Especially for the smaller pieces, it means that I'll be able to fingerpress the seams open instead jumping up and down to the iron to press between each added patch.
Click here to learn if starching quilt fabric is right for you.
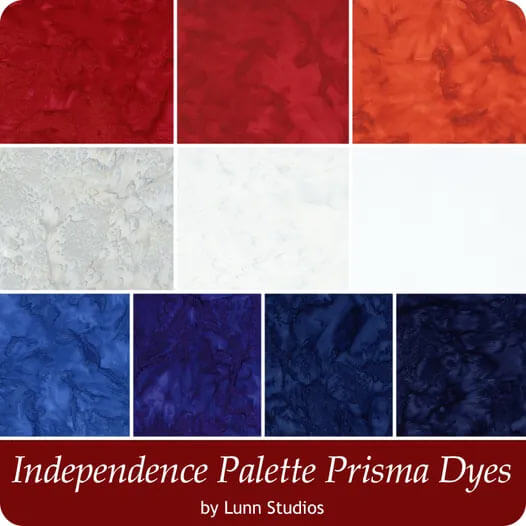
The newest quilt fabrics to tickle your fancy...
Click the images below to see the full collection. We share any commercial and/or free patterns that showcase them, too. (For inspiration, of course!)
Step 1: Download and print the patterns
You'll need the most current version of Adobe installed on your computer to download the pattern.
On the Adobe Print Menu page, under 'Page Size and Handling' set 'Custom Scale' to 100% before printing for accurate results. Click here to see what it looks like on the Print Menu page.
After printing, use the 1" square graphic on the printed pages to confirm they are printed accurately.
Print your Flying Geese Pairs Pattern | ||
|---|---|---|
| Finished Block Size | # of copies | Click the link below for the pattern |
| 4½" | 1 | 1½" |
| 6" | 1 | 2" |
| 7½" | 1 | 2½" |
| 9" | 1 | 3" |
| 12" | 2 | 4" |
Step 2: Cut the fabric patches
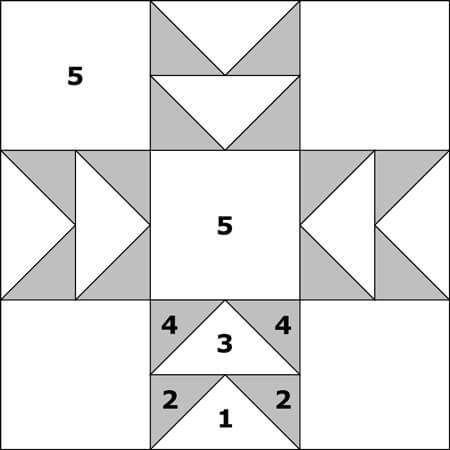 Double T design
Sample Size: 6" finished / 6½" unfinished
Grid: 6x6
Attribution: Nancy Page
AKA: Capital T (Ladies Art Company), Cut the Corners (unknown source)
Design Type: Even 9-patch
These patches are cut generously so that placing them into position is virtually foolproof—that means no ripping! The dimensions for the sample block in these instructions are highlighted in yellow.
Make a couple blocks and then adjust the patch size if it fits your needs better.
All of the patches are cut as squares first, i.e. for Patch #5, Fabric A, cut five 2-1/2" x 2-1/2" squares for the 6" finished block in this example.
 | Cutting Chart for a~PaperPiecing ~ | |||||||
|---|---|---|---|---|---|---|---|---|
| Patch | Fabric | Qty | Finished Block Size | Sub Cut | ||||
| 4½" | 6" | 7½" | 9" | 12" | ||||
| 1, 3 | A | 2 | 3⅛" | 3⅝" | 4⅛" | 4⅝" | 5⅝" | |
| 2, 4 | B | 8 | 2⅛" | 2⅜" | 2⅝" | 2⅞" | 3⅜" | |
| 5 | A | 5 | 2" | 2½" | 3" | 3½" | 4½" | -- |
| Unfinished Block Size | 5" | 6½" | 8" | 9½" | 12½" | na | ||
| Grid Size | ¾" | 1" | 1¼" | 1½" | 2" | na | ||
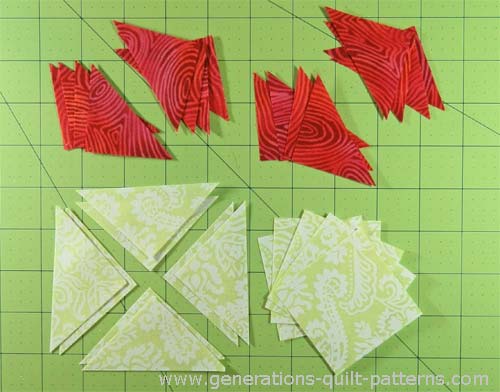 Here our the cut Double T patches. All ready for sewing!
Step 3: Assemble the Double T quilt block
For the paperpieced units, set your stitch length to 15-18 stitches per inch. While I regularly use an 80/12 needle for paperpiecing, if you are having a difficult time removing the paper, try a larger needle—a 90/14 should do the trick!
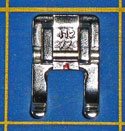
I also use an open toe applique foot for an unobstructed view of the needle and the stitching line.
Rough cut the block patterns from the page you downloaded. There's no need to trim exactly on the outside dotted line—a bit outside of it is fine. We'll do a final trim in the last step to clean up all the edges and thread tails.
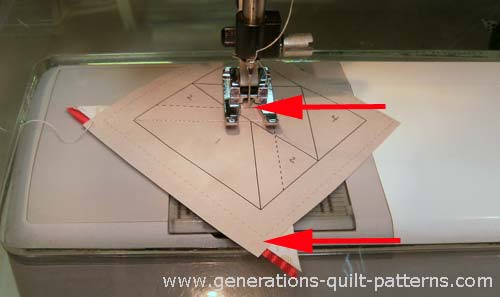
Use a dab of Elmer's Glue Stick—the one that goes on purple and dries clear—position the back side of #1 to the unprinted side of your paper pattern as shown below. (It should extend past the dotted line on the outside edge of the block, see the red arrow.)
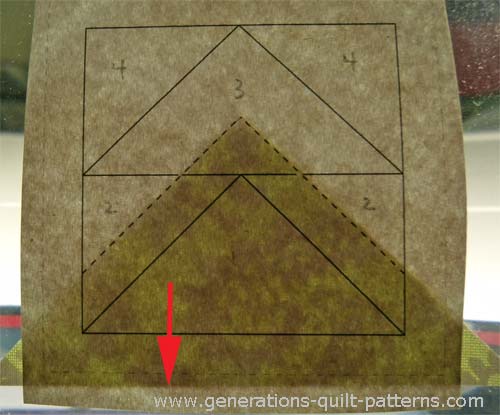
With right sides together (RST) align the long bias edge of a small #2 triangle with one side #1. It doesn't matter which side you add this triangle to first, just be consistent if you're making a large number of blocks.
From the printed side, stitch the seam. Start before and end after the solid line as indicated in the photo below. Subsequent lines of stitching will secure these seams so there is no need to backstitch.
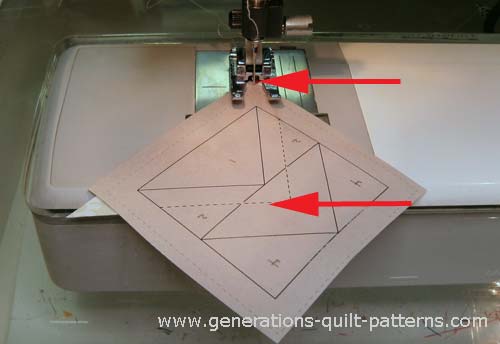
Press. By using starched quilt fabric, finger-pressing is perfect for this short seam.
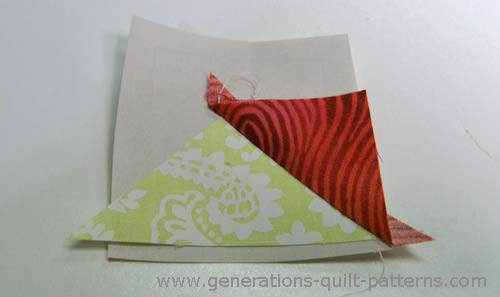
Add the second sky triangle to the opposite side in the same manner to complete the first flying geese unit.
Press.
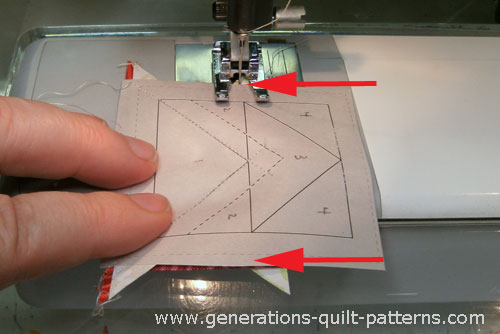
To add the second goose patch, with RST align #3 with the first completed Flying Goose. The long cut edge of #3 should extend a scant quarter inch past the stitching line.
In the picture below, you can see the points of #3 sticking out past the edges of the pattern. Use them to eyeball placement.
Then stitch, again starting and ending approximately a 1/4" from the solid line.
Helpful Hint:
Usually, I would have used my rotary cutter and ruler to establish the quarter inch seam line for placement of Patch #3.
However, the 'goose' fabric is a light. Since the SA may need trimming to prevent the darker fabric from showing through, I chose to eyeball placement and then trim with my scissors instead in order to save a step.
The generous dimensions of the patches should be enough that there isn't a problem with this more casual placement of the patch.
Before pressing, take a look at your block to determine if the darker fabric will shadow through the top.
In this case it does, so I will use a scissor to trim the darker seam allowance(red)...
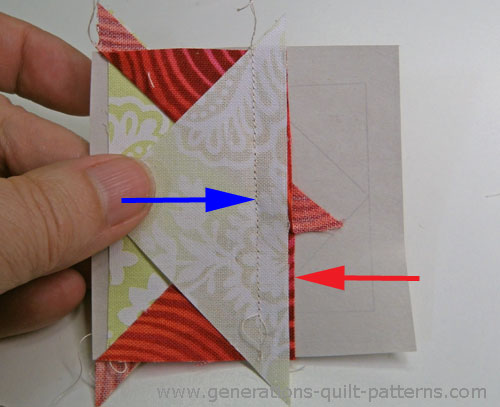
...so that it doesn't show past the lighter, green SA.
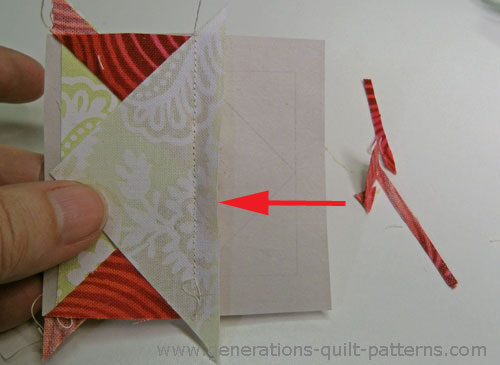
Press.
Add the #4 triangles just as the #2's were added.
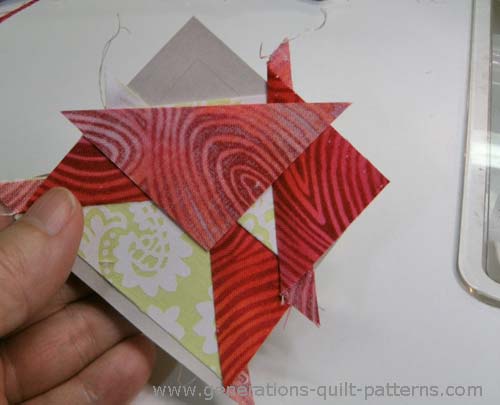
Once the stitching is done, trim stray threads from the center of the block.
To trim the block to size, align the 1/4" line of your ruler with the solid black outline of the block and trim with your rotary cutter. Repeat for each side of every pieced unit in your Double T quilt block.
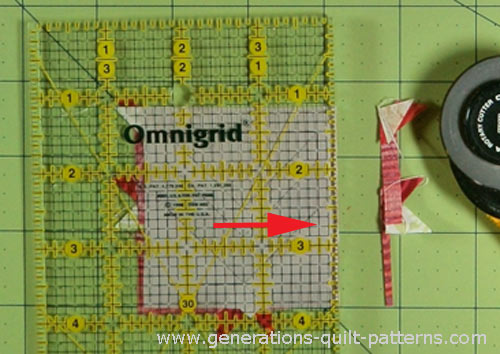 The 1/4" line on my ruler is directly over the solid black line. (red arrow)
Lay out the units of your Double T quilt block into rows like this.
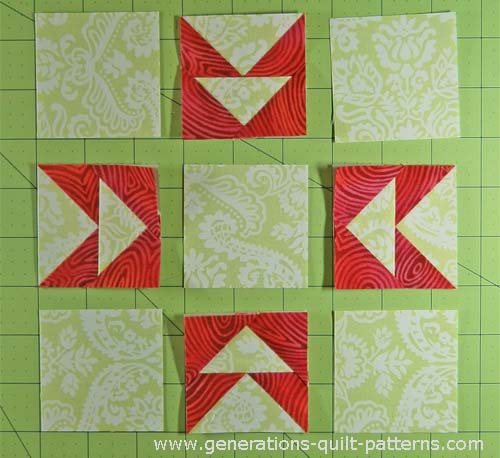 All the Flying Geese point to the center on the Double T block
Sew the units of your Double T together into rows with a quarter inch SA (remember to reduce your stitch to a normal length and install your 1/4" foot). Press the SAs in the direction of the arrows, away from the Flying Geese Pairs.
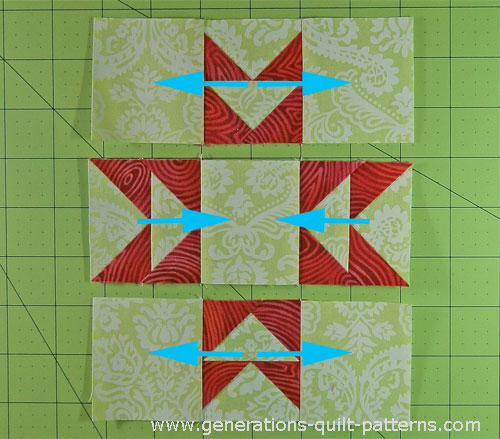
To prevent shadowing through, trim the darker SA with a scissor (below).
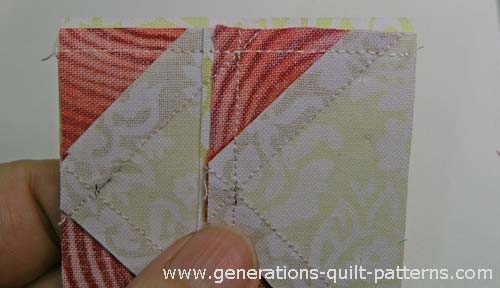
Stitch the rows together; the nesting SAs help to make matching the seamlines easier.
The finished Double T quilt block looks like this...
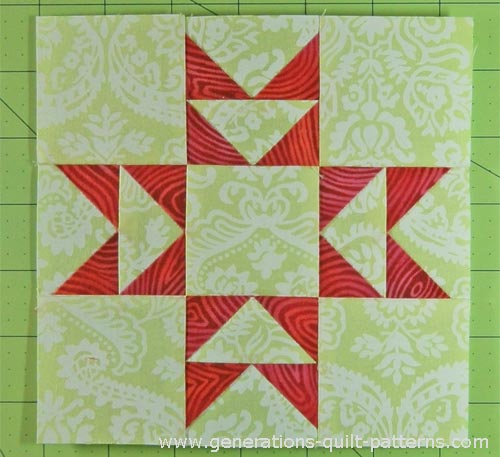 Our Double T is totally terrific isn't it!
OK...I admit to being stumped.
I've squinted my eyes and turned this block every which way. For the life of me, I can't figure out why this is called a 'Double T' quilt block.
Can you?
What about a different quilt block?
For a list of all the 220+ quilt block patterns on this site, start here.
If you know the name of the block, shorten your search by using these links:
Click here if you're looking for blocks with at least some paper piecing.
Click here if you're looking for the basic building blocks of quilting, i.e., Flying Geese, half square triangles, quarter square triangles, etc., along with several techniques to make each.
And finally, use these links to find blocks in these finished sizes:
For even more blocks to make...
For you, are quilt block designs like potato chips...
...you can't have just one?!!
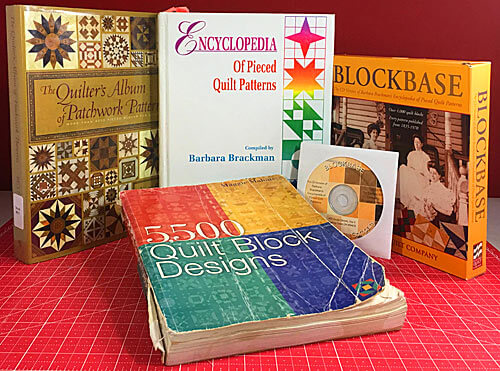
Check the amazing resources I rely on for all the quilt block designs you see on this website.
To see if they're worthy of a spot in YOUR quilting library, CLICK HERE.
