- Home
- Free Quilt Block Patterns
- Yankee Puzzle Quilt Block
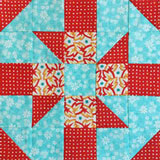
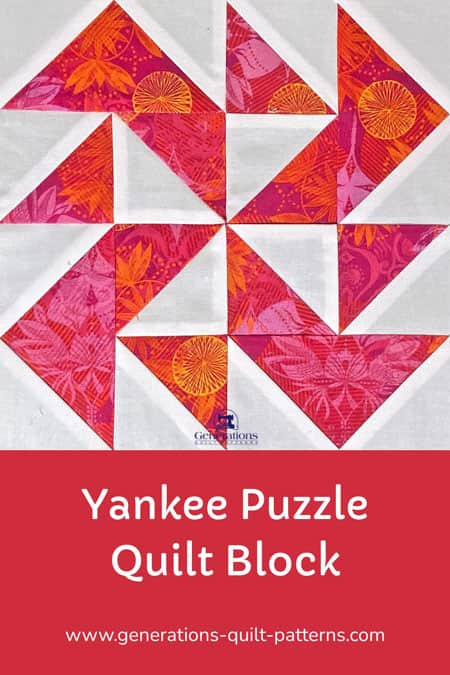
🧩 Yankee Puzzle Quilt Block Tutorial: Puzzle Solved with Smart Piecing! ✨
💪 Time-tested techniques prove the puzzle was never that complicated! 🧩
This post contains affiliate links, for which I receive compensation.
Ready to solve the Yankee Puzzle quilt block using tried-and-true traditional methods?
Perfect!
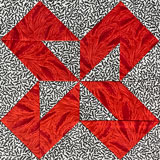
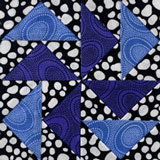
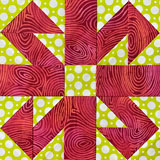
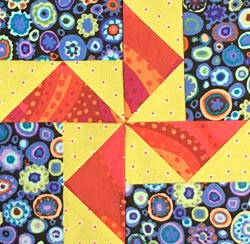
This gorgeous pinwheel proves that classic techniques can absolutely conquer Flying Geese challenges.
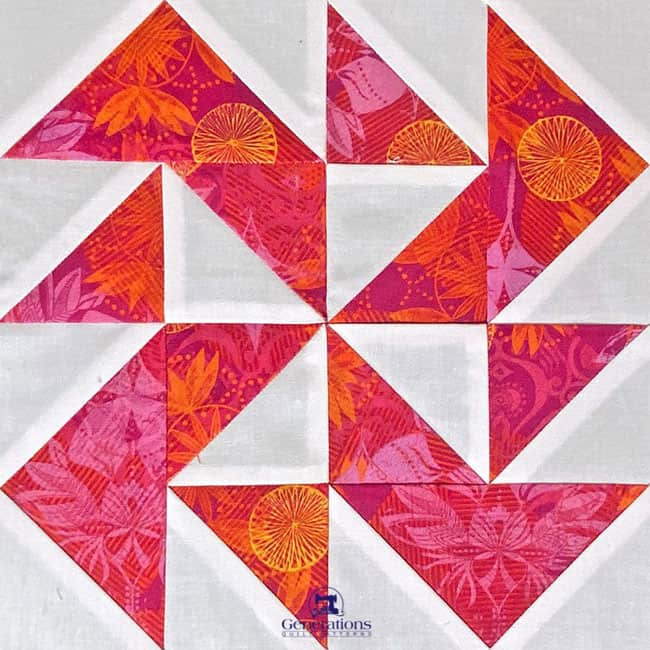
Using smart approaches like 4-at-a-time Flying Geese and 8-at-a-time HSTs, we're turning potentially tricky piecing into systematic success. ✨
Complete tutorial in 5 sizes with free downloads—because traditional doesn't have to mean complicated! 🎯
What? You'd rather paper piece this block?
⚡ Skip the Search, Master the Method! 🧭
These quick links solve the "where was that technique?" puzzle before it starts! 🧩
📋 General Instructions
⚡ PRINTING TIP: Need help printing this tutorial? Click here for easy instructions!
Several abbreviations are used on this page. They are:
- SA - seam allowance
- RST - right sides together
- HST - Half Square Triangle
- FG - Flying Geese
A 1/4" SA is used in this tutorial.
✂️ Cutting patches for your Yankee Puzzle quilt block
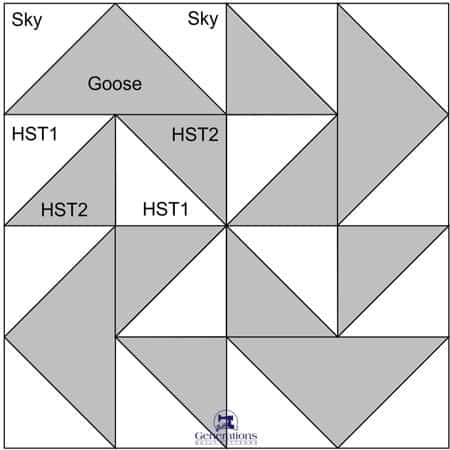
Sample Block Size: 8" finished / 8½" unfinished
Grid: 4x4
Attribution: Ladies Art Company
Barbara Brackman ID: #1103a
Design Type: Pinwheel | 4-patch
Trust me, label everything—traditional piecing has enough variables! 🔢😄
Traditional Piecing
To print a copy of the Yankee Puzzle block design, click here.
 | Cutting Chart for a~ Traditional Piecing ~ | ||||||
|---|---|---|---|---|---|---|---|
| Patch | Fabric | Qty | Finished Block Size | ||||
| 4" | 6" | 8" | 10" | 12" | |||
| HST1 | Light | 1 | 4¼'' x 4¼'' | 5¼'' x 5¼'' | 6¼'' x 6¼'' | 7¼'' x 7¼'' | 8¼'' x 8¼'' |
| HST2 | A | 1 | 4¼'' x 4¼'' | 5¼'' x 5¼'' | 6¼'' x 6¼'' | 7¼'' x 7¼'' | 8¼'' x 8¼'' |
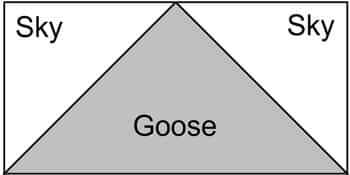
| Goose | A | 1 | 3½'' x 3½'' | 4½'' x 4½'' | 5½'' x 5½'' | 6½'' x 6½'' | 7½'' x 7½'' |
| Sky | Light | 4 | 2¼'' x 2¼'' | 2¾'' x 2¾'' | 3¼'' x 3¼'' | 3¾'' x 3¾'' | 4¼'' x 4¼'' |
| Unfinished Block Size | 4½" | 6½" | 8½" | 10½" | 12½" | ||
| Grid Size | 1" | 1½" | 2" | 2½" | 3" | ||
🔄 Create Your Yankee Puzzle Units with Classic Techniques That Work!
🎯 Let's dive into the tried-and-true methods that make this puzzle completely solvable! Efficient batch-making meets traditional precision for gorgeous results! 💪
FG (4-at-a-time method)
Make 4
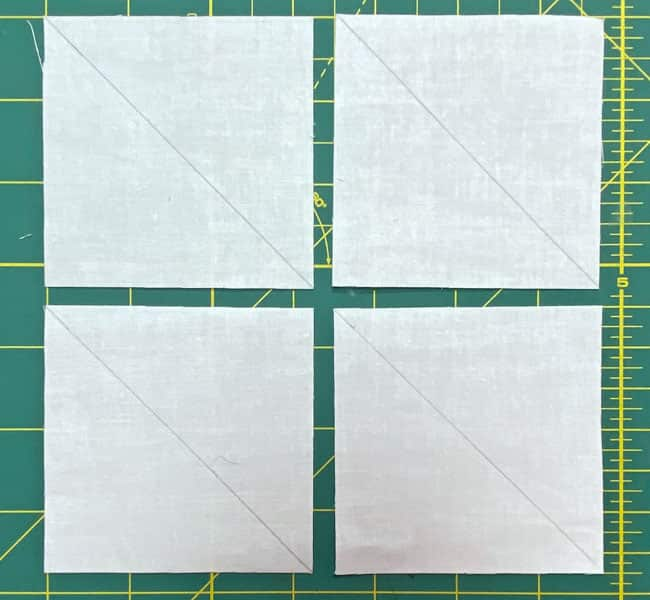
On the back side of each light Sky square, draw a diagonal line from corner to corner.
With RST, position two squares in opposite corners, matching the outsides edges. The marks should line up. Pin as needed to hold all the edges even.
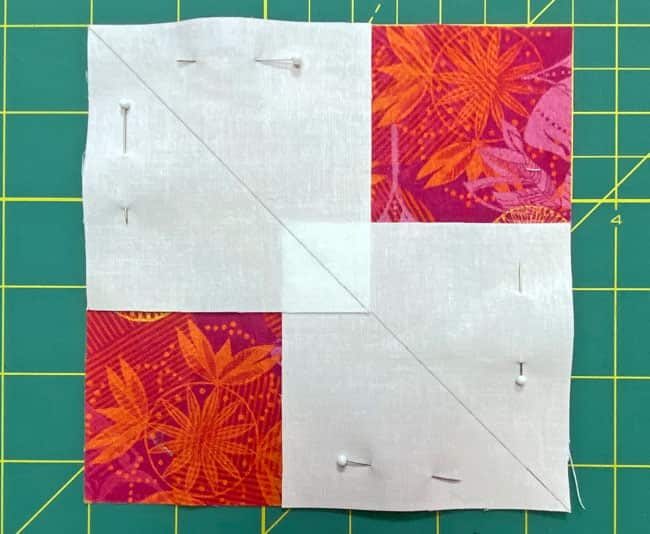 You can see where the 2 Sky squares overlap in the center. We'll deal with that next.
With scissors, make a cut perpendicular to the drawn line through the center to remove the excess fabric (blue arrow). This way those extra layers don't get caught up in the seam allowance. (The points of FG are lumpy enough as is.)
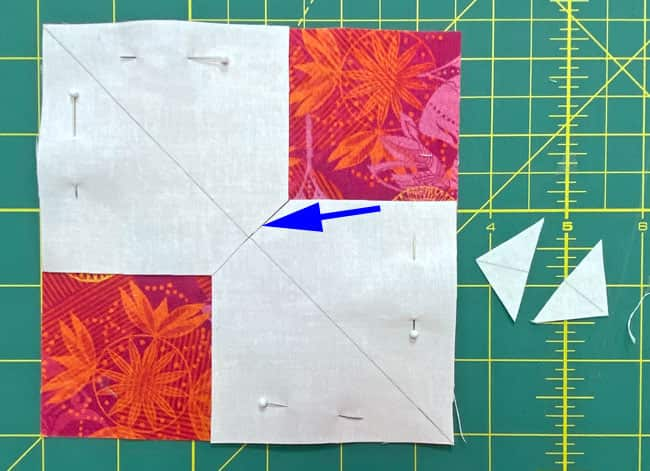 Those little triangles to the right are what was cut away
Stitch a 1/4" away from both side of the line.
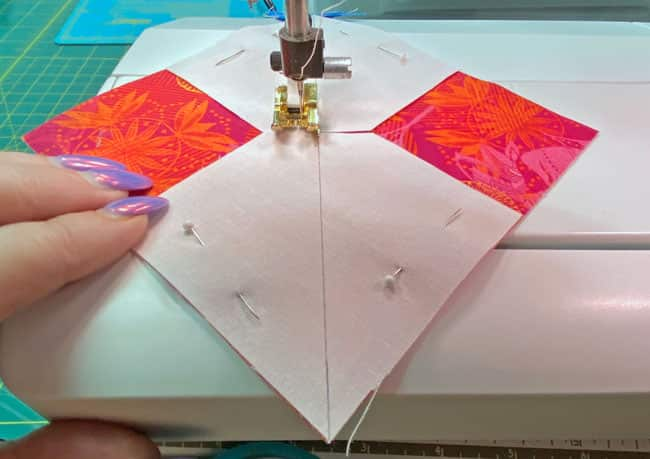
Press flat to set the seam.
Cut the square in half on the drawn line.
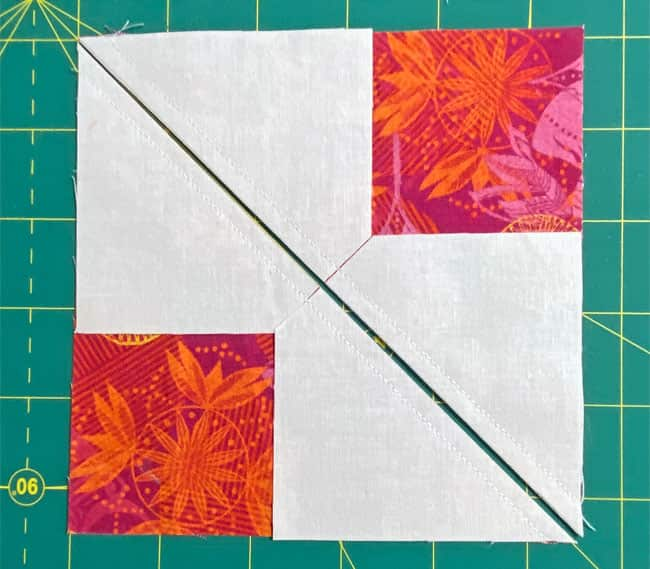
Press the Sky triangles open on each half—SAs toward the Sky patch..
In the unstitched corner of the Goose fabric, match the edges of a marked Sky square so it's line bisects the corner and the Sky triangles. Pin to hold the edges even.(below left)
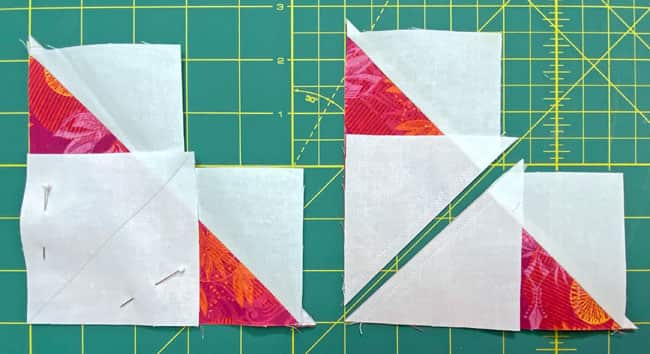 Pinned and ready to sew (left) and after stitching 1/4" from both sides of the line, pressed and cut in half on the drawn line (right)
Stitch 1/4" from both sides of the line and cut in half on the line. (above right)
You have 4 generously sized FG.
Press with the SAs towards the Sky triangles.
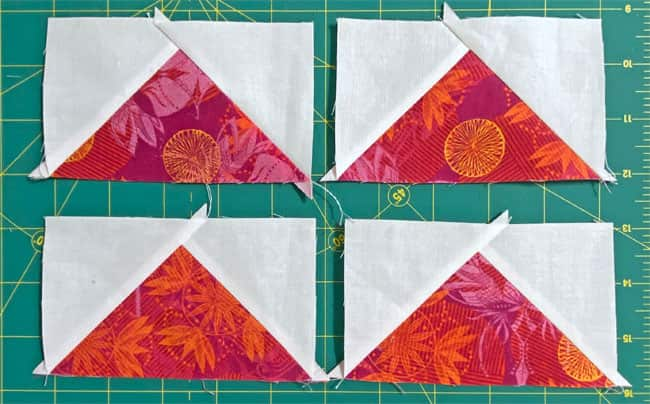 Oversized Flying Geese units, ready for trimming
Use the chart below to trim to size.
Flying Geese Dimensions | ||
|---|---|---|
| Finished Block Size | Vertical Center | Trim FG to... (Height x Width) |
| 4" | 1¼" | 1½" x 3½" |
| 6" | 1¾" | 2" x 3½" |
| 8" | 2¼" | 2½" x 4½" |
| 10" | 2¾" | 3" x 5½" |
| 12" | 3¼" | 3½" x 6½" |
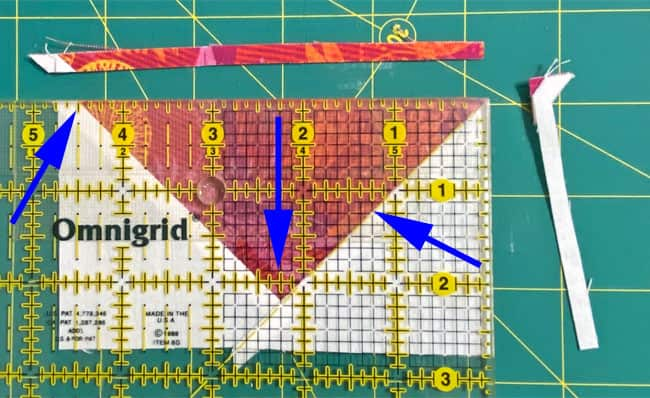
Place a Goose, with the point towards you on your cutting mat.
The Vertical Center for our 8" finished sample is 2¼" That mark on your ruler (following the center blue arrow below) goes straight through it. You want the point of the Goose a ¼" in from the cut edge. For our sample, it is also at 2¼" (2½" minus ¼").
Next, match the 45° line on your ruler with the seam on the right. (right blue arrow)
The edge of your ruler on the left side is at the other Edge-to-Edge Measurement (the width). For our sample, it's 4½".
Trim away the exposed fabric.
💡Personal Observation: All this fiddling around with the ruler is why I prefer to paper piece all my Flying Geese…singles, doubles, and triples. To trim to perfection, all you need to do is position your ruler on the outside solid line and trim. Then repeat for each side.
Flip the FG 180°.
This time line up the 'Trim FG to...' measurements on your ruler with the freshly cut edges (The left and right blue arrows).
The point of the Goose should still be ¼" in from the top edge and centered between the sides at 2¼".
Trim away the excess.
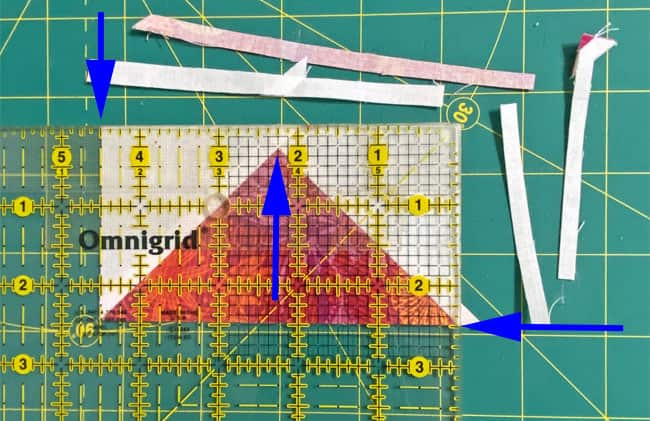
Repeat for all the FGs.
HST 8-at-a-time
Make 8
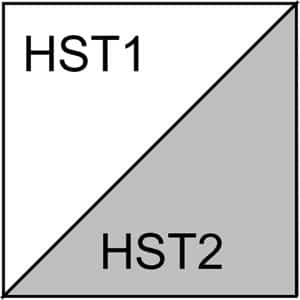
Draw two diagonal lines on the backside of the light HST1 fabric.
With RST, layer the two squares, pinning to hold the edges even. Keep those pins away from where you'll be sewing.
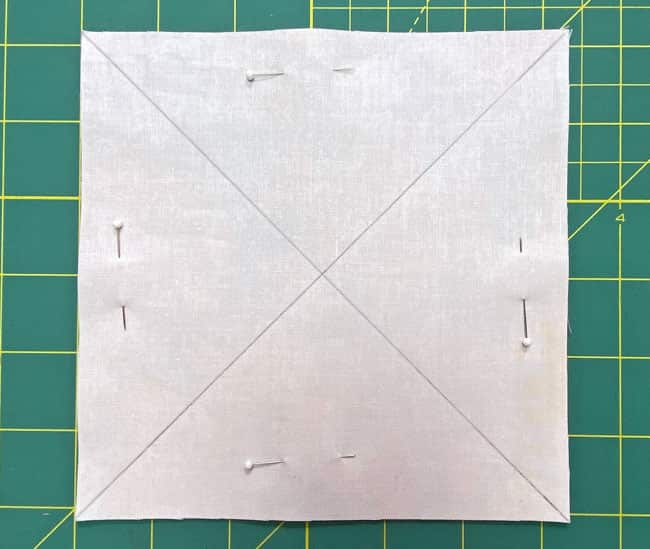
Stitch 1/4" away from both sides of both lines.
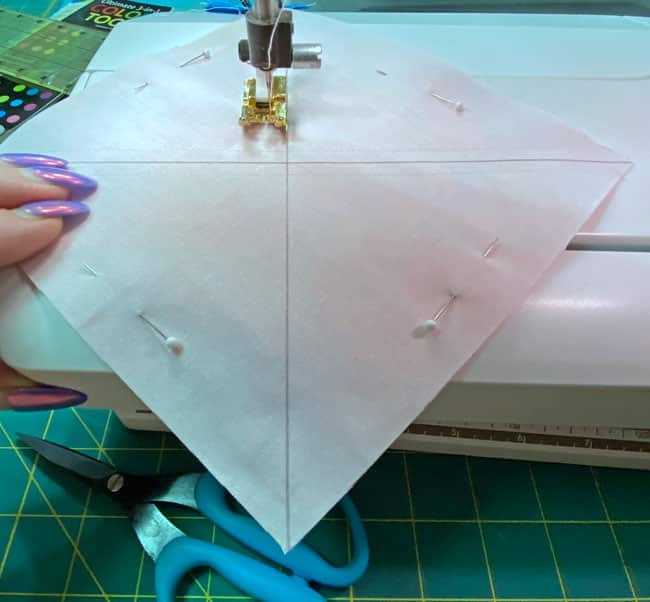
Give the squares a good press so they're nice and flat.
It's time to cut this pair of larger squares into 4 equal squares.
Find the Center measurement in the chart below that corresponds to the Finished Block Size you're working with.
HST Dimensions | ||
|---|---|---|
| Finished Block Size | Center Measurement | Trim HST to… |
| 4" | 2⅛" | 1½" x 1½" |
| 6" | 2⅝" | 2" x 2" |
| 8" | 3⅛" | 2½" x 2½" |
| 10" | 3⅝" | 3" x 3" |
| 12" | 4⅛" | 3½" x 3½" |
Find the Center measurement on your ruler (blue arrows below) and match it to the edge of your squares. For our 8" sample Yankee Puzzle block, the measurement is 3⅛".
The edge of your ruler should pass through the center. Cut in half. (red arrows)
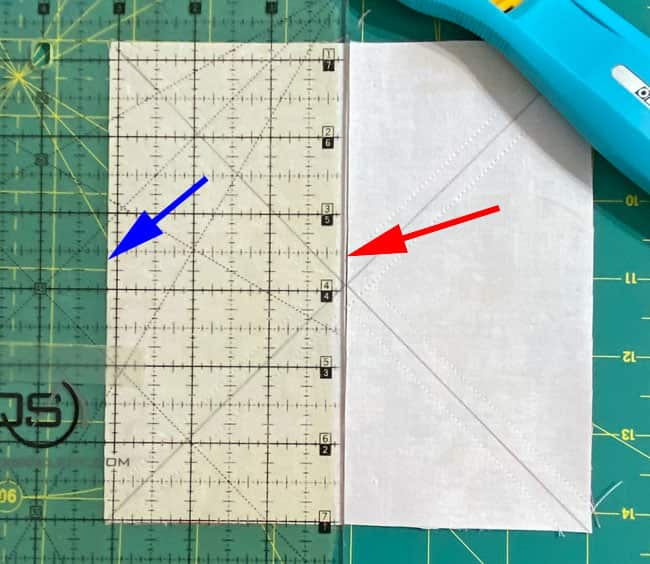
Without disturbing the patches, turn your mat a 1/4" turn. Line up the Center measurement on your ruler again with an uncut edge (blue arrow) and cut in half through the center to create four equal squares.
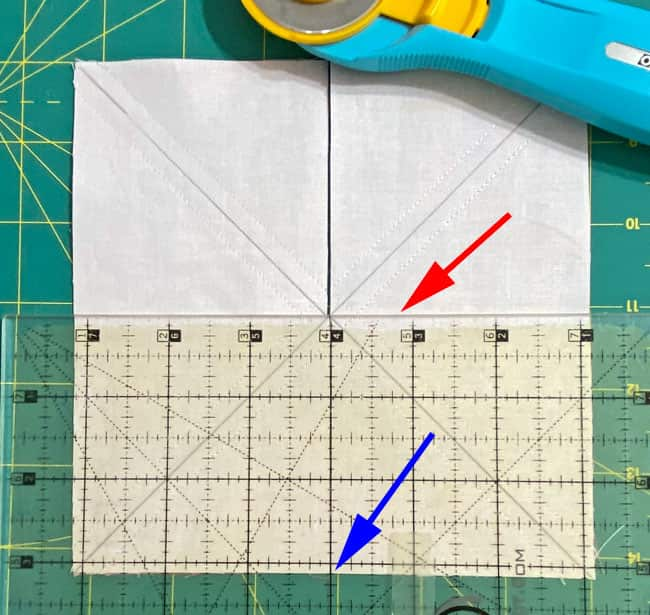 Because the distance is so short, I chose to not turn the mat, but instead place the ruler mark along the bottom and cut from right to left. Choose cutting direction that you feel safer with.
You have 4 equal sized squares. Cut each in half one last time along the drawn line.
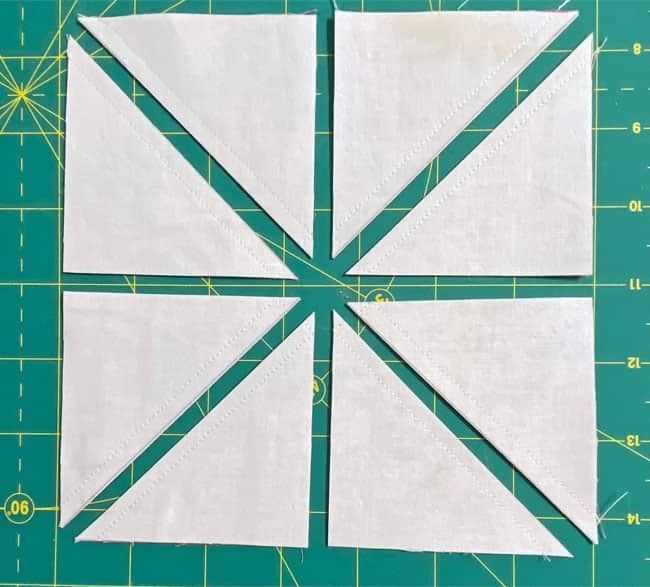
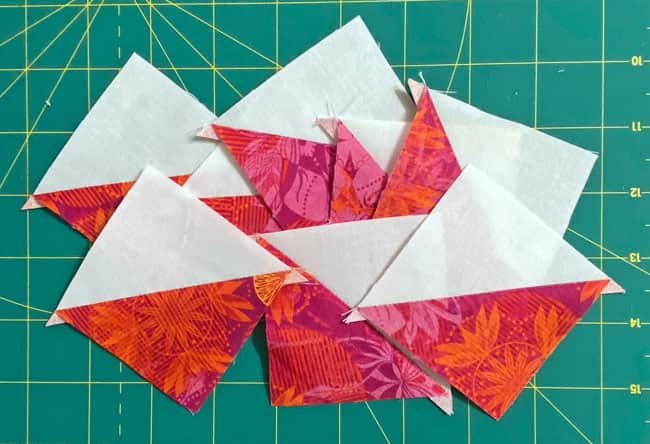
You now have 8 oversized HSTs.
Seams are pressed towards the darker HST2.
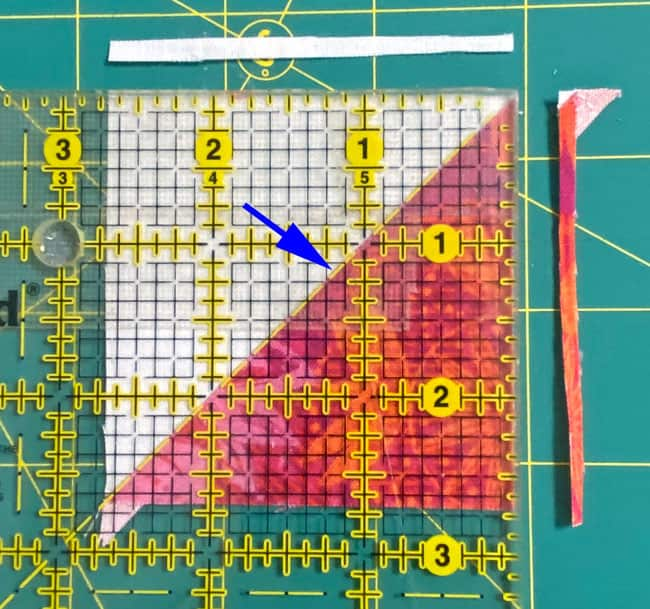
Refer to the chart above. Use the 'Trim HST to…' cut your patches to the exact size. For our 8" finished sample, it's 2-1/2" x 2-1/2".
Position the 45° line on your square ruler with the seam, leaving enough room to cut the square size that goes with your Finished Block Size.
Trim the two exposed edges.
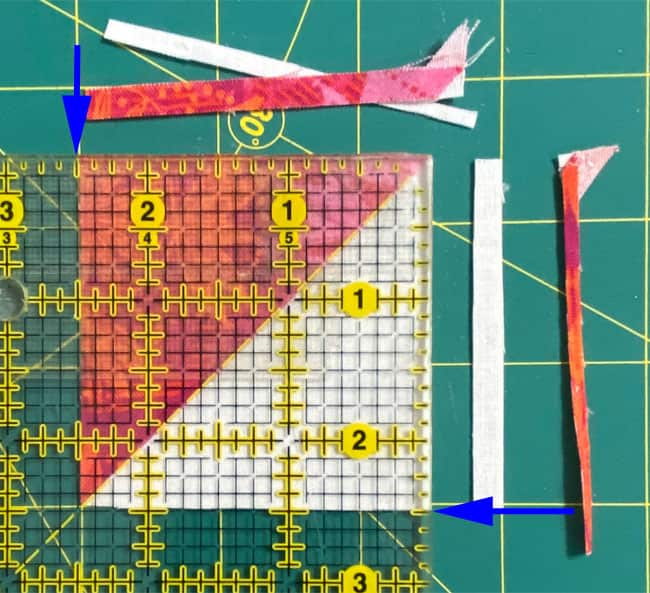
Flip the HST 180° and match the 'Trim to' measurements on your ruler with the freshly cut sides. The diagonal line is again directly over the seam.
Trim to the perfect dimensions.
Repeat for the remaining 7 HSTs.
Yankee Puzzle units
Make 4
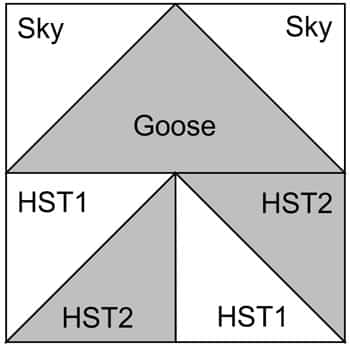
Arrange your patches into the Yankee Puzzle unit.
With RST, sew 2 HSTs so that the dark triangle is on the left, and light on the right in the center.
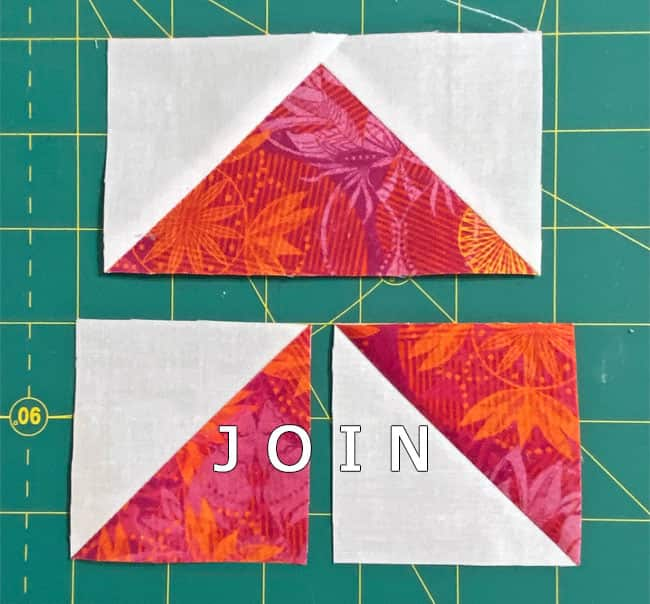
This seam is pressed toward the light so that it'll nest with other seams when you assemble the block.
With RST sew the pair of HST to the bottom of a FG.
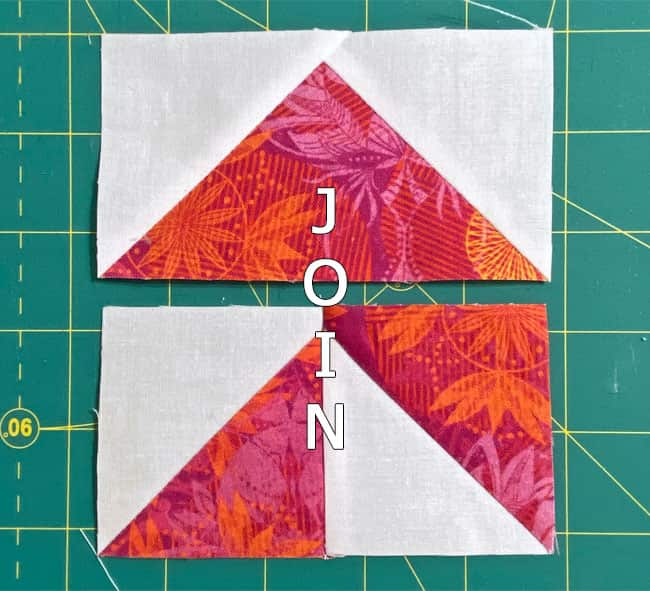
After pressing this seam towards the FG. your unit looks something like this.
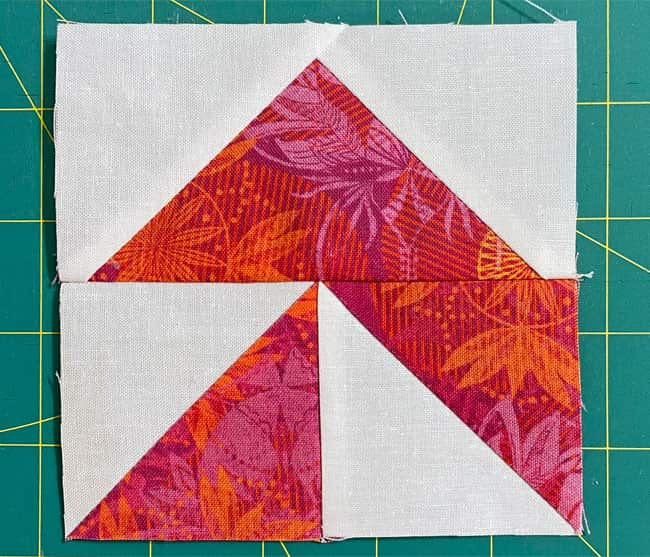
Repeat 3 times.
Before moving on to assembling the block, use the chart below to check your accuracy. Make any adjustments you need now.
Unit Dimensions | |
|---|---|
| Finished Block Size | Edge-to-Edge Measurement |
| 4" | 2½" x 2½" |
| 6" | 3½" x 3½" |
| 8" | 4½" x 4½" |
| 10" | 5½" x 5½" |
| 12" | 6½" x 6½" |
✨ Puzzle me not, it's time to assemble this block
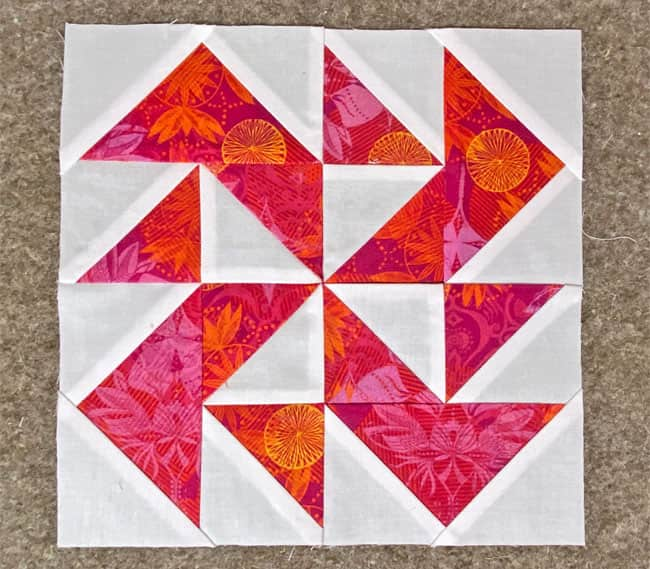
Classic techniques for the win! 💫
🌟 You've officially solved the Yankee Puzzle quilt block using time-tested techniques! 🧩
Perfect flying geese, crisp points, beautiful results—this is what happens when classic methods meet smart efficiency! ✨
📌 Pin the Classic, Skip the Panic! 🎯
Keep this time-tested Yankee Puzzle solution handy because classic techniques never go out of style! ✨ Share the traditional love! 💪
💫 More Classic Blocks to Fall in Love With! ✨
You've proven your traditional piecing prowess — now check out these amazing designs that deserve a spot in your next quilt! Each one's a timeless beauty waiting to happen! 🧩
🌀More playful pinwheel quilt blocks to stitch!
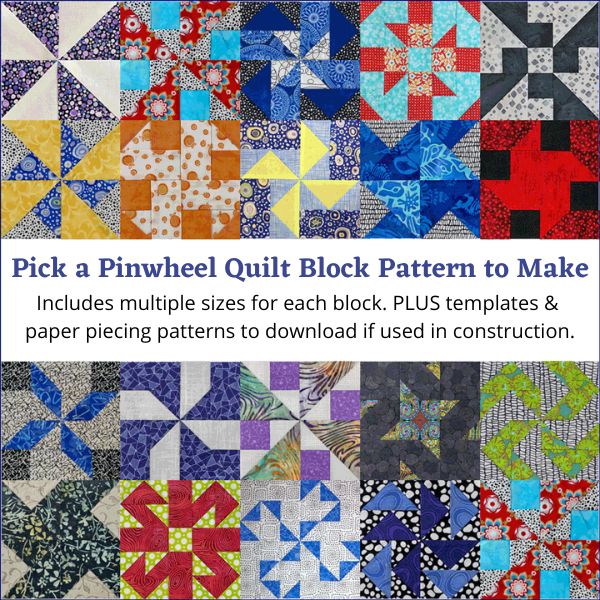
You've finished your pinwheel quilt block, and you're ready for more!
Our pinwheel quilt blocks are a delightful blend of playful interlocking patterns and vivid, eye-catching color. The interlocking patterns dazzle your eyes and inspire your creativity, while our step-by-step instruction ensures that you can create these stunning blocks with ease.
Click here to dive in and turn your fabric into MAGIC!
For even MORE blocks to make… 🧩🎨

...visit our Free Quilt Block Pattern Library, with over 260+ blocks to choose from in multiple sizes.
Free downloads are included in all sizes for any blocks require paper piecing patterns or templates.
- Home
- Free Quilt Block Patterns
- Yankee Puzzle Quilt Block
