- Home
- Free Quilt Block Patterns
- Antique Tile Quilt Block
Antique Tile Quilt Block
Simple doesn't have to mean boring!
This post contains affiliate links for which I receive compensation
The Antique Tile quilt block is truly a simple beginner friendly design. But simple doesn't have to mean boring...
..and I'll show you how!
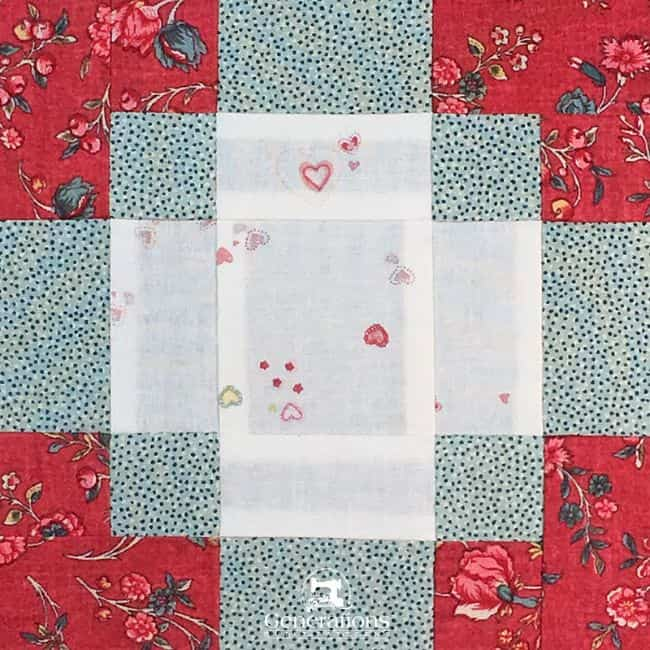
You'll hone your strip piecing skills—skills that'll have you whipping up this little gem in no time.
After you've followed the step-by-step instructions, then hop on over to the next page to check out a terrific way to set the blocks.
Keeping it all beginner friendly, there you'll see how a simple sashing strip completely transforms the design—blurring the block's edges and fooling the eyes.
Your friends will be calling you 'The Quilting Houdini'!
Let's get started with our Antique Tile quilt block.
🧭 Quick Navigation Links
Jump to where you want to go with these handy links.
📋 General Instructions
A couple of common abbreviations are used throughout the tutorial:
- SA - seam allowance
- RST - right sides together
When you see Patch Numbers written like this—#3/#4—that slash in between means those patches are already sewn together.
All SA are 1/4". Pressing directions are included in each step—not all the SA are pressed to the dark.
I use a presser foot with a flange or guide on the right-hand side for my 1/4" seams.
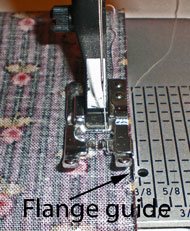 My favorite 1/4" foot
That, in combination with starched quilt fabric, is my sure-fire way to ensure a perfect seam.
Check out my favorite pressing technique for super-flat patchwork.
If you've never tried it, it'll be one of those V8-head-thunk moments.
It.Is.That.Simple!
New quilt fabrics to tickle your fancy...
Click the images below to see the full collection. We share any commercial and/or free patterns that showcase them, too. (For inspiration, of course!)
✂️ Choosing/cutting fabrics for an Antique Tile block
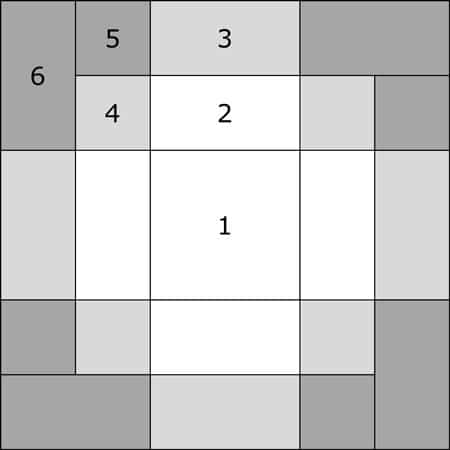 Antique Tile quilt block design
Sample Size: 6" finished / 6½" unfinished
Grid: 6x6
Barbara Brackman ID: 1617
Design Type: Even 9-patch
Attributed to: Nancy Cabot
Choose light, medium and dark fabrics with good contrast so that the patchwork design shows up.
Trust your eyes.
If you're not sure if there's a difference in the values, then there isn't. Choose another fabric and try again.
The scale of the dark red print chosen for this 6" finished sample block works well in the 1-1/2" wide cut strips. As they should, the strips all look like they are cut from the same fabric.
Chose your finished size from the chart below and cut your patches.
 | Cutting Chart for an~ Traditional Piecing~ | ||||||
|---|---|---|---|---|---|---|---|
| Patch | Fabric | Qty | Finished Block Size | ||||
| 4½'' | 6'' | 7½'' | 9'' | 12'' | |||
| 1 | Light | 1 | 2'' x 2'' | 2½'' x 2½'' | 3'' x 3'' | 3½'' x 3½'' | 4½'' x 4½'' |
| 2 | Light | 1 | 1¼'' x 9'' | 1½'' x 11'' | 1¾'' x 13'' | 2'' x 15'' | 2½'' x 19'' |
| 3 | Med | 1 | 1¼'' x 9'' | 1½'' x 11'' | 1¾'' x 13'' | 2'' x 15'' | 2½'' x 19'' |
| 4 | Med | 1 | 1¼'' x 6'' | 1½'' x 7'' | 1¾'' x 8'' | 2'' x 9'' | 2½'' x 11'' |
| 5 | Dark | 1 | 1¼'' x 6'' | 1½'' x 7'' | 1¾'' x 8'' | 2'' x 9'' | 2½'' x 11'' |
| 6 | Dark | 4 | 1¼'' x 2'' | 1½'' x 2½'' | 1¾'' x 3'' | 2'' x 3½'' | 2½'' x 4½'' |
| Unfinished Block Size | 5'' | 6½'' | 8'' | 9½'' | 12½'' | ||
| Grid Size | ¾'' | 1'' | 1¼'' | 1½'' | 2'' | ||
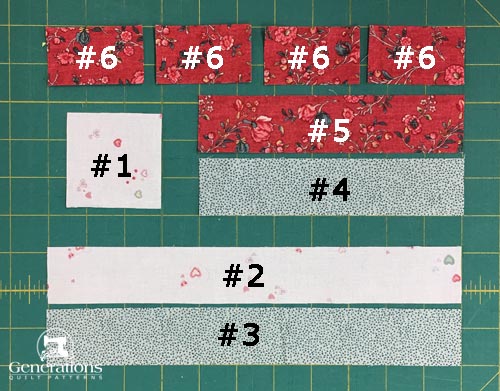
These are the labelled patches. It's time to sew!
🪡 Create the units for your Antique Tile block
To minimize jumping up and down to your iron, we'll complete all the strip piecing first.
With RST, sew strips #2 and #3 together along the long edge.
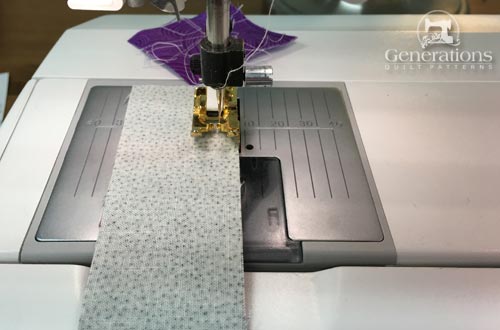 That little purple scrap behind the needle is my 'spider'. The first stitch onto the patches is so much better when I use one.
...and then stitch the #4 and #5 together on the long side.
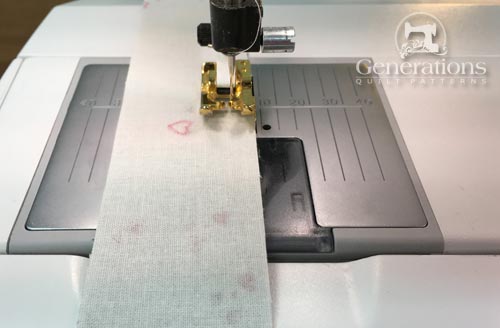 I've upgraded to a 'gold' 1/4" foot~pretty snazzy, eh?
Press both strip sets.
First in the closed position to meld the fibers of the thread into the SA. Then press toward the #2 light fabric (yes, the lighter fabric this time, you'll see why a bit later) and the #5 dark fabric in the respective pairs.
Straighten one short edge of each stripset. Align a line on your ruler with the seam line between the patches and trim off a slight bit (a scant quarter inch is way more than enough).
Don't worry. The patches are over-sized so there's room to do this.
Sides
Make 4
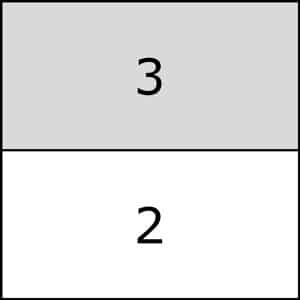
To complete the side patches, all that's left to do is subcut the stripset.
Before cutting use the chart below to check that your stripset is the correct width. Make any necessary adjustments.
Then cut 4 units from it, again using the chart below. (If you forgot to straighten a short edge, please do so now before making a single cut.)
| Subcutting #2/#3 Stripset | ||
|---|---|---|
| Finished Block Size | Strip Width after stitching | SubCut Width |
| 4½" | 2" | 2" |
| 6" | 2½" | 2½" |
| 7½" | 3" | 3" |
| 9" | 3½" | 3½" |
| 12" | 4½" | 4½" |
Here they are ready to sew into the block. Put them aside for now.
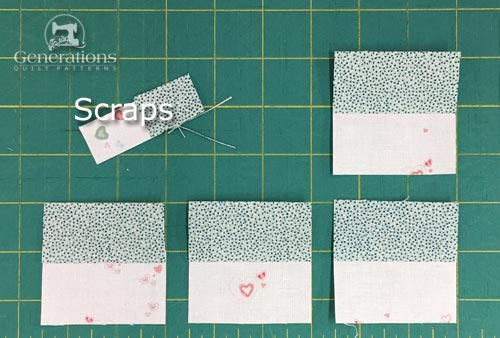 There'll be about an inch of scrap leftover from cutting.
Corners
Make 4
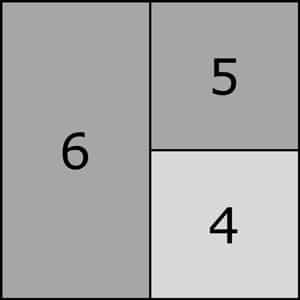
To complete the corners, start by subcutting the #4/#5 stripset into units.
First use the chart below to check that the sewn strips are the correct width.
Then subcut four equal units from it. (If you forgot to straighten a short edge, please do so now before subcutting.)
| Subcutting #4/#5 Stripset | ||
|---|---|---|
| Finished Block Size | Strip Width after stitching | SubCut Width |
| 4½" | 2" | 1¼" |
| 6" | 2½" | 1½" |
| 7½" | 3" | 1¾" |
| 9" | 3½" | 2" |
| 12" | 4½" | 2½" |
These are the patches and leftovers.
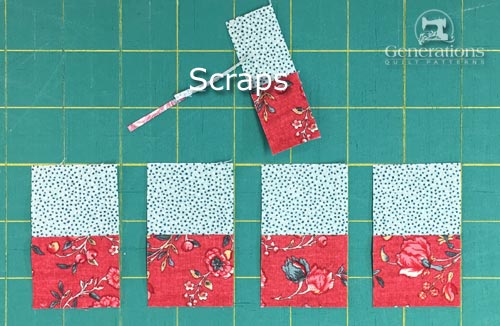 Your scraps will total approximately 1 inch of fabric.
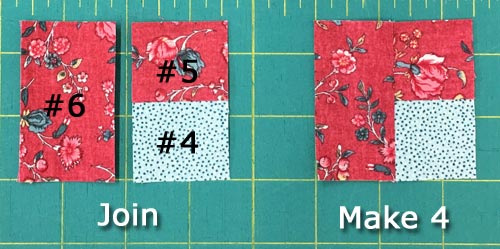
With RST, join the #6 rectangle to the #4/#5 patch. (The #4/#5 patch should be equal in size to #6.)
To avoid 'flipping' the SA, sew with the #4/#5 on top as shown below. I prefer to sew with the edges of the SA pointing toward the presser foot (red arrow).
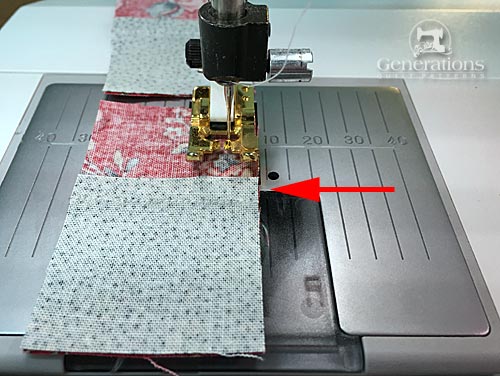
Press SA toward the #6 rectangle to reduce bulk.
🧩 Assemble your Antique Tile quilt block
Arrange your patches into rows. The lighter fabric in each unit is closest to the center.
Remember when we pressed the SA of the #2/#3 strip towards the light #2?
Now that seam will nest with the seam in the corner units to make matching those seam lines quick and easy. Pretty smart, right?!!
As you lay out the corners, turn each a quarter turn clockwise as you move around the block. If you choose to set your blocks edge-to-edge, there'll be fewer seams to match.
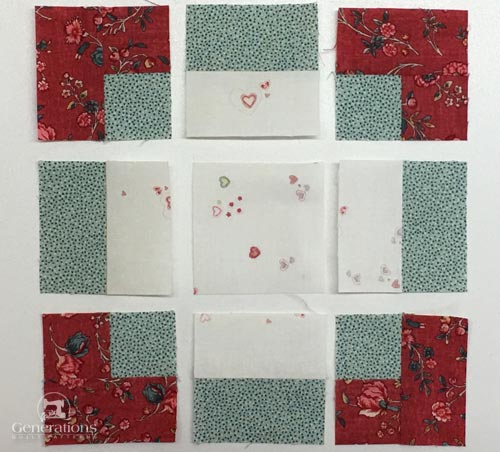
Stitch the units into rows. Pin if you like.
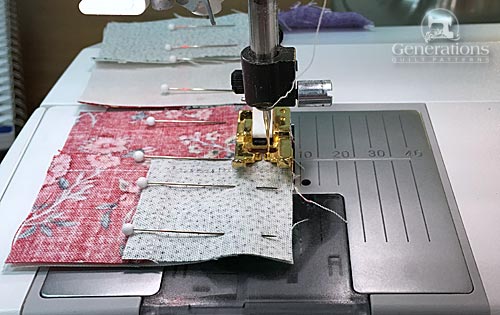 Yes. Pins are my friends. Are they yours?
Press SA in the direction of the arrows. Your seams will nest which makes matching them so much easier.
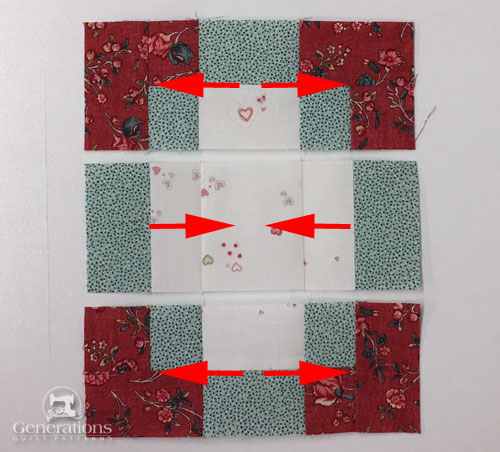 Press the SA in the direction of the arrows.
Sew the rows together. Again, pin as needed.
This is your finished block.
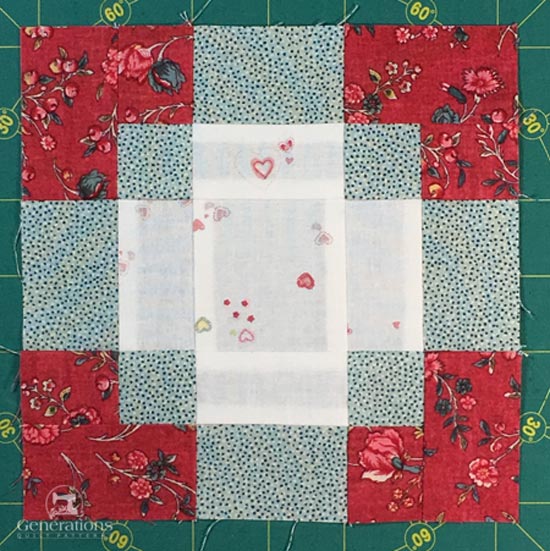 That sure was easy, wasn't it!
You've got to agree. Antique Tile is a pretty simple block to make. Pretty fast, too, with strip piecing.
This view is from the backside. You'll press those last two seams either in or out depending on how you set your blocks together in a quilt.
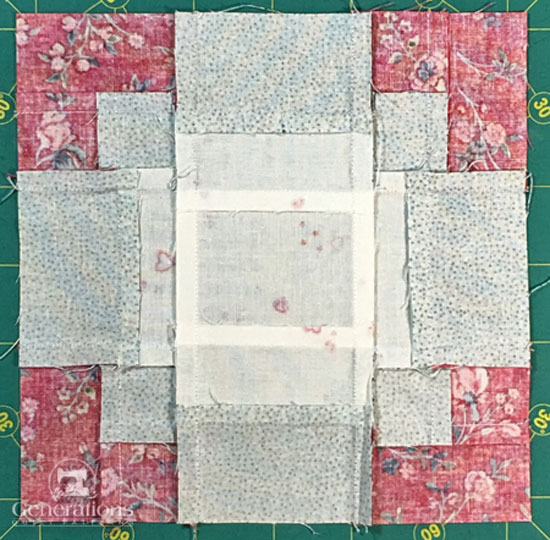 The final two seams are pressed out from the center. If they would be set in a quilt edge-to-edge, those seams should be pressed in so that they nest with adjoining blocks.
NOW WHAT???

There couldn't possibly be anything really dazzling to do with this simple block design, could there?
I promise you...there IS!
📌 Save your time & sanity with one quick pin! 🕒🧠
Pin this tutorial faster than you can say "where did I put that perfect pattern I saw last month?" 🏃♀️ Your midnight quilting sessions (and sanity) will thank you later! 🌙🧠
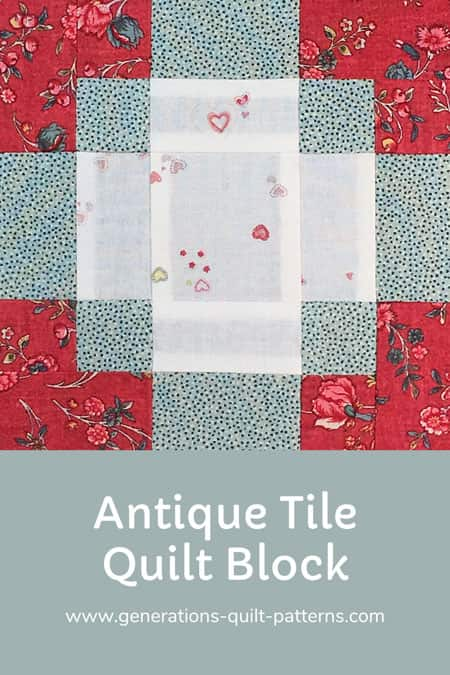
For even MORE blocks to make… 🧩🎨

...visit our Free Quilt Block Pattern Library, with over 260+ blocks to choose from in multiple sizes.
Free downloads are included in all sizes for any blocks require paper piecing patterns or templates.
- Home
- Free Quilt Block Patterns
- Antique Tile Quilt Block
