- Home
- Quilt Design Inspiration
- Antique Tile Quilt Block
Antique Tile Quilt Ideas
Simple does't have to mean boring.
This post contains affiliate links for which I receive compensation
When I first started playing with the Antique Tile quilt block, I figured the resulting quilt designs would be rather pedestrian.
This is a truly simple block.
Squares.
Rectangles.
Strip piecing.
Quick to piece.
How much pizzazz could it possibly muster?
But after plopping the patchwork design in the quilting software, I came up with an intriguing (hopefully) setting for you.
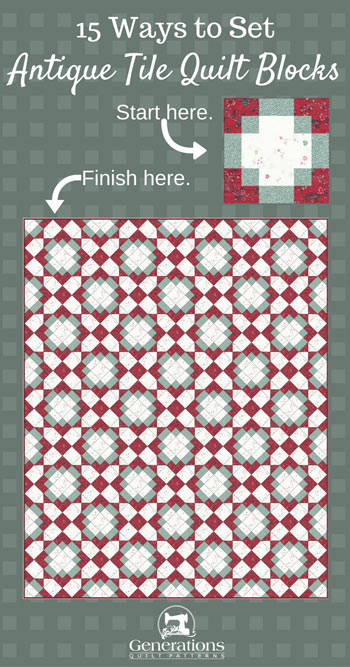
On this page you'll see how the layout was developed and at the end what the final quilt might really look like before any quilt fabric is even cut into.
Let's get started!
My favorite quilt design software
One of the best things about the Electric Quilt software I use is the ability to quickly try out different designs. Tweaking them as quickly as your inspiration strikes.
The progression to the final design is shown in the following images.
For our Antique Tile, to make the design easier to visualize, the actual fabrics used in the tutorial are imported directly into EQ. (And yes, there's a tutorial on how to do that right in the EQ software—SWEET!!!)
To do an import of fabric means you need access to a scanner (or a digital copy of the fabric). While I do have one at home now, my local public library also has one that can be used free of charge.
Something to keep in mind if you're scanner-less.
Evolution of the Antique Tile quilt design
When playing with blocks, it's a good idea to start simple, working through all the basic layouts for straight settings. Start with blocks set edge-to-edge, and move on to simple sashing and pieced sashing. Then do it all over with an onpoint or diagonal setting,
Straight Sets
Nothing simpler than blocks set edge-to-edge in a straight set.
Here our layout is 5 blocks across by 6 blocks down.
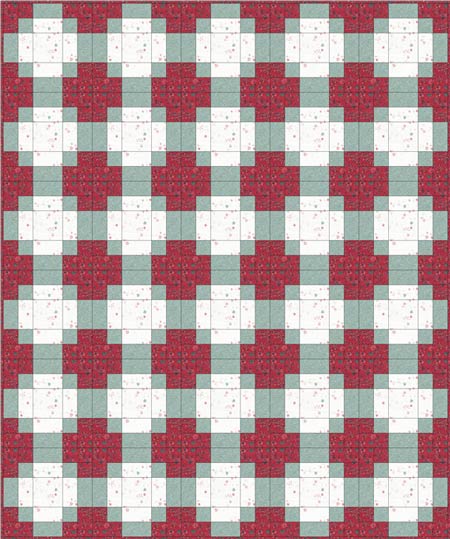 Holy Ho-Hum, Batman! Surely we can do better than this!
Meh. Nothing to write home about.
But that's OK. This is just the beginning.
I promise it'll be worth the wait!
Now let's add simple sashings cut from our background— the light fabric—and red cornerstones.
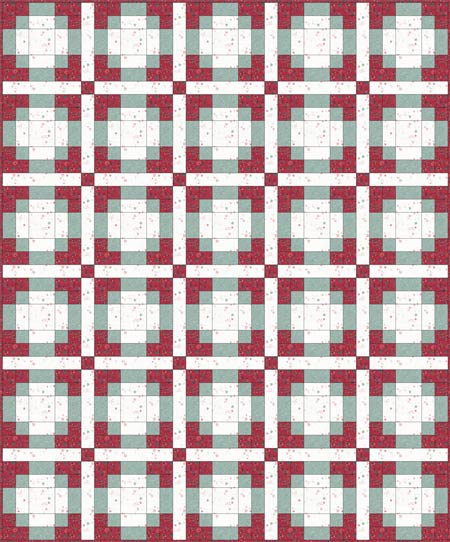
And then a quick look at using either the green or the red for the sashing strips.
The image below alternates between the two in this Antique Tile quilt design.
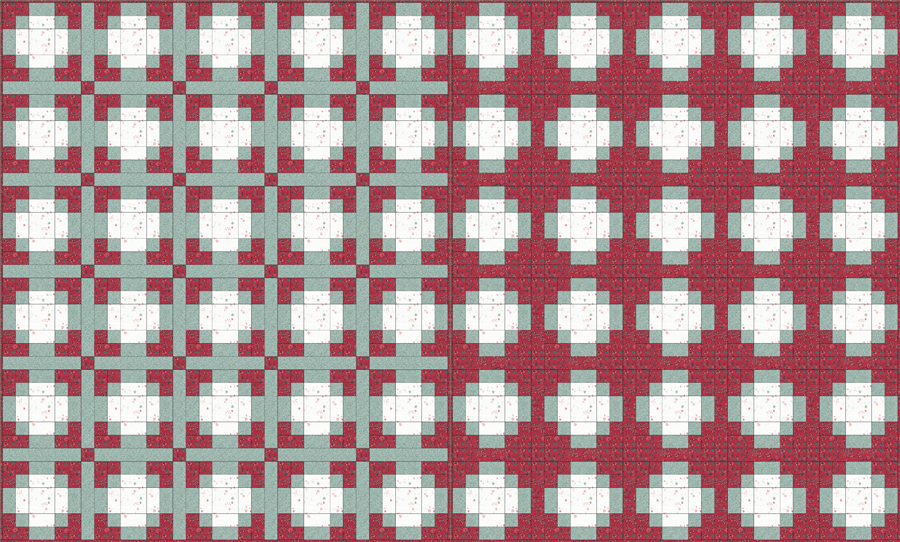
While one of the easiest layouts to piece, because there's so no seams to match between the blocks and the sashing, it's not blowing my skirt up yet.
Let's move on
On-Point Layouts for our Antique Tile quilt
The on-point layout is a wee bit more time-consuming to piece.
Setting triangles along the sides, top and bottom are needed, as well as corner triangles to complete the design. [Learn more about setting and corner triangles here.]
However, if there's added 'oomph!' to the design, the extra work may be well worth it.
We won't know unless we try.
Thank goodness for the EQ software. No need to waste any fabric!
Simple, unpieced sashing
In this first variation, it's sashing strips simply cut from the background fabric with red cornerstones.
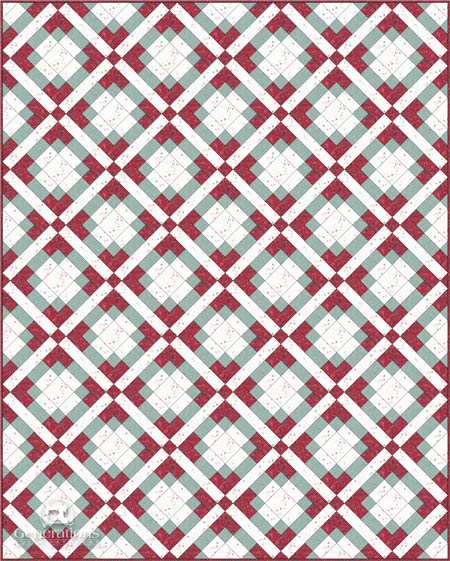
For whatever reason, this looks 'Scotch' to me. It's funny how designs will remind us of something unexpectedly.
Now substituting in green for the background fabric.
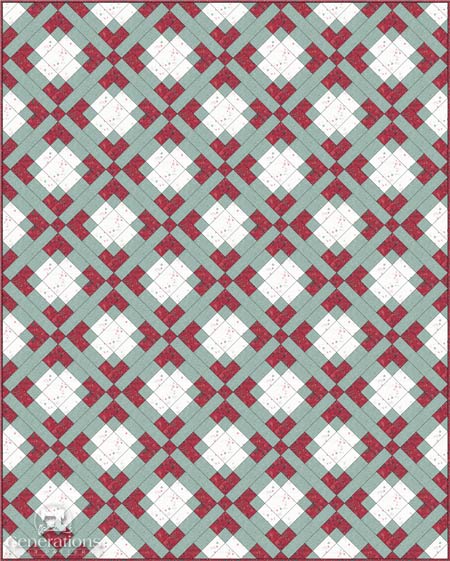
This next variation is a happy accident. Thank goodness for a slow mouse finger!
In Electric Quilt, you can only change the color of half the sashing at one time.
This design has red sashing in one direction (lower left to upper right) and green (upper left to lower right) in the other.
It looks a bit like a knitted stitch. Maybe not the best choice in these colors.
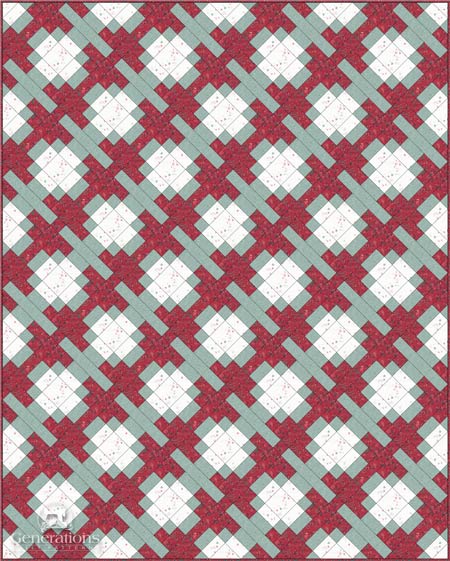 A happy accident...
With it's rather 'modern feel', perhaps solids would be a good choice. Or maybe tone on tones.
This one is in my 'keep' pile. Is it in yours?
After changing the green strips to red, this is the result. The 'happy accident' above is more dynamic, don't you think?
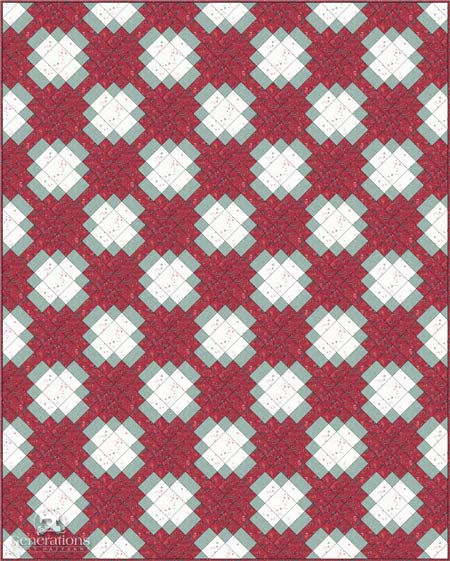
Simple pieced sashing
Up to this point, the on-point layouts have been more interesting than the straight sets—with just a tiny increase in difficulty to piece the design. Remember on-point layout require half and quarter blocks to fill in the sides to create straight edges.
For this next set of designs the focus is on the space between where two green rectangles meet.
We'll construct a simple pieced sashing like this (below) and keep the red cornerstones.

Some serious dots going on here. Lots of movement. And I think I like it.
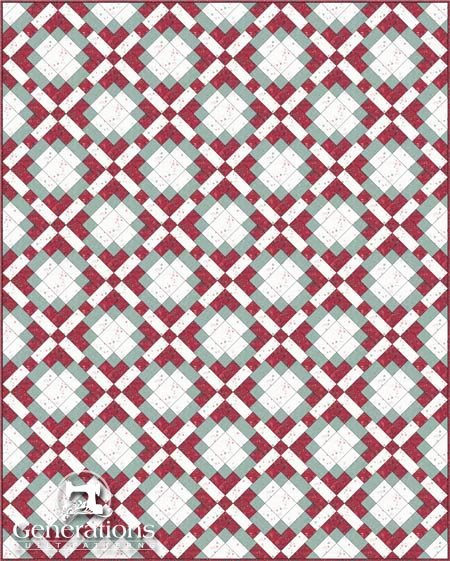
Notice, too, how your focus has moved to the corners of the blocks.
Replace the red sashings' centers with green to reduce the polka-dot effect.

And swap it with the previous sashing.
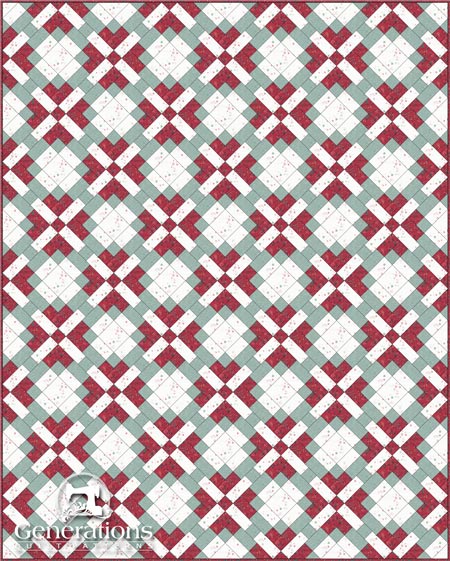
Much calmer, but I think I like the dotty one better. Do you?
Moving On
So far, we've come up with a couple of nice designs for our Antique Tile quilt blocks.
As you work through different layouts, new ideas occur to you.
Thomas Edison said that..."Genius is 1% inspiration and 99% perspiration"—but he didn't know quilters! We're pretty smart cookies. We let the software do the heavy lifting for us.
On the next page are the results of our efforts. Three dazzling designs that lift our common Antique Tile blocks to true royalty.
And it's still all the simplest of piecing.
- Home
- Quilt Design Inspiration
- Antique Tile Quilt Block
