- Home
- Free Quilt Block Patterns
- Log-cabin-quilt-block
Master the Log Cabin Quilt Block, Pt 2
Stitching up the block
This post contains affiliate links for which I receive compensation.
All the patches for our Log Cabin are cut and organized.
Before we get started, let's share a few...
Tips for Perfect Piecing
The Log Cabin is the perfect block for the beginner because it's all straight edges—no pesky bias to fiddle around with.
Accurately sized blocks are much easier and faster to assemble into the quilt top.
Who doesn't want to see their vision come to life—in their lifetime!
There are several techniques to help you create the most accurate blocks possible. My favorites are:
- The Ultimate Seam Allowance Test. Since Log Cabins have so many seams it's good practice to double check your 1/4" seam before starting.
- Cut logs on the lengthwise grain. With very little stretch it's much harder to pull your patches out of shape as you sew and press.
- A secret pressing technique. Borrowed from tailoring, this simple, one-step, no extra tools needed, is the hands-down best trick for flat blocks.
- And finally starch. I know it's extra work. I know you have to wash it out at the end. But it aids in more accurate cuts, more precise piecing and it allows you to fingerpress to prevent tucks at the seam allowance. Well worth the extra effort.
Click any of the underlined links above to learn more about each technique.
Let's get to the fun part--SEWING!
General Instructions, continued...
The block in this sample is stitched with an almost white 50wt Aurifil thread and a 70/10 Microtex Sharp needle.
My favorite quarter inch foot with a guide is installed on my machine—it's the perfect complement to starched fabric. The cut edges glide right along the guide. (You'll see it in the first picture below.)
All the seam allowances (SA) are 1/4".
Seams can be pressed either open or towards the most recently added patch.
If you plan on stitching in the ditch to quilt the quilt, then I recommend pressing all SAs toward the last patch added,away from the center. That way you'll have a ditch to stitch in.
Personally...
... I prefer to press my seams open—I feel the blocks lay much flatter.
And I am loathe to quilt a Log Cabin in the ditch. There's just too many starts and stops for my taste.
Check out this wonky way to quilt a Log Cabin (scroll all the way to the bottom of that page for the diagram) and miss the ditch entirely!
To press, do so first with the patches in the closed position. This 'sets' the seam, meddling the fibers of the thread into the fibers of the fabric.
Then open the patches and press the SA in the direction you've chosen—either open or toward the last added log.
If you've starched your fabrics, you'll be able to give the seam a nice fingerpress after opening the patches. This helps keep a tuck from forming at the seam line.
And finally, don't forget to try my secret pressing technique. You'll be amazed at just how flat your patchwork turns out.
The newest quilt fabrics to tickle your fancy...
Click the images below to see the full collection. We share any commercial and/or free patterns that showcase them, too. (For inspiration, of course!)
Step 2: Assemble the Log Cabin block - Round 1
With right sides together (RST) align the edges of the Center (violet) and 1a patch.
Stitch along one side with a quarter inch seam allowance.
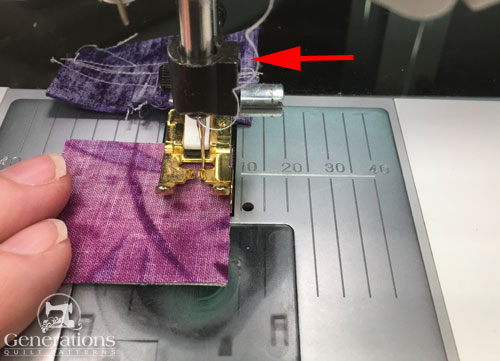 The red arrow points to my 'spider'. I start sewing on this scrap of fabric first and then onto the patches to prevent my sewing machine from 'eating' the fabric and to get a great first stitch.
Press. For this sample block I have chosen to press all my SA open.
If you intend to ditch quilt then press toward the most recently added patch (or out from the center) to create a ditch.
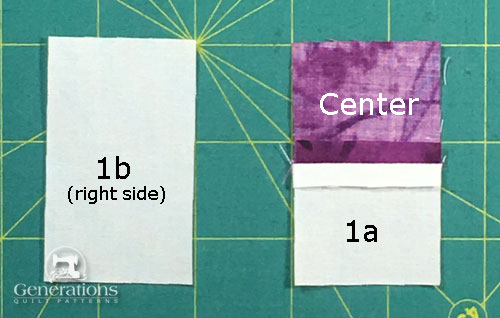 1b and the Center/1a units are ready to be layered.
With Patch 1b in front of you, right side up, layer the Center/1a unit on top, right side down. The last added patch 1a is at the bottom of the unit and closest at you.
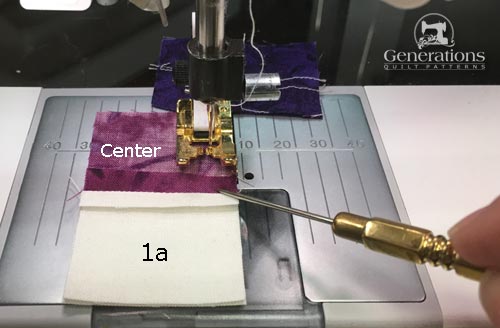 Stitch the layered 1b and Center/1a patches with 1a closest to you.
We'll use this same positioning as each log is added. There are two specific benefits:
- It's harder to add logs in the wrong direction.
- You can see the previous seam allowance as you sew and avoid having it flip over during stitching.
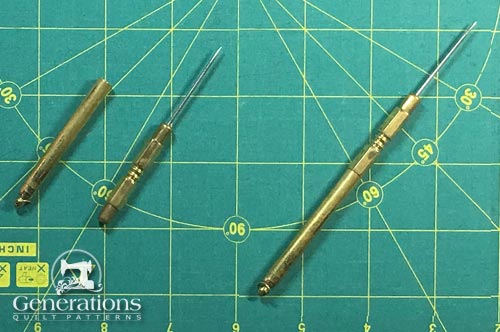 My brass stiletto—love the patina of a well-loved tool!
On the left above, it's uncapped. On the right, with the cap on it's longer.
I use a brass stiletto to:
- Help guide the patches through—especially to keep the ends of the patches even and the stitching straight
- Keep the SA in position
You could use the tip of your seam ripper or a bamboo skewer instead if you don't have one or purchase one here.
Stitch and press.
With RST, layer 1c (closest to the feed dogs underneath) with Center/1a/1b, with 1b at the bottom, closest to your body.
Stitch.
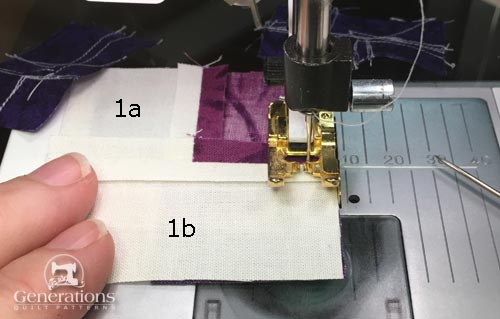 Up to now no pins—just my stiletto to keep cut edges even. As the patches get longer, I'll pin the start and end.
Press.
To complete the first round of logs, add 1d to the sewn unit. The wrong side of 1c is closest to you as you sew.
Here is the unit after stitching.
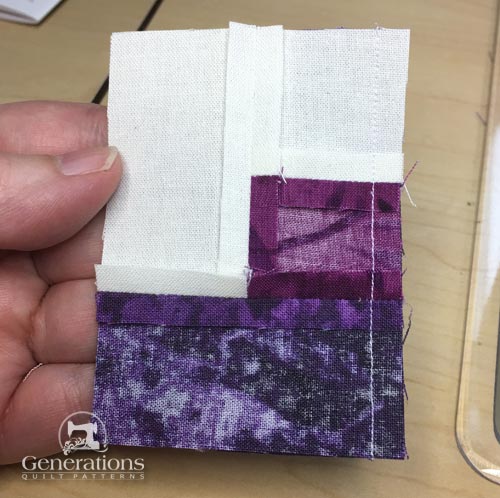 Ready to press the last seam of the first round.
Press.
With Round 1 complete it's a good practice to measure the unit to confirm the accuracy of your SA.
Use the chart below. These are edge-to-edge dimensions.
| Round | Finished Block Size | ||
|---|---|---|---|
| 11" | 13¾" | 16½" | |
| 1 | 3½" x 3½" | 4¼" x 4¼" | 5" x 5" |
The first round of our 11" finished sample block should measure 3-1/2" from edge to edge.
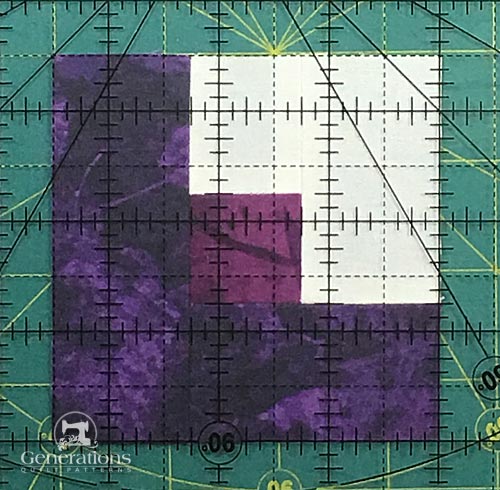 We're right on the money!
Make any adjustments you need to your seam allowance settings now before stitching any more blocks.
Step 3: Finish Rounds 2-5
The logs in each round are added in exactly the same manner as the first round:
- The new patch is on the bottom closest to the feed dogs, right side up
- The sewn unit is on top, wrong side up with the last patch added closest to you at your machine, right-side edges aligned
- Stitch with a 1/4" seam
- Press, first closed and then open, SA either open or toward the most recently added patch
- Measure after each complete round of logs is added to check for accuracy
Below is the complete chart for measuring after each round.
| Round | Finished Block Size | ||
|---|---|---|---|
| 11" | 13¾" | 16½" | |
| 1 | 3½"x3½" | 4¼"x4¼" | 5"x5" |
| 2 | 5½"x5½" | 6¾"x6¾" | 8"x8" |
| 3 | 7½"x7½" | 9¼"x9¼" | 11"x11" |
| 4 | 9½"x9½" | 11¾"x11¾" | 14"x14" |
| 5 | 11½"x11½" | 14¼"x14¼" | 17"x17" |
After adding Patches 2a, 2b, 2c and 2d, our 11" sample block measures 5 ½" x 5 ½".
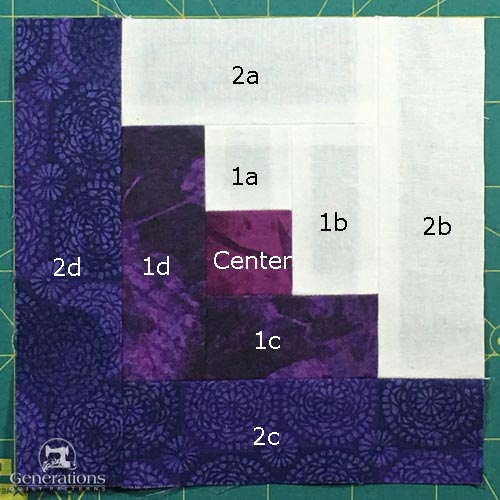 Two rounds complete!
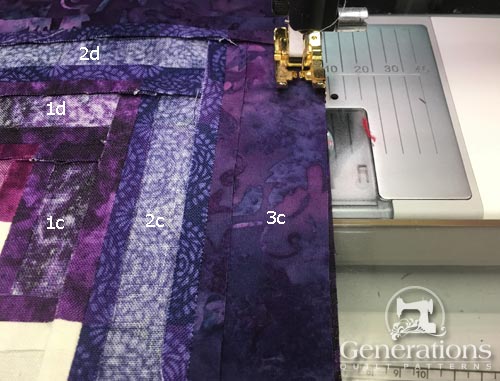
Fast forward and adding 3c.
You can just barely make out the pin under my index finger. I like to use pins to hold the ends of the logs even with the stitched unit and then use my stiletto to keep the long edges even as I sew.
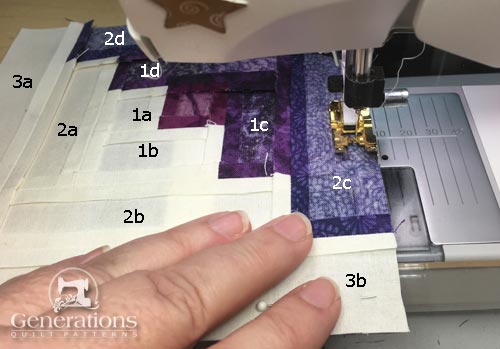 The last patch added, 3b, is closest to me and the newest patch, 3c, is underneath closest to the feed dogs.
The stiletto also comes in handy as you guide the last bit of your block through the sewing machine. Sometimes those ends want to go a bit wonky as you stitch.
The stiletto puts YOU in charge!
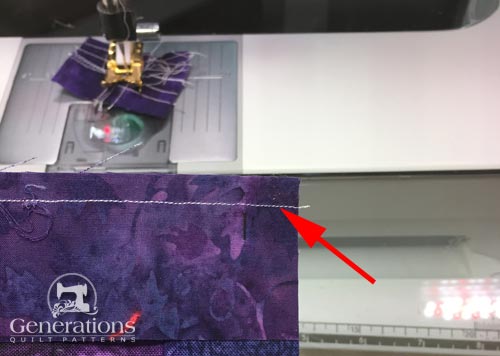 A nice straight seam line!
After three rounds, our Log Cabin block is starting to look pretty good, eh?
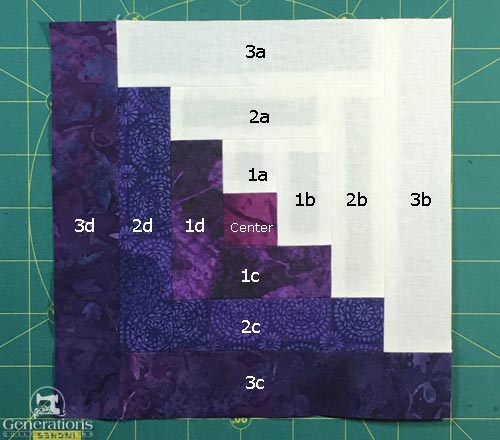 At this point after 3 rounds, the edge-to-edge measurement is 7 ½" x 7 ½".
Continue adding the logs in order. Remember to check your accuracy as you go.
Now adding 4c.
You can see where the edges are slightly out of alignment, I'll use my stiletto to even them up as soon as I put the camera down!
 The ends of the log are pinned, they're just not visible in this photo.
Finally our Log Cabin block is complete.
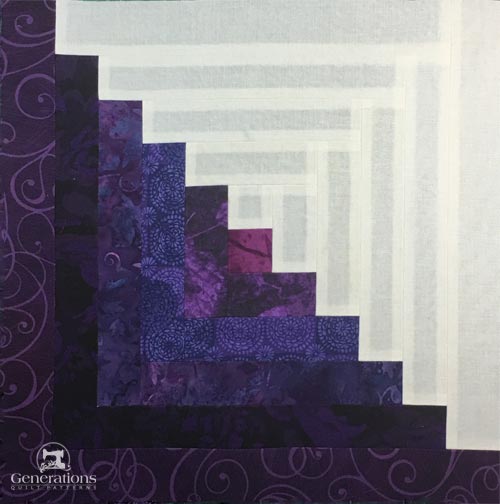 The finished 11" sample block
And here it is from the backside with the seams pressed open. Thread tails have all been trimmed away.
Another benefit to pressing SA open is that the dark fabric can't show—or shadow—through the quilt top. This can sometimes be a problem, especially when you're using light-lights or thinner light colored fabrics.
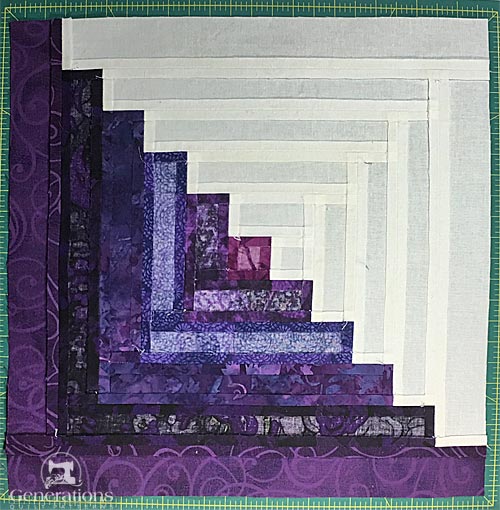 Our Log Cabin from the backside—all nice and neat!
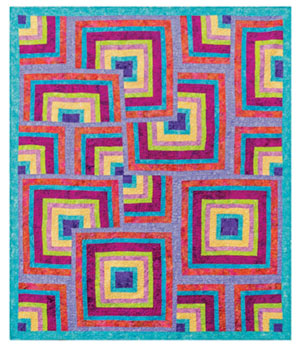
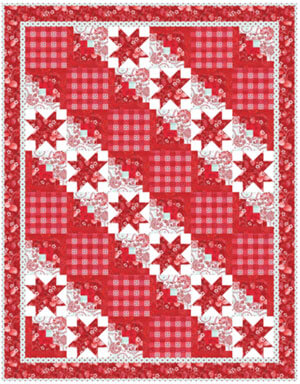
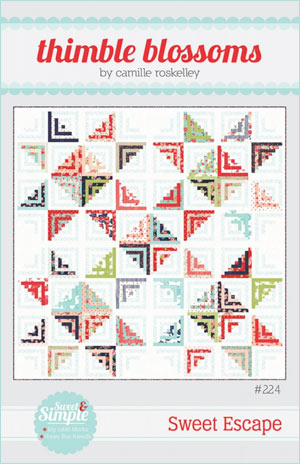
Looking for a different Log Cabin block design?
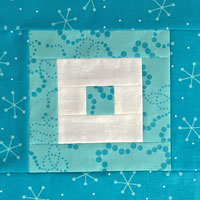
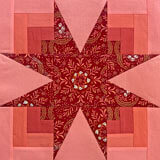
Try one of these. Click on the picture to go to that tutorial.
For more on Log Cabins check out:
- Log Cabin Quilt Designs—ideas for YOUR Log Cabin quilt patterns
- Log cabin quilts can be paper pieced—try it for yourself
- How to quilt a Streak of Lightning quilt—a Log Cabin quilting suggestion

For EVEN MORE blocks to make, visit our Free Quilt Block Pattern Library, with over 220+ blocks to choose from in multiple sizes.
Free downloads are included in all sizes for any blocks require paper piecing patterns or templates.
- Home
- Free Quilt Block Patterns
- Log-cabin-quilt-block
