- Home
- Free Quilt Block Patterns
- 3d Bow Tie Quilt Block
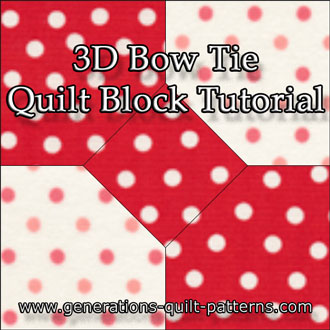
3D Bow Tie Quilt Block
From our Free Quilt Block Patterns Library
This post contains affiliate links, for which I receive compensation.
Skill Level: Beginner
Grid: 2x2, 4-patch
This 3D Bow Tie quilt block is seriously ADORKABLE!
Is it hard?
I'm a frayed knot! -- (Sorry...couldn't resist!)
Five equal-sized squares and a simple twist is all it takes. A perfect block for the beginning quilter who wants to add little whimsy to her blocks.
There's 'knotting' to it.
Let's get started!
General Instructions
These abbreviations are used in this tutorial:
- SA - seam allowance
- RST - right sides together
All seam allowances (SA) are 1/4".
We'll finger press the SA during construction and hold off on the iron until the very end. Starching your quilt fabric makes it so much easier to finger press as you go.
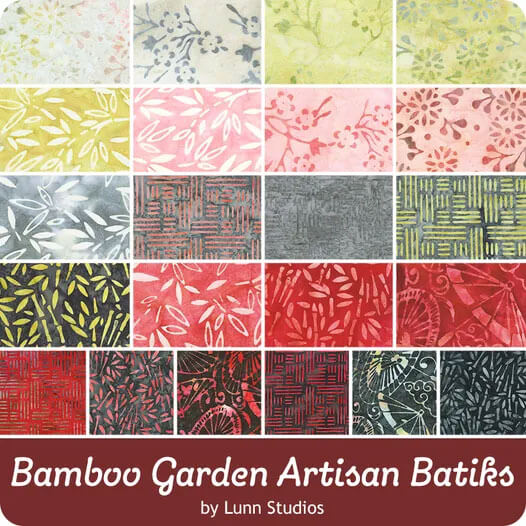
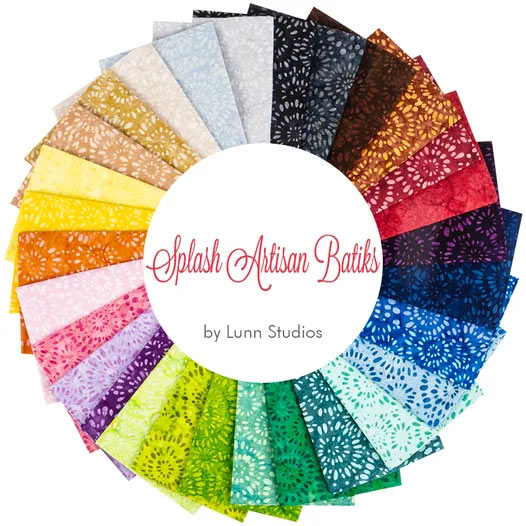
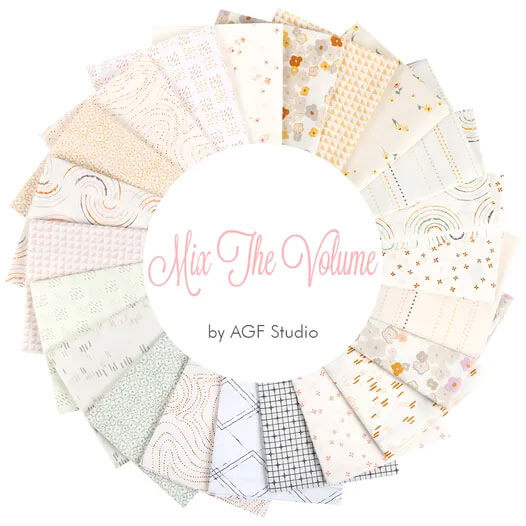
The newest quilt fabrics to tickle your fancy...
Click the images below to see the full collection. We share any commercial and/or free patterns that showcase them, too. (For inspiration, of course!)
Step 1: Cutting for a 3D Bow Tie block
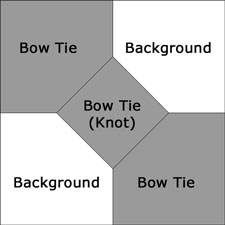 3D Bow Tie design
No cutting chart needed for this block, just a simple formula.
Finished Block Size ÷ 2
Then add 1/2" for seam allowances
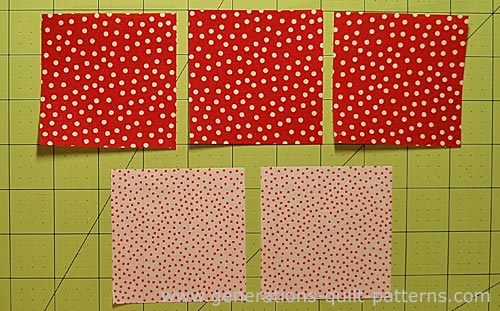
Bow Tie Fabric: Cut 3 Background: Cut 2
For our tutorial, I chose a 5" finished block. Using the formula...
5" ÷ 2 = 2-1/2"
2-1/2" + 1/2" = 3"
And these are the cut patches; 3 red for the Bow Tie and 2 red/white for the background.
Step 2: Assembling the 3D Bow Tie quilt block
For the knot, lightly fingerpress one Bow Tie square in half, wrong sides together. You may want to use pins to hold the edges even.
NOTE: If you press a hard crease here, it will run diagonally through the center of the finished knot...a pain to have to press out at the end.
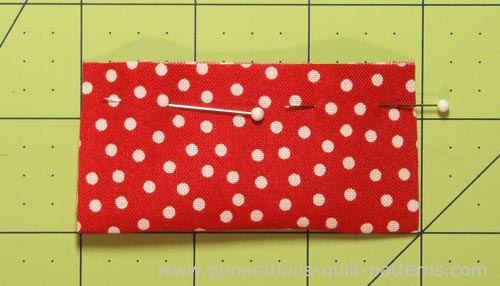
Align the cut edges with those of a background square. Pin to hold them even.
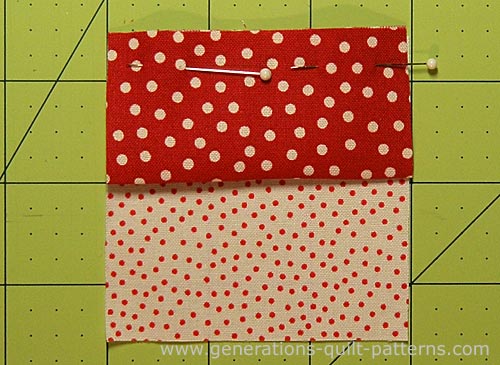
With RST, add a bowtie square to the top. Pin to hold things together. The black arrow points to where the folded edge is.
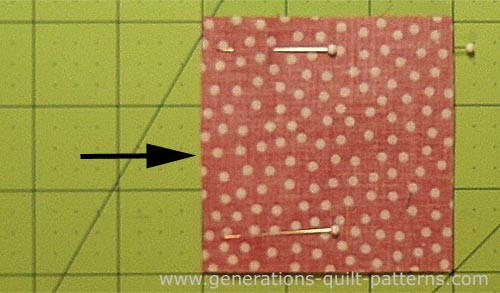
Stitch the side that has the folded edge in the middle of it.
Fingerpress the SA toward the darker fabric.
This is what the three patches sewn together look like. A bit unruly, but we'll get there.
I re-pinned to hold the knot fabric together. The first two patches are folded back out of the way.
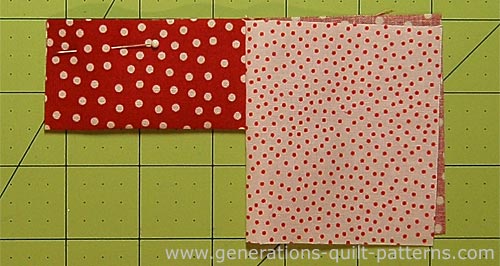
Layer the remaining short side of the knot between the second pair of squares. Remember that each pair of like-colored squares is diagonal to each other in the finished block.
It's helpful to fold back the first pair of squares as shown in the picture below.
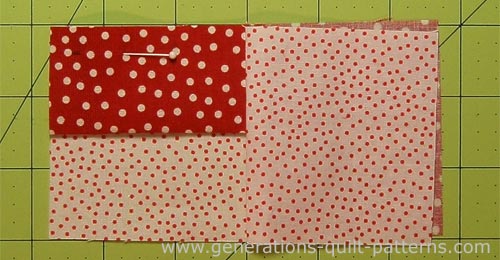
Layer the final patch, RST, and pin.
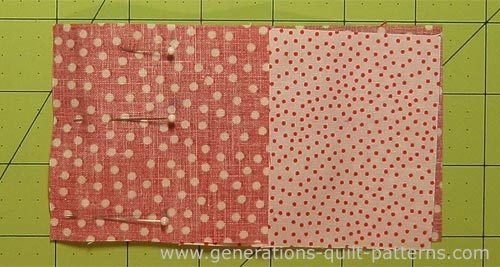
Stitch the side with the folded edge, again fingerpressing the SA towards the darker fabric.
Here is our block so far.
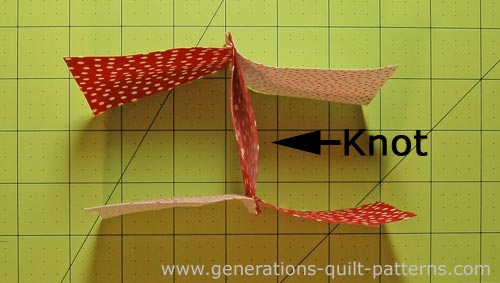
Pretty weird looking, right?!
Now comes the twist.
Pin the end of the two pairs of patches together, red to white. The pins act like an extra set of hands. The knot-square forms a little pouch in the center.
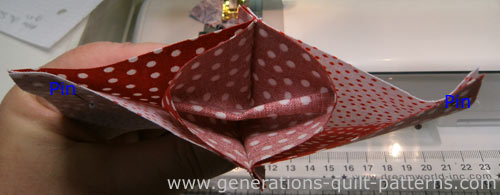
Distribute the pouch as evenly as possible on both sides of the seam allowances. Line up the all the cut edges as neatly as possible. Pin, nesting the SAs of the pairs of patches.
It'll be lumpy. That's OK.
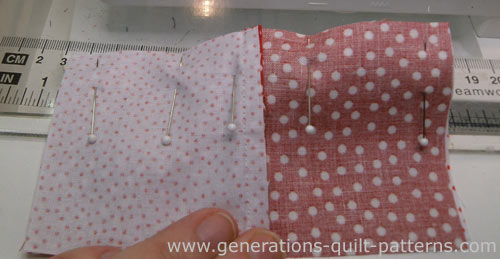 It won't want to lay flat.
Stitch.
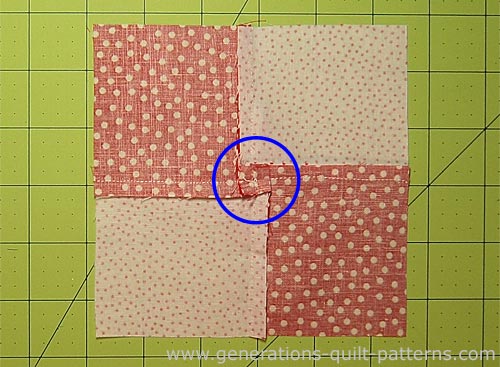
Finally, you can press the SAs of your 3D Bow Tie with your iron. I prefer to just steam my knot instead of pressing it. Then use my fingers to 'press the fabrics in the center under the knot (blue circle below).
The pressing with an iron would 'smash' and crease the 3-D knot. I'd prefer not to do that. But that choice is yours!
I also like to twirl my four-patch seam allowances to distribute the bulk like this.
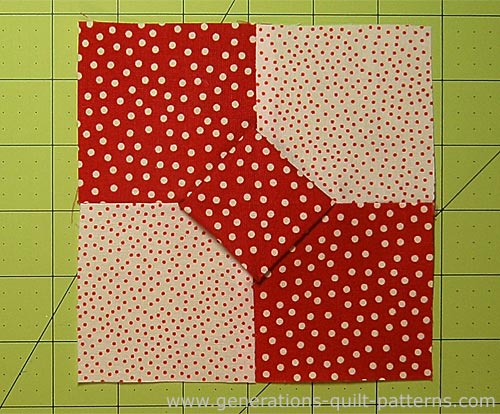
This is your finished 3D Bow Tie quilt block. Easy Peasey!
If you enjoyed this 3D block...
...you may want to try our 3D, one seam Flying Geese quilt block. Click here to go there now.
What about a different quilt block?
For a list of all the 220+ quilt block patterns on this site, start here.
If you know the name of the block, shorten your search by using these links:
Click here if you're looking for blocks with at least some paper piecing.
Click here if you're looking for the basic building blocks of quilting, i.e., Flying Geese, half square triangles, quarter square triangles, etc., along with several techniques to make each.
And finally, use these links to find blocks in these finished sizes:
- Home
- Free Quilt Block Patterns
- 3d Bow Tie Quilt Block
