- Home
- Quilting Tools/Supplies
- Tri Recs Triangle Ruler
Tri Recs Triangle Rulers
Technique #2 for making Triangle in a Square quilt blocks & units
This post contains affiliate links, for which I receive compensation.
The Tri Recs triangle ruler combo is a quilting ruler made especially for piecing triangle in a square quilt blocks. (aka 'Peaky and Spike' blocks, a term coined by Doreen Speckman.)
It comes as a set of 2 rulers. One for the center triangle angle—the 'Tri'; one for the side triangles—the 'Recs'.
Use just the 'Rec' portion of the ruler to make 'half rectangles' that are twice as tall as they are wide.
Use just the 'Tri' portion of the ruler to make quilts of nothing but triangles.

Pros:
- No formulas to remember, just finished/unfinished block sizes
- Very little fabric waste
- Scrap quilt friendly
- No paper to remove
- A handy little 'magic angle' that helps makes matching up the patches for stitching easy as pie!
- Patches are cut from the same width strips that you use for squares and rectangles—no funky widths to cut
Cons:
- Unless you do a lot of these units, it's another two rulers to store and money to spend
- Must have an accurate 1/4" seam
Some of the blocks that use the Tri Recs are below.
If the names are in blue and underlined, that means we have the instructions to make the block on this website. Click the underlined name to get them.
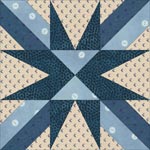 Straight and Narrows Straight and Narrows |
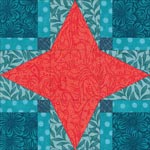 Spring Fancy Spring Fancy | |
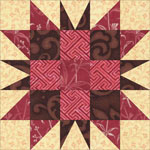 Triangle Puzzle Triangle Puzzle |
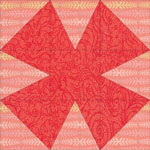 Eight Pointed Star Eight Pointed Star |
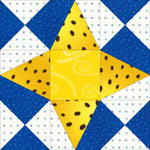 Carnival Carnival |
Notice that they are all stars and that, with the exception of Star Puzzle, they are all drawn on a 3x3 grid. (Triangle Puzzle is a 5x5 grid.)
If you only have a few to make, you may prefer paper piecing
...click here to go to our Triangle in a Square Technique #1 page. There you'll find paper piecing instructions, cutting charts, and the free paper piecing patterns to download.
The Tri-Recs Triangle Ruler Set
With this set, you can make triangle-in-a-square patches from 1" to 6" finished.
And yes. Instructions are included with the rulers.
If you don't have the Tri Recs triangle ruler combo and would like to purchase a set, just click on the image to the right.
Now let's get started with our Triangle in a Square unit.
The Technique
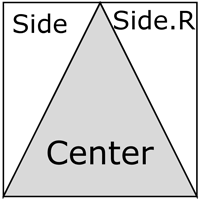 Triangle in a Square design
A triangle in a square unit in quilting is a classic block made up of three elongated triangles with sharp angles. It has a reputation for being hard to piece.
But with a little practice and a technique you feel confident in, you'll be making these lovelies like nobody's business in no time at all.
Set up your sewing machine for a good quarter inch seam. If you haven't done it in a while, take the Sewing Test to check your seam allowance.
The sides of both the 'Tri' and the 'Recs' triangles are bias edges. To tame and minimize the stretch, I do use starch in my piecing. Click here to learn more about starching your fabric. Just remember that you will want to wash your quilt when it is finished to remove the starch.
The sample in this tutorial is 3" finished (3-1/2" unfinished).
Step 1
Cut a strip the size of your unfinished block from each of two contrasting fabrics. Our strips are 3-1/2" wide.
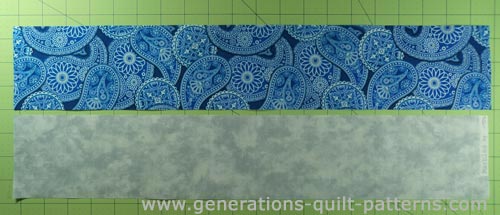 These strips are from fat quarters and are approximately 21" long
Step 2
To cut the Center patch, start with the 'Tri' ruler of the Tri Recs triangle ruler combo. Align the 3-1/2" line (the unfinished size of the block) with the bottom edge of the strip, the top of the ruler with the top edge of the strip. Cut along one side.
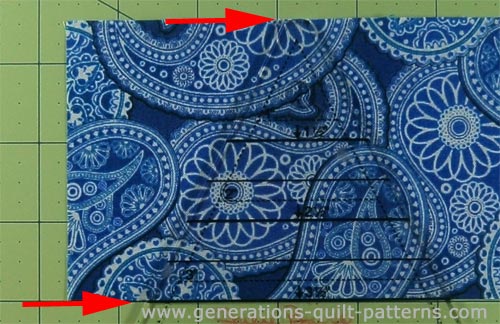
To cut the other side, flip the patch—if you're using a small mat or a rotary mat (my
personal favorite) you can just turn the mat and not disturb the
patches which is what I did here (that's why my ruler looks upside down in the photo below).
Make sure the edges of the ruler are even with the cut edges of the patch and cut along the second side.
In this example, I'm cutting one layer of fabric, right side up. If you were making multiple triangle in a square quilt blocks, you'd fold your strip in half either right or wrong sides together cutting two at a time.
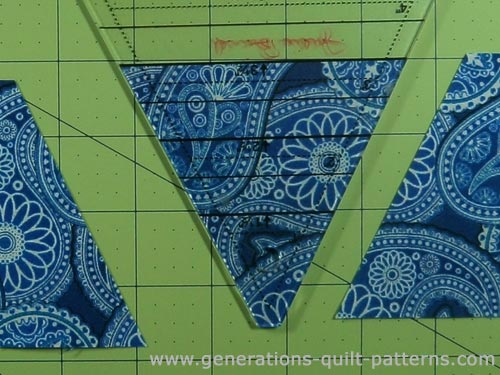 Cutting with the 'Tri'
Step 3
Now lay out the strip for the side triangles, Side and Side.R.
You need both a left and a right fabric patch. To accomplish this with one cut, fold your strip, so the EITHER right sides are together or wrong sides are together. Then, you will automatically get the two patches you require.
Align the 3-1/2" line on the Tri Recs triangle ruler (the unfinished size of the block) with the bottom of the strip, the top of the ruler with the top of the strip and cut along the ruler.
Finally, there is a little angle at the skinny side of the Recs ruler at the top.
Trim along this edge, too. You'll use it for aligning patches for stitching. Think of it as your 'secret weapon' for the easy piecing of this patchwork design.
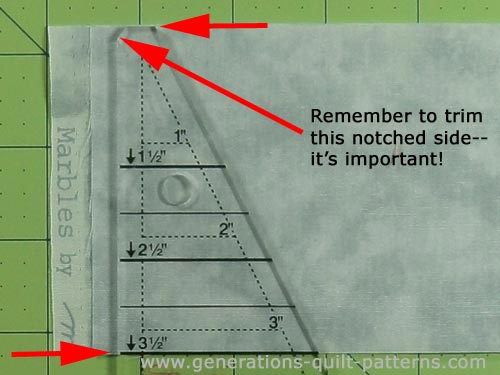 Cutting with the 'Recs'
These are the patches created with your Tri Recs triangle ruler.
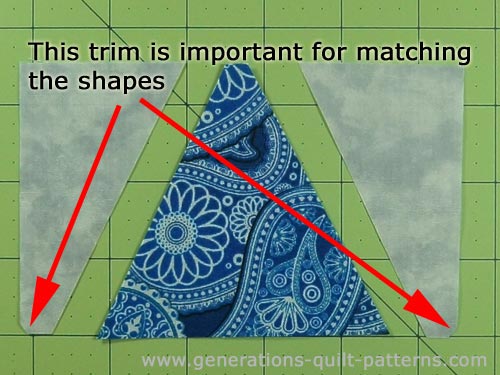 Red arrows point to where we trimmed away that little bit
Step 4
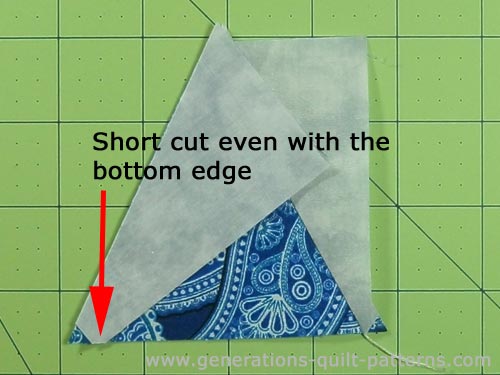
With right sides together, layer the center triangle patch with one of the skinny triangles.
Remember that little cut you made with your Tri Recs in the last step?
Align it with the top of the center triangle—it's flat, too! The angle of the skinny triangle matches the bottom edge of the center. This whole edge should match up perfectly.
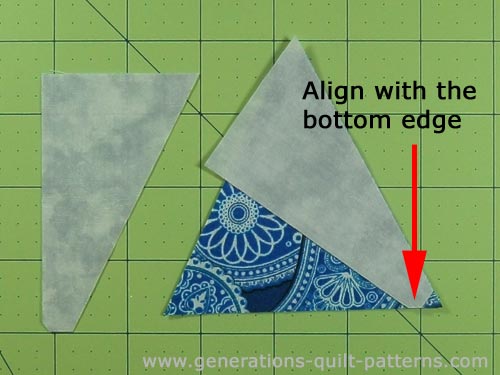 The little cut lines up with the bottom edge of the Center patch
Step 5
Sew this line with a 1/4" seam allowance.
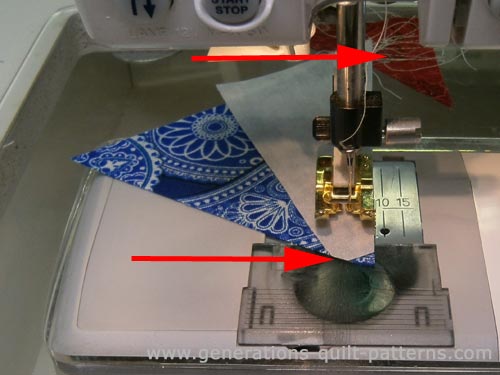 I always start my quilting on an anchor cloth to prevent my machine from eating that first edge. I also think my first stitches are better.
See how your stitching goes right through the point of the short edge.
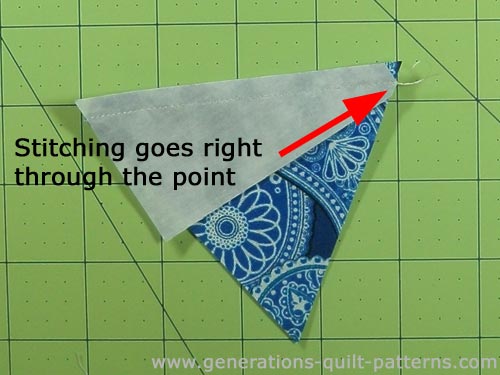
Step 6
NOTE: Regardless of the position of light and dark fabrics in the patch, seam allowances are always pressed away from the Center patch to reduce bulk.
With the skinny triangle on top, press the unit flat to set the seam.
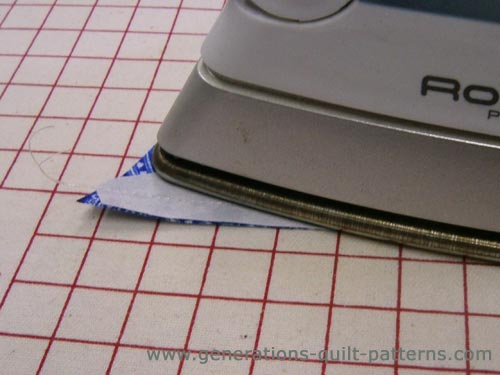
Now pull back the skinny triangle and press the seam towards it.
Step 7
Align the edges of the remaining skinny triangle with the other edge of the center triangle, just like we did in Step 3.
Steps 8-10
Stitch with a 1/4" seam. Your stitching line will again bisect the point of the short edge.
Press again, first flat to set the seam and then open with the seam allowance towards the side.
Now trim the dog ears with a scissor. Measure to confirm that unit it the right size.
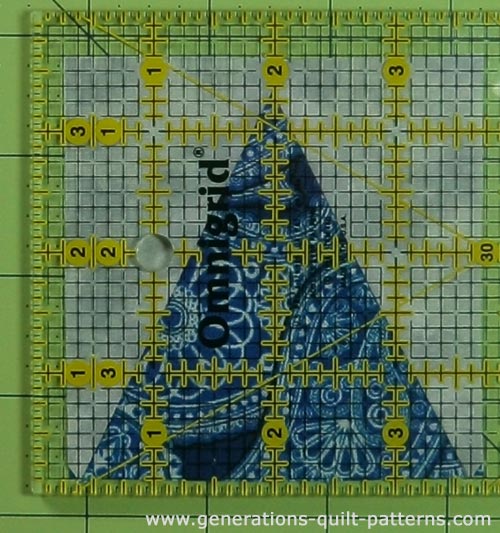
Take a look at the bottom corners in the photo above.
Note that the seams do not intersect the corner. This is correct.
Now look at the seams a quarter inch in from the left or right edge at the bottom. The seam line goes straight through this point, exactly as it should!
And all done simply with your Tri Recs ruler.
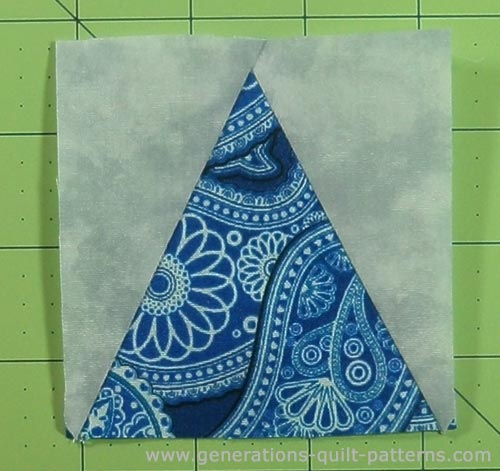 The finished triangle in a square made with a Tri Recs Triangle Ruler
Your Triangle in a Square or 'Peaky and Spike' unit made with the Tri Recs Triangle ruler is ready for your block or quilt.
Is a Tri Recs triangle ruler right for you?
If you're still undecided about whether or not this ruler is perfect for the way you quilt, check out the reviews for it on Amazon.com.
- Home
- Quilting Tools/Supplies
- Tri Recs Triangle Ruler
