- Home
- Quilting Tools/Supplies
- Corner Beam Ruler
The Corner Beam Ruler
Painless. Pointy. Perfection.
This post contains affiliate links, for which I receive compensation.
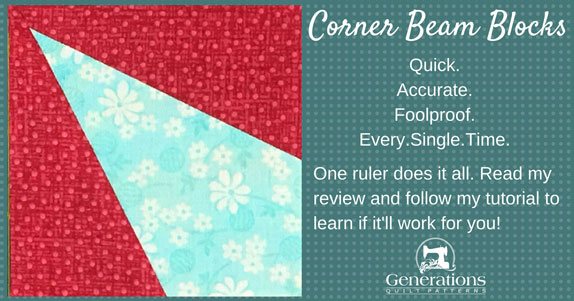
The Corner Beam ruler is a tool that claims to help you make units like the one shown here.
Unlike many rulers that help you either cut accurate patches OR trim accurate patches, the Corner Beam does BOTH.
Pros:
- Cut patches are accurate
- Straight of grain runs top to bottom and left to right in all pieces which makes a more stable, less stretchy, block
- For both cutting patches AND trimming to perfection
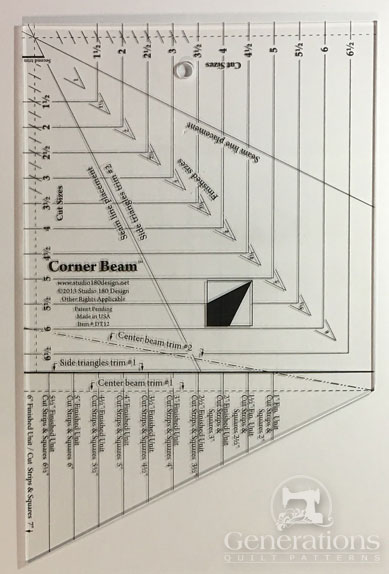
- Create 11 different sizes with this one ruler
Cons:
- Like most specialty rulers, it's rather pricey
- It's oddly shaped—you'll need more space to store it
Use these links to skip directly to the various parts of this Corner Beam Ruler review and tutorial:
- A tutorial showing how to use the Corner Beam
Extra-Helpful Tips
These are the extra little things that are helpful to me when using this ruler.
They are not contained on the instruction sheet.
Important First Step
Immediately after freeing them from the plastic the Corner Beam ruler is wrapped in, make an extra copy of the instructions.
I don't know about you, but things around here get buried in the frenzy of a new project.
Having an extra copy saves a lot of frustration and missed piecing time.
You may want to use your phone if you can read the writing in the pictures. That way if you sew away from home with the ruler, more than likely you'll have your phone—and by default your instructions—with you! (Pretty smart for an old, blonde, Norwegian, eh? :D )
Not only do the instructions provide a detailed step-by-step tutorial, there's a cutting chart that you use each and every time you use your Corner Beam ruler.
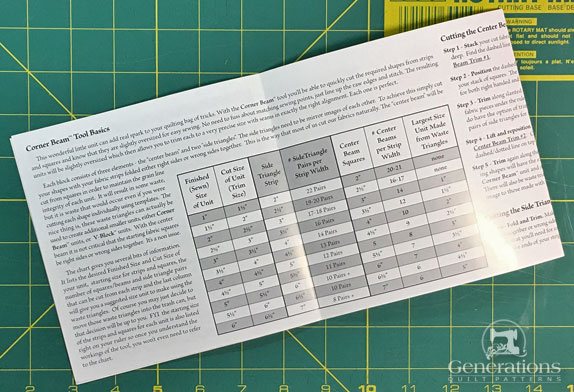 2 of the 8 pages of instructions included with the Corner Beam ruler.
Starching
No matter how you cut your patches for this unit—paperpieced, templates or the Corner Beam ruler—starching your fabric before cutting makes stitching much, much, much more accurate.
The pointy points of the Beam and Side patches are quite narrow and easy to pull out of whack. Starch adds needed stability.
I like to use StaFlo starch liquid concentrate mixed 1:1 with water.
Learn more about starching fabric here.
New and Improved
If you're a Deb Tucker fan (the gal who engineered and designed this ruler) and have her 'Spotlight' ruler, the Corner Beam is the new and improved version.
Before going any further pull out your old Spotlight to compare and contrast any differences.
Limit the number of patches
Don't cut huge numbers of patches at one time, regardless of how many layers your rotary cutter will go through.
Why?
You need accurate angles to sew. I cut a maximum of two layers at one time.
For an odd angle like the Corner Beam, accuracy is more important than speed.
Consider a ruler rack
The ruler is a bit big and awkward shaped.
If you find yourself enjoying the Studio 180 ruler family (I surprisingly do!) you want to keep them handy—and safe.
Consider a ruler rack to protect your investment.
What is a Corner Beam?
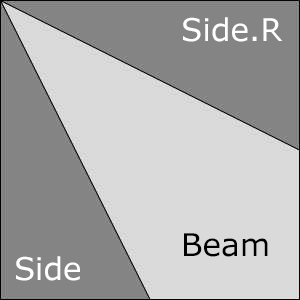
It's a square patch, divided into three triangles from a corner point and is based on a four patch unit.
Both sides of the two internal seams are bias edges.
Other reliable methods to piecing this unit are paper piecing and templates.
How to use the Corner Beam ruler
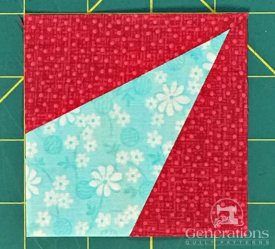 Sample Corner Beam block
There's no magic to making perfect blocks—just the same old cutting, sewing and pressing you usually do, plus trimming with a well-engineered ruler and sharp rotary blade.
A few abbreviations are used in this tutorial:
- RST - right sides together
- WST - wrong sides together
- FSize - finished block size
- USize - unfinished size
All patches cut with the Corner Beam ruler are oversized. After sewing, the unit is trimmed to perfection—my favorite way to piece!
Step 1: Cutting patches with a Corner Beam ruler
Cutting dimensions for the FSize you want to make are found on both the ruler and instruction sheet.
For our 3" finished (3-1/2" unfinished) sample the turquoise 'Beam' fabric is cut 4" square.
We need a 4" strip for the red 'Sides'.
The instructions also tell you how many patches can cut from a whole strip. That's a big help if you're calculating how much fabric you need for one of your own designs or converting fabric requirements from a commercial pattern.
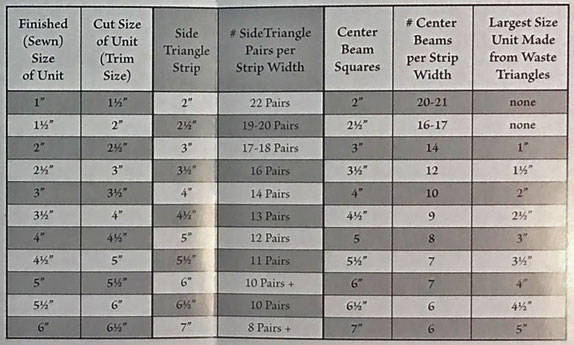
The printed instructions include complete information for left-handed quilters, too. (Excellent!)
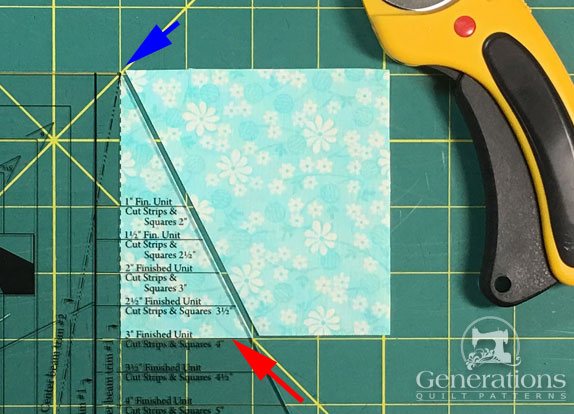
Beam Patch
Cut 1
Place the dashed line 'Center Beam Trim #1' (blue arrow) on the left-hand edge of your cut square. The solid 'Finished Unit' line (red arrow) is aligned with the bottom.
Cut.
Now rotate the ruler a bit counterclockwise until the dashed and dotted 'Center Beam Trim #2' marking is lined up with your cut edge.
Cut again.
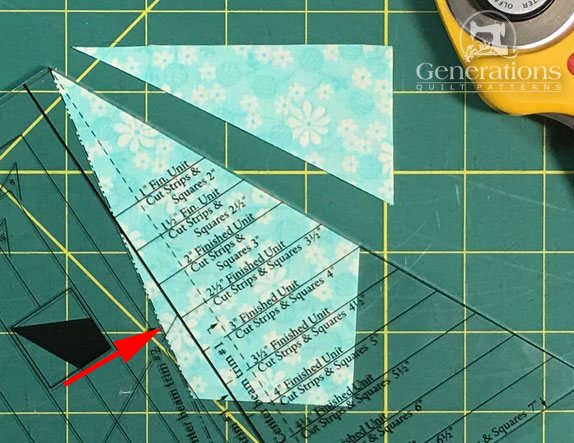
The two small triangles are waste. They are too small to use for the same sized blocks.
However, you CAN cut them down to use with smaller units. We'll discuss that later in this tutorial and review.
Side and Side.R
Cut 1 each (Side.R is the reverse of Side)
Moving on to the red Side/Side.R fabric.
To complete our sample Corner Beam, we need both a right and a left patch. The best, and most efficient, way is to cut through two layers at one time—both either RST or WST—to produce mirror image patches.
In the photo below the strip is folded in half lengthwise, RST.
Straighten the short cut edge (through both layers) of the strip.
Align the heavy solid 'Side Triangle Trim #1' marking with the cut edge (blue arrow) and the FSize line across the bottom. Your patch has a flat top when the ruler is aligned correctly.
Cut.
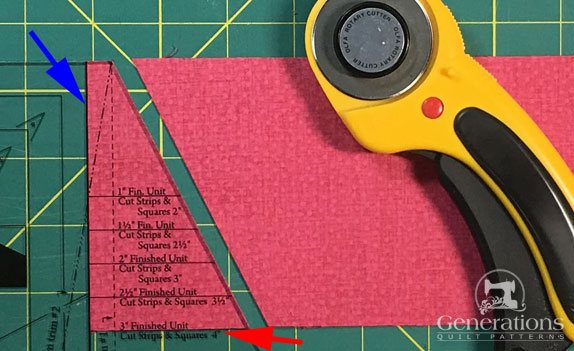
You now have enough to make one complete unit.
If you're making multiples, flip the ruler.
There's lot of lines to choose from. Don't worry. They are all clearly marked right on the ruler.
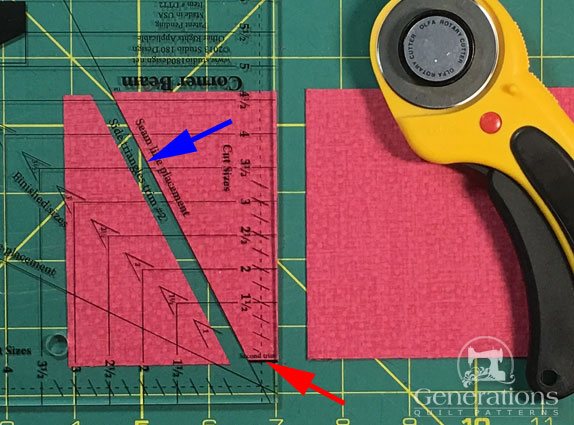
The heavy solid 'Side Triangle #2' mark is aligned with the last-cut edge (below, blue arrow). The short, heavy solid 'Second Trim' marking aligns with the bottom edge of the strip (closest to you).
Cut.
You've now enough corners for two Corner Beam units.
Continue flipping the ruler and cutting for as many blocks you need.
Step 2: Stitching a Corner Beam unit
For both seams, stitch from the wide end, not the points. You'll get a much better seam that way without chewing up the point.
Each piece is oversized, so you have wiggle room in their placement before sewing. A true time-saver. There's less frog stitching (Rip-it! Rip-it! Rip-it!)
Layout the cut Beam and Sides. (Click here to see the WRONG way.)
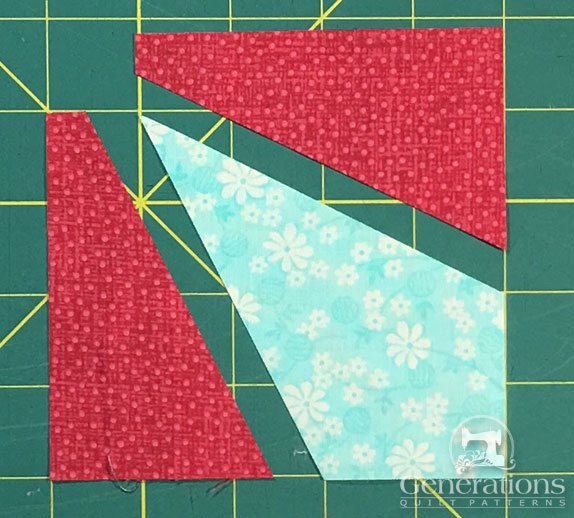
While it doesn't matter which of the sides you add to the Beam first, be consistent if you are making a bunch for two reasons:
- It's harder to make mistakes that way. The internal edges are all on the bias and stretchy. Ripping stitches distorts them.
- It's easier to chain piece when you've got a bunch to stitch.
Install your favorite quarter inch foot. It's important that your seam allowance is straight and accurate. (Take a seam allowance test to check your accuracy beforehand.)
With RST, layer a Beam and Side.R (below).
Here a pair are stitched together. Notice how a bit of the turquoise fabric sticks out at the top edge.
Again, these fabric pieces are cut oversized, so you've got wiggle room to line up the patches.
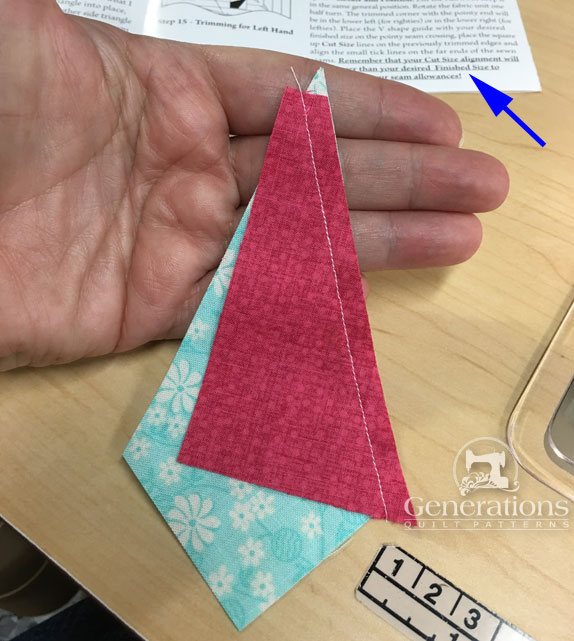 Keep the instructions handy (blue arrow).
Press, first flat, then open with the SA away from the center. (We would rather not create a lot of bulk underneath that pointy-point. It'd be a pain to quilt through later.)
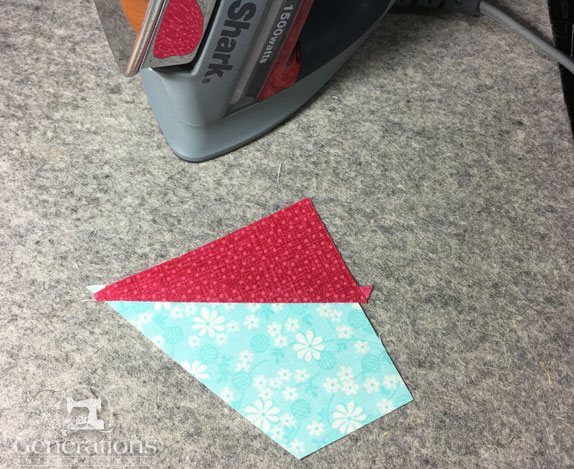
That padded surface in the photo is my new favorite pressing tool, The Magic Pressing Mat. It grabs and holds the patches and holds the heat. Really boosts your pressing powers.
Now add the Side to the opposite bias edge in the same manner.
That same bit of turquoise peeks out at its point.
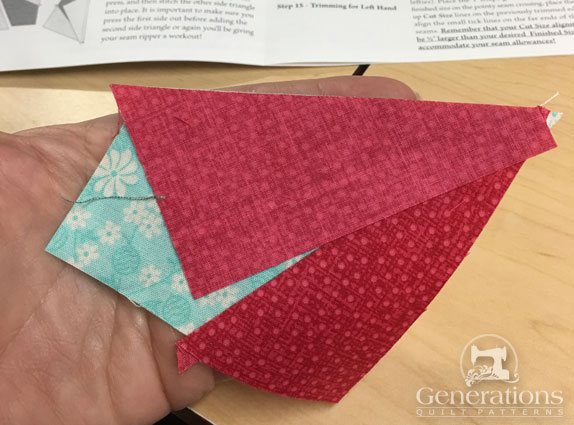 Patches aligned before stitching.
The SA is again pressed away from the center beam to avoid bulk at the point.
Looks rather sloppy, doesn't it?
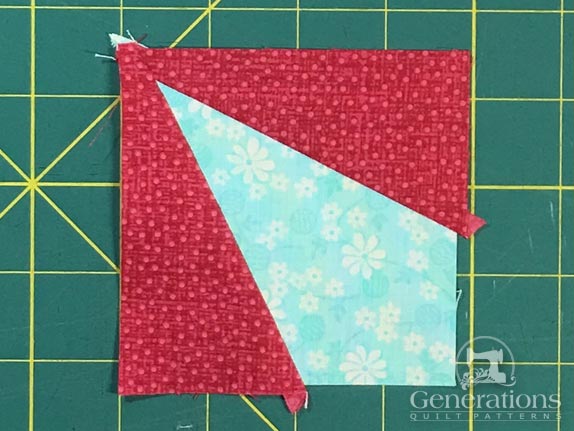 There's one more step before this beauty is ready to use.
That's exactly how it should look.
The perfection comes in the trimming.
Click here to learn how to use your Corner Beamer ruler for trimming your block.
More rulers from Studio 180
Intrigued?
Tucker Trimmer rulers by Studio 180 are all used to trim HSTs, QSTs and Flying Geese.
Click the image below to learn more, read reviews and find pricing/purchasing information.
- Home
- Quilting Tools/Supplies
- Corner Beam Ruler
