- Home
- Beginner Quilt Blocks
- Triangle in a Square Quilt Block
Triangle in a Square Quilt Block
Technique#1 - Paper Piecing
This post contains affiliate links for which I receive compensation.
The Triangle in a Square quilt block (aka 'Peaky and Spike') is most often used as a unit in other blocks, like the 54-40 or Fight quilt block.
Paper piecing is a reliably accurate method of creating this useful triangle unit and is shared below.
You will also find free downloads for 2", 3" and 4" finished paper piecing patterns.
Because this is one of those 'basic units', there are plenty of pictures to step you through the process.
If you're a more experienced quilter, the cutting instructions and downloadable patterns are probably more than enough.
If paper piecing isn't for you
It is possible to rotary cut the shapes for this block and piece with traditional methods.
For rotary cutting, both the Tri Recs Triangle Ruler combo—yes, two separate rulers, or the V Block ruler work. You'll need an accurate 1/4" seam allowance with the Tri-Recs. The V-block is a trimmer down ruler that gives you a perfect patch every time.
Click here for the tutorial for making a Triangle in a Square quilt block using the Tri Recs rulers.
A tutorial for the V-Block ruler will be available shortly.
The Technique
Step 1: Download and print the pattern
You'll need the most current version of Adobe installed on your computer to download the pattern.
On the Adobe Print Menu page, under 'Page Size and Handling' set 'Custom Scale' to 100% before printing for accurate results. Click here to see what it looks like on the Print Menu page.
After printing, use the 1" square graphic on the printed pages to confirm they are printed accurately.
To print a block or two and the templates to help you cut the irregular shaped patches, click on a finished size below. (Each of these links opens in a new window.)
If you'd like to print a page of Triangle in a Square quilt blocks without the templates, click on a finished size below. (These links also open in new windows.)
Click here for more information on downloading patterns from this website. (This link opens in a new window.)
Step 2: Cutting instructions
Prepare the paper templates and patterns
With a rotary cutter or scissor (whichever you are more comfortable with) rough cut just outside the dotted lines of the downloaded paper piecing patterns.
There's no reason to be exact. These units are trimmed later.
DO cut the TEMPLATES out on the lines as it will assist in placing them on your fabric and minimizing waste.
Fabric
Two contrasting fabrics are needed to make this Triangle in a Square quilt block. Our Fabric 1 is yellow; 2 is orange.
Choose the finished size and cut as instructed below.
 | Cutting Chart for a~Paperpiecing ~ | ||||
|---|---|---|---|---|---|
| Fabric | Template | Qty | Finished Block Size | ||
| 2" | 3 " | 4 " | |||
| 1 | A | 1 | 3" x 2¾" | 4" x 3¾" | 5" x 4¾" |
| 2 | B | 2 | 2½" x 3" | 3" x 4" | 3½" x 5" |
| Unfinished Block Size | 2½" | 3½" | 4½" | ||
Position Template A on top of the Fabric #1 rectangle and cut out the shape. The top and bottom of the template should be even with the top and bottom cut edges.
Layer the Fabric #2 rectangles right sides together before cutting.
Lay Template B on top aligning all the edges.
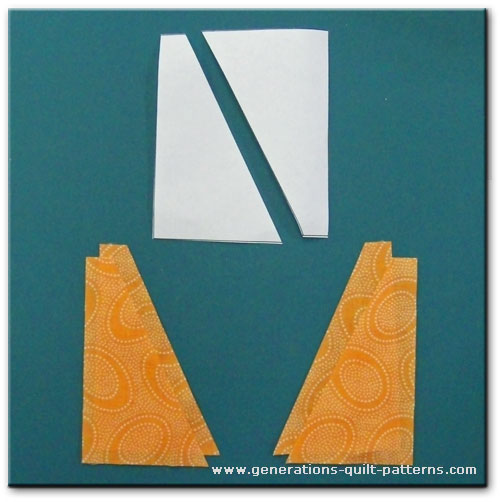
With your rotary cutter and ruler cut through the template and all the fabric layers along the solid diagonal line. After cutting there are four skinny, outside triangles—2 for the right side and 2 for the left.
You need only one of each per block. However, this method ensures that you will have a left and a right patch.
Why bother with templates?
Isn't this just extra work?
This extra step with the templates ensures that the outside edges of your Triangle in a Square quilt block are on the straight of grain.
This means your outside edges won't get stretched out of shape at you stitch and press.
An extra benefit is there's less fabric waste. As you settle in to paper piecing this unit, adjust the size of the template to your needs.
The size that works best for you is the BEST size!
After subcutting a pair of rectangles, these are the resulting patches. You'll need just two for a single block.
WARNING:
If you lay all the rectangles either all right side up or all right side down, you will end up with either all left or all right triangle points—not what we need.
Remember to layer the Fabric 2 rectangles RIGHT SIDES TOGETHER before cutting.
You'll be glad you did!
Step 3: Stitch the Triangle in a Square block
With just a dab of Elmer's Washable Glue stick, position and adhere one background triangle cut from Template A onto the unprinted side of the paper pattern.
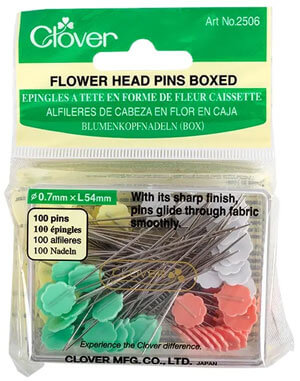
Yes, you can use a pin instead if you'd like, I like Flower Head pins because they dont' distort the fabric as much as other pins.
The template is sized so that the side edges of the triangle patch extend 1/4" past the solid stitching lines of the center triangle. The blunt tip is even with the dotted line at the top outside edge of the block for easier positioning.
The long bottom edge extends a 1/4" past the bottom stitching line—if we're going to trim to perfection at the end, it's good to have something to trim.
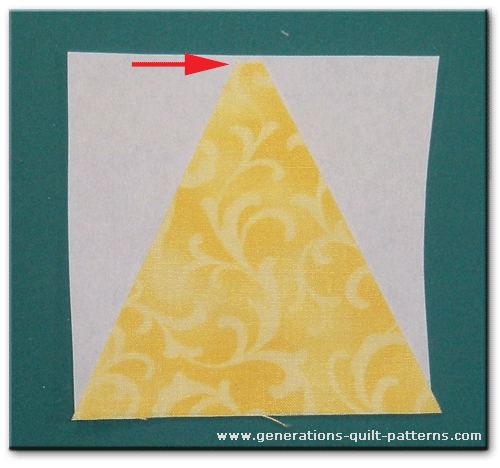
If you have a difficult time 'eyeballing' the 1/4" seam allowance, then mark it on the paper pattern as shown below. (That line is drawn with a red Micron pen but you can use pencil, too.)
You can also see that the pattern has been rough cut just past the dotted line that marks the edge of the final unfinished block.
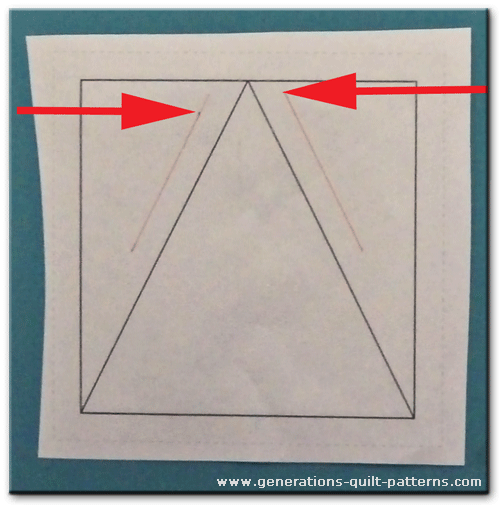
Position a skinny triangle, right sides together with the center triangle, aligning the long edges. (It doesn't matter which side you do first.)
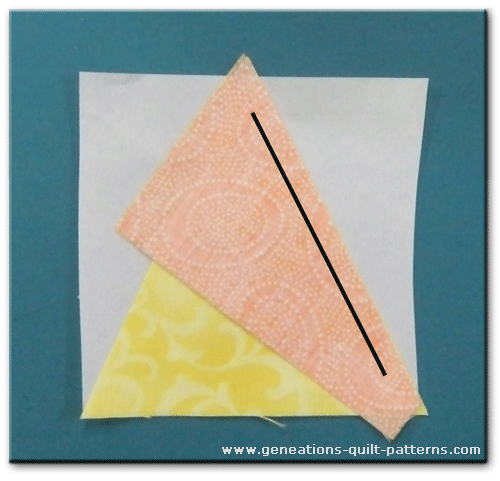
The heavy black line (above) is where the seam line is on the printed side that we can't see. The orange patch is positioned with approximately 1/2" extending past this seam line at both ends.
Flip the Triangle in a Square quilt block pattern over to the printed side and stitch with a short stitch length (1.5mm) on the line between the two triangles.
Start and stop your stitching a good 1/4" before the beginning and after end of the solid line and past the outside edges (dashed square) of the block.
Helpful Hint:
Because both seams go from past outside edge to past the other outside edge, you can chain piece these paper pieced Triangle in a Square quilt blocks.
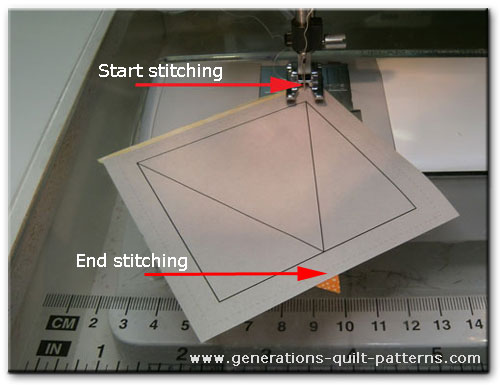
When this unit is pieced into your quilt, a line of stitching will cross these seams and secure them. There is no need to backstitch.
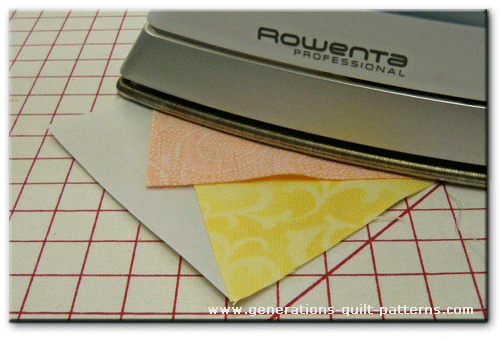
Press the unit as it was sewn to set the seam.
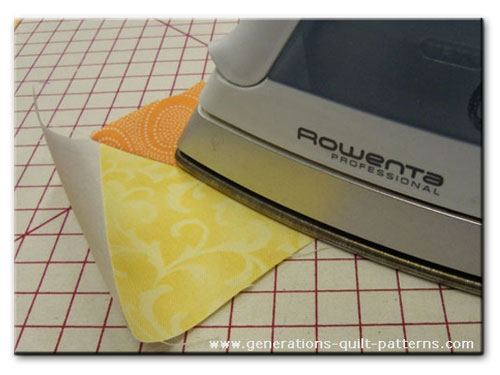
Now open the skinny triangle patch so the pretty side shows and press again. Be careful not to press a tuck in at this seam allowance.
To complete the sewing, repeat all of these steps for the remaining skinny triangle, stitching and pressing as before. It will look like this.
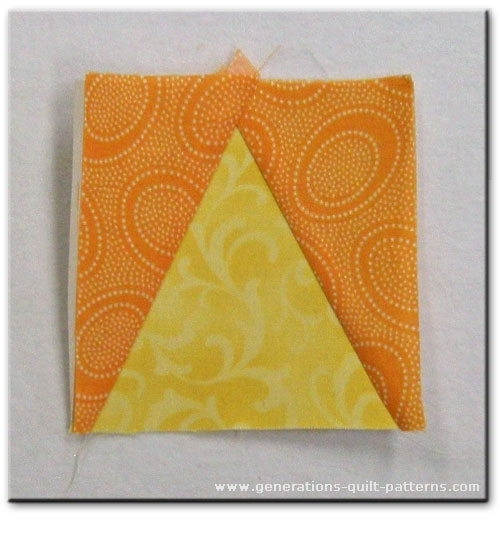
At this point, I hadn't bothered to trim the thread tails or dog ears.
There's no need to take the time during piecing, because the final trim takes care of it. (I like to be economical with my efforts. There's never enough time to make all the quilts in my head.)
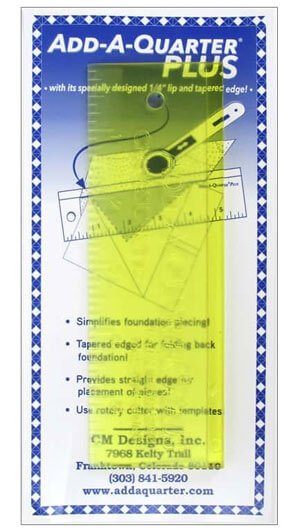
To complete the unit, align the 1/4" line of your ruler with the solid black line on the outside of your block. Trim. Repeat for the three remaining sides.
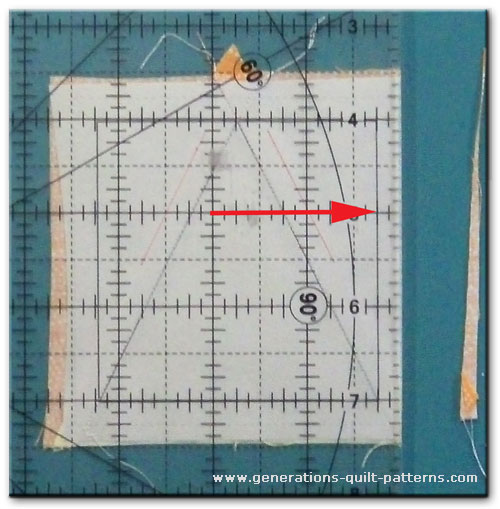
Helpful Hint
There's a good chance you're making several of these units at one time.
Line up a bunch of them at the same time on the cutting mat (see below). The blocks are trimmed individually, but having the blocks all lined up saves time.
Trim all the right edges and turn the mat. Trim and turn. Trim and turn. And a final trim. You haven't spent near a much time trimming as you would have trimming a single block all the way around and then the next.
Use a small mat for this trimming, and you can turn the mat instead of each individual block—saving even MORE time.
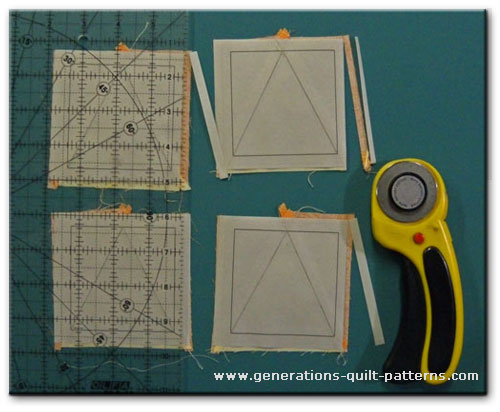 Trimming on a small mat that's easy to turn without disturbing the patches
After trimming your triangle in a square quilt block this is what you've got!
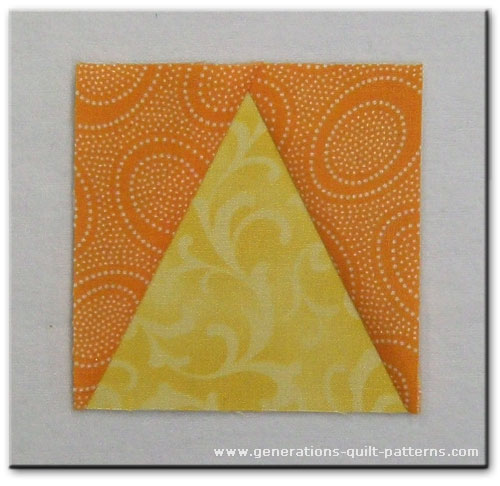
On the bottom edge, the orange fabric doesn't intersect the corner.
That's OK. It's not a mistake.
It is exactly as it should be due to the angle of the sides.
Now remove the paper and...

...ENJOY!
You've made a perfect Triangle in a Square quilt block, all ready to be stitching into your quilt!
Not a big fan of paper piecing?
Then try this block using a Tri Recs triangle ruler to cut the patches!
What about a different quilt block?
For a list of all the 215+ quilt block patterns on this site, start here.
If you know the name of the block, shorten your search by using these links:
Click here if you're looking for blocks with at least some paper piecing.
Click here if you're looking for the basic building blocks of quilting, i.e., Flying Geese, half square triangles, quarter square triangles, etc., along with several techniques to make each.
And finally, use these links to find blocks in these finished sizes:
For even more blocks to make...
For you, are quilt block designs like potato chips...
...you can't have just one?!!
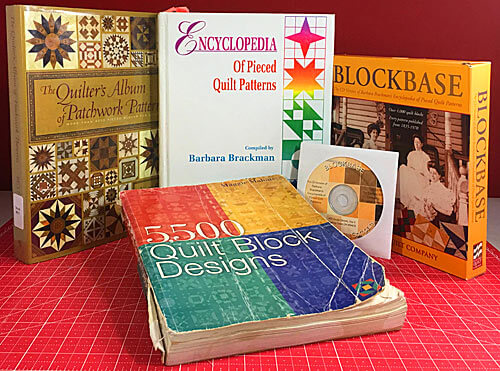
Check the amazing resources I rely on for all the quilt block designs you see on this website.
To see if they're worthy of a spot in YOUR quilting library, CLICK HERE.
- Home
- Beginner Quilt Blocks
- Triangle in a Square Quilt Block
