- Home
- Beginner Quilt Blocks
- Nine Patch Quilt Blocks
Nine Patch Quilt Blocks...In a Jiffy!
Technique #2: 2 squares = 2 Nine Patches
This post contains affiliate links for which I receive compensation.
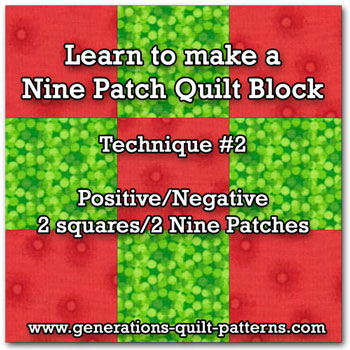
This is a sweet little technique for making nine patch quilt blocks two
at a time—a positive (dark squares in the corners) and a negative (light
squares in the corners)—from two squares of fabric.
The perfect place to use this is a quilt made of nothing but nine patches, set edge to edge, with no sashing.
Pros:
- Fast, easy and no marking
- You're not cutting and sewing 9 individual patches a patch at a time
- It's fun
Cons:
- You have a positive and a negative block, usually patterns call for one or the other, but not both in the same block.
The Technique
The Formula
Cut two contrasting squares equal to the finished size of the Nine Patch block plus 1-1/2".
Divide this number by 3. We'll call it the Cutting Number.
Step 1
For a 4-1/2" finished Nine Patch the calculation is:
4-1/2" + 1-1/2" = 6"
Cut one 6" square from each of two contrasting fabrics.
To calculate the 'cutting number' divide 6" by 3 which equal 2".

Step 2
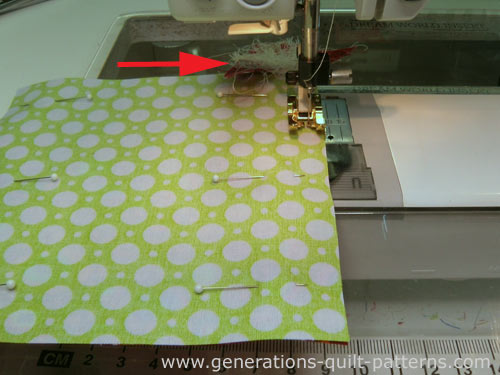
With RST, align all the edges and stitch a 1/4" seam on two opposite sides. Use pins to hold the square together if needed. You'll want to keep all the edges even.
Step 3
Give the unit a quick press to keep things neat.
Now we'll need the 'cutting number' that we calculated as 2" back in Step 1.
At the rotary cutting mat, align the 2" line of the ruler with one of the stitched edges. Cut. Align the 2" line of the ruler with the freshly cut edge and make another cut.
Press the pieced strips, first closed to set the seam and then towards the darker fabric.
You now have two 2-strip units that measure 3-1/2" x 6" and two single strips, one of each fabric, that each measure 2" x 6".

Step 4
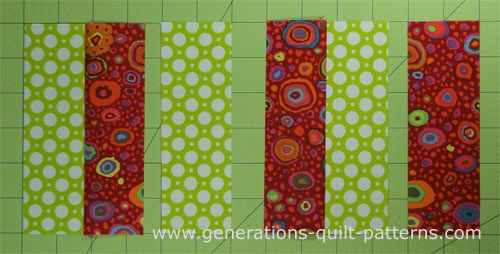
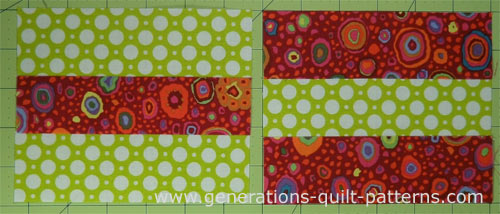
Layout these pieces in a light-dark-light and a dark-light-dark order.
Step 5
With RST, stitch the single dark strip to the light strip in one of the sewn units.
With RST, stitch the single light strip to the dark strip of the remaining 2-strip unit.
Press as before with seams towards the dark.
Your strips sets look like this. Both should measure 5" x 6" at this point. (Remember our finished block size is 4-1/2"—which is 5" unfinished.
Step 6
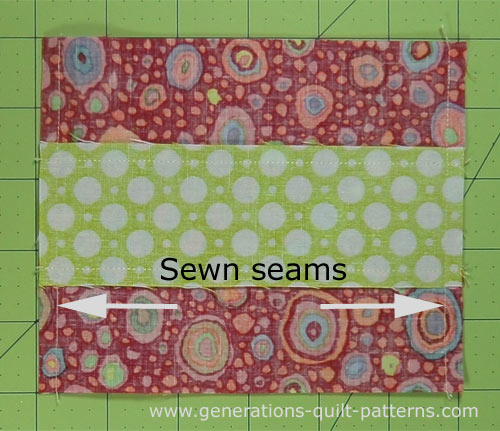
With right sides together and matching seam allowances, stitch the two short sides together. (The seams will nest to help with the alignment.)
Step 7
Press flat.
Cut in from both sewn edges by the cutting number (2") and you have this. This is the second cut in the photo below.
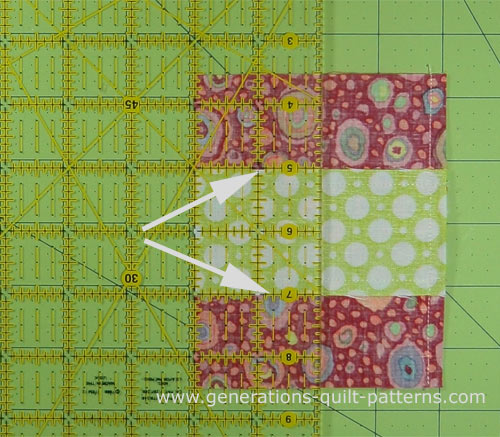 Note how the lines on the ruler align with the sewing lines in the blocks to ensure straight and accurate cuts.
Step 8
Now layout the patchwork pieces in positive (dark in the corners and center) and a negative (light in the corners and center) nine patch quilt blocks like this.

Step 9
With RST, sew the corresponding strips set together. Pin if needed to match seam allowances.
After stitching, press flat to set the seam and then open towards the darker fabric in the outside patches.
That's all there is to it to making two Nine Patch quilt blocks from just two squares of fabric.
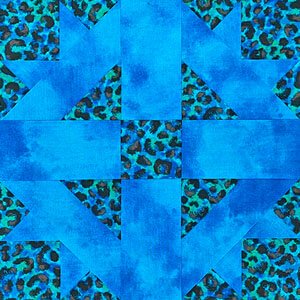
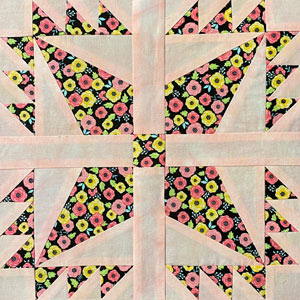
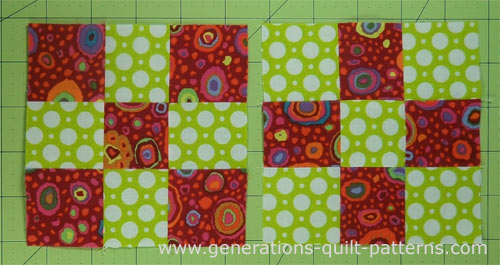 The two finished Nine Patch quilt blocks
There's more blocks to tempt you!
What about a different quilt block?
For a list of all the 215+ quilt block patterns on this site, start here.
If you know the name of the block, shorten your search by using these links:
Click here if you're looking for blocks with at least some paper piecing.
Click here if you're looking for the basic building blocks of quilting, i.e., Flying Geese, half square triangles, quarter square triangles, etc., along with several techniques to make each.
And finally, use these links to find blocks in these finished sizes:
For even more blocks to make...
For you, are quilt block designs like potato chips...
...you can't have just one?!!
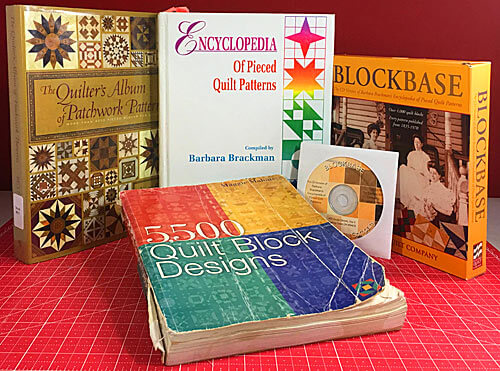
Check the amazing resources I rely on for all the quilt block designs you see on this website.
To see if they're worthy of a spot in YOUR quilting library, CLICK HERE.
