- Home
- Free Motion Quilting 101
- Use Your Sewing Machine for Quilting
Using your Sewing Machine for Quilting
Learn how to set up your sewing machine with our handy instructions and checklists
This post contains affiliate links for which I receive compensation.
Quilting—especially free motion quilting—is one of the most demanding tasks for your sewing machine.
It can be hard on your body, too, if you're not paying attention.
Follow these tips and keep the download printed and by your machine to make the process as pain-free as possible.
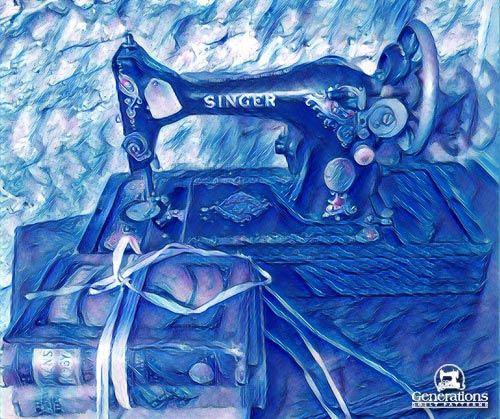
When a sewing machine is a quilting machine...
...it runs constantly.
It's not unusual to use up several bobbins in a row.
Time for a new bobbin?
The sewing machine runs, yet again, to wind it. It gets hot.
Pay attention to its sound and temperature. Your baby can over heat.
Check your sewing machine or quilting machine manual for
when, and if, it needs lubrication.
Clean the bobbin case regularly to remove lint. Lint sucks up the lubrication in your machine keeping the bobbin from spinning as it should.
Changing threads?
Clip thread close to the spool. Pull the tail out through the needle.
Lint isn't drawn back up through the tension disks that way. For more info see Sewing Machine Maintenance.
Free motion quilting set-up
Follow these steps to set up the sewing machine for quilting.
Be
sure to refer to your instruction manual and foot installation guides
for help. Keep them close to avoid the frustration of the hunt when you're in the middle of a problem.
This first one is so important that it has it's own section.
SLOW DOWN
Just because you can, doesn't mean you should.
Sewing machine manufacturers boast about their awesome stitch speeds in their advertising...
...making it sound like you're a loser if you're not stitching as fast as the machine can.
Phooey!
If at all possible, reduce your sewing machine's top stitching speed. This feature is available on many newer models via a button or knob.
I'll say it again.
As you are learning, do not stitch at top speed.
This is just so important.
Choose a sewing speed that is only as fast as you can control.
For a beginner, trying to coordinate the movement of the quilt sandwich and needle speed at the same time to get even stitches takes time and practice. This is normal.
The car analogy applies.
Drive somewhere unfamiliar, the road is curvy and littered with obstacles, you instinctively slow down...to be in control. It's the same for quilting. More comfortable with the terrain? Naturally, you speed up. It's all about practice and confidence.
If the maximum sewing speed can be reduced by pushing a button, you can ‘stomp’ down on the foot control. Your sewing machine will not race along out of control. You won’t need to make constant adjustments on your foot pedal. You can just concentrate on moving the quilt sandwich.
Additional sewing machine settings
- Install your darning foot by following the directions that came with it. (It's also called a free motion or hopping foot.) Most have an arm or a fork that rides over the needle screw so that the foot “hops” as it stitches. When the needle comes up, so does the foot.
- Lower your feed dogs is a must. A newer sewing machine has a button or lever; older machines may instead have a cover.
- Set stitch length to '0'. Now the feed dogs won't move while they are lowered or covered. The stitch length is now created by the combination of hand speed (the movement of the quilt sandwich under the needle) and needle speed.
Newer model sewing machines may also allow you to...
- Needle Stop Down – as it says, the machine stops with the needle in the quilt (anymore, I couldn't live without this feature...it speeds up my work without loss of control!)
- Disable Fix Stitch - you don't want the machine to tie knots because they are unsightly
- Disable thread cutter – regardless of whether ending line of quilting with a hand tied knot or micro stitches, you need enough of a tail to clip your threads close to the top of the quilt.
- Reduce your presser foot pressure if required; check the manual
Check the manual for other required settings for your sewing machine for quilting. (i.e. On my Designer I a free motion quilting menu must be chosen. For Pfaff owners, check your manual to see if the presser foot should be in the half-darning position.)
Adjust and test your tension setting
Test the tension settings on your sewing machine
Quilting on a sample quilt sandwich made from scraps of fabric and batting from the quilt is helpful.
In fact, use it to warm up.
Most of the time, the needle tension will need to be decreased just a wee bit due to the extra thickness.
Test and fine tune on this practice
sandwich instead of ripping stitches out of your quilt.
For additional information go to Sewing Machine Tension.


