- Home
- Quilt Design Inspiration
- Rail Fence Quilt Pattern
Rail Fence Quilt Pattern Designs
More than just an easy quilt for beginner quilters!
This post contains affiliate links for which I receive compensation.
Rail Fence quilt pattern designs are perfect for the beginning quilter because you build skills and create a fun quilt to boot!
For more experienced quilters, this design is fast and easy--perfect for that unexpected baby quilt.
If offers opportunities to play with fabrics and color values and then see the results quickly.
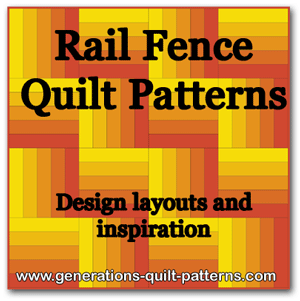
When the units are color blocked, it's a scrap quilter's little piece of heaven.
No scrap is wasted.
For hand dyed fabric lovers (Moi! included), playing with gradations conjures up a quilt that looks 'woven' rather than pieced.
Whether the block is created from just two strips or many, this nifty, little 'beginner' rail fence quilt pattern has a lot of offer any quilter, no matter their skill level.
All the patchwork illustrations you see on the website are created with the EQ8 software program.
I use it for all my block designing because it makes designing so darn easy...and FUN!
And if you're a MAC user, it works for you, too!
Don't forget to download your free Rail Fence coloring pages towards the bottom of this page!
The Rail Fence Quilt Block
This block is stitched from strips. Sometimes uniform in width (below, left) and sometimes not (below, right).
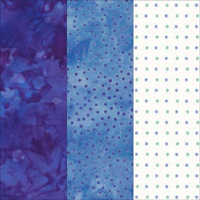
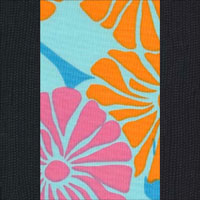
These blocks can be varied by increasing or decreasing the number of strips in each. As you'll see in the illustrations that follow, changing the order the fabric color values can dramatically change the look of the final design.
And finally, you can make 'wonky' blocks to add even more pizzazz to your patchwork.
Truly a basic block!
If you create a quilt with a controlled color palette using just three fabrics (for example), you'll stitch a long strip of each fabric together into strip sets and then cut those sets into the block. It's rather like doing the sewing test of check the accuracy of your quarter inch seam allowance.
If you choose to make a scrap quilt, you'll make each block individually.
Rail Fence Quilt Pattern Designs
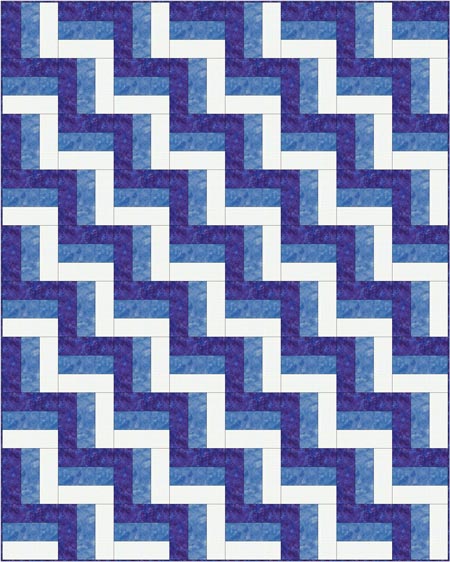
There are two basic layouts of the the blocks. I'll use the simple, three strip block from above to illustrate. To make it easier to see the design, the fabrics are positioned from light to dark.
In this first pattern, the blocks are laid out so that the dark strip (or 'rail') is either on the left or the top. The odd numbered rows start with the dark on the left; the even numbered rows start with it on the top.
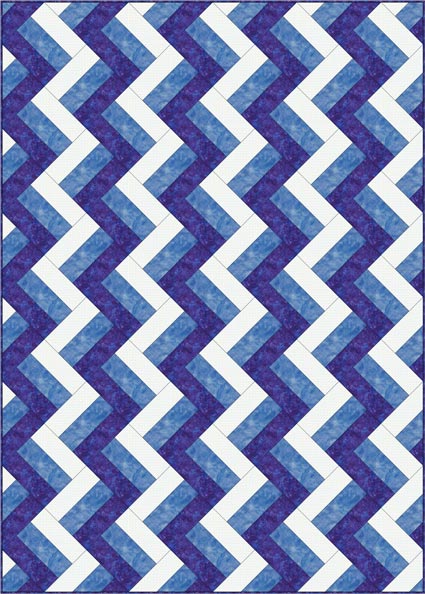
The same layout, except now the blocks have been set on point. Notice how the diagonal rows now move straight up and down in the design.
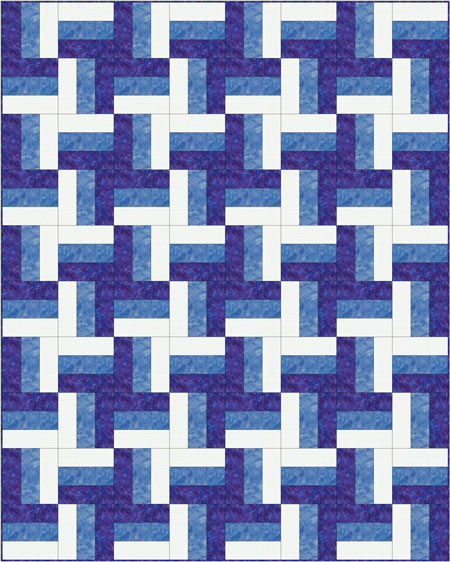
In this alternate layout, the blocks form little pinwheels.
The layout of the blocks changes for the even numbered versus the odd numbered rows. In the odd numbered rows, the blocks are laid out alternating dark strip on the left, then bottom, top, bottom, etc.
The even numbered rows have the dark strip first on the top, then on the right, top, right, etc.
Rarely do you see Rail Fence quilt patterns set with sashing, though with the increasing popularity of the Modern Quilt movement, I have seen a few with sashing between the blocks.
[Learn how to make a Rail Fence quilt block.]
Now let's look at some of the options available to you as you design your own rail fence quilt pattern.
Using Fabric Gradations in a Rail Fence...
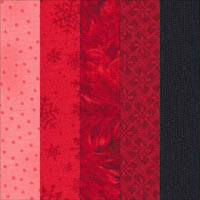
...either hand dyed gradations of single colors or using different values of light and dark commercial fabrics create stunning quilts that have the illusion of depth.
In this first example the blocks are in a straight set layout. Each block is made from 5 strips--four values of the color or hue and black.
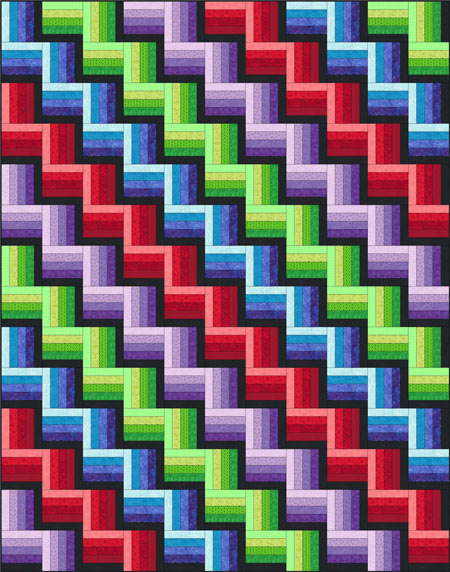
The placement of light and dark lends a rather 3D effect to the finished quilt.
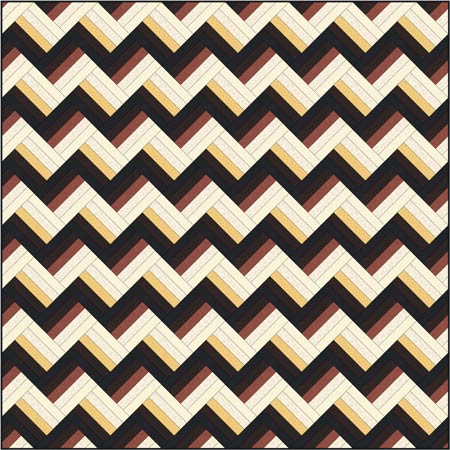
In this next use of value gradation, two similar but different versions of a 5 strip block are stitched.
I saw this layout in an antique quilt. It took awhile looking at it to realize that the two blocks were almost identical.
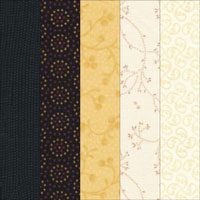
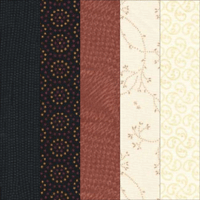
The only difference in fabric placement is the center rail. One is yellow. One is brown.
The blocks are set on point to create a zig zig that moves across the quilt top. Instead of setting triangles, partial blocks are used to extend the design to the edges of the quilt.
The yellow rail looks like the highlight on top of the zig zag; the brown rail looks like the shadow underneath.
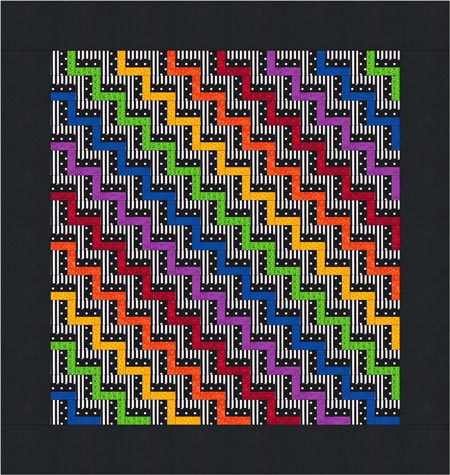
Morphing the idea of gradation just a bit, this next rail fence quilt pattern uses two values of black and white fabric...one looks more white, the other more dark...and a single bright for each set of blocks.
The result is an eye-popping rainbow quilt...perfect for a child or any lover of bright, dynamic quilts. Add a black border and quilt with those super-luscious, fully saturated rayon and polyester threads. The finished quilt will be a show-stopper...and still a basic, easy to piece rail fence quilt design.
Woven Effects
Staying with a 5 strip block, now grade from the outside to the center, either light to dark or dark to light results in these basic quilt blocks.
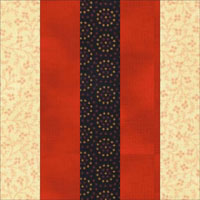
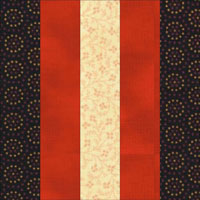
Again, in this rail fence quilt pattern design we set the blocks in horizontal rows and the results with light fabric on the outside...
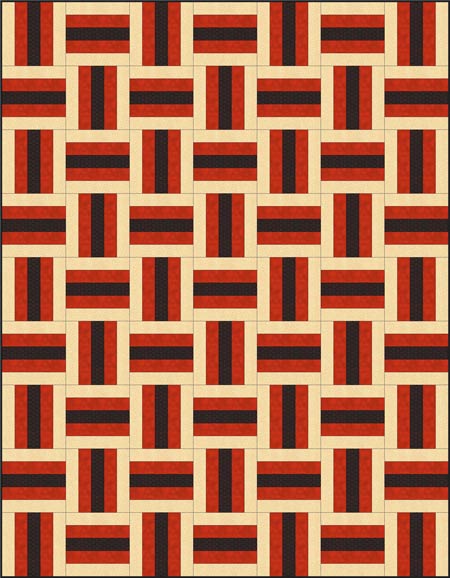
...or with dark fabric...
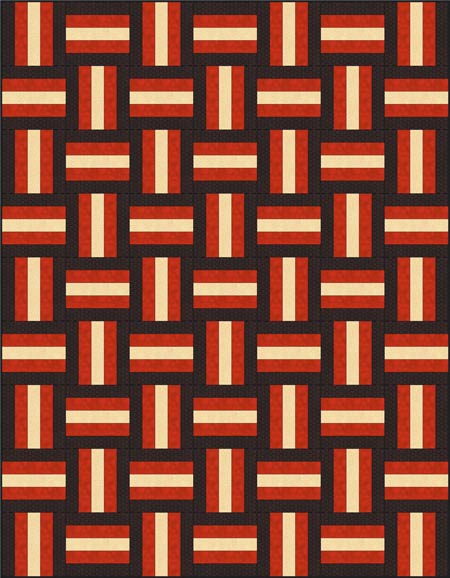
Using hand dyed gradations will produce a subtler effect. So much so that you might consider having the horizontal rows in one color family and the vertical columns in another.
Click here to learn how to calculate the needed fabric yardage for a Rail Fence quilt pattern.
Reduce the number of strips and vary the width

Next we reduce the number of strips to 3, and increase the size of the middle strip to get a block like the one shown to the right.
This is a great way to showcase a particular family of fabrics or a collection of like fabrics (i.e. food fabric or florals or bugs or Christmas, etc).
Set the blocks in vertical columns and the blocks appear to be weave in and out of each other.
Fun effect. Simple construction. What more could a quilter want?
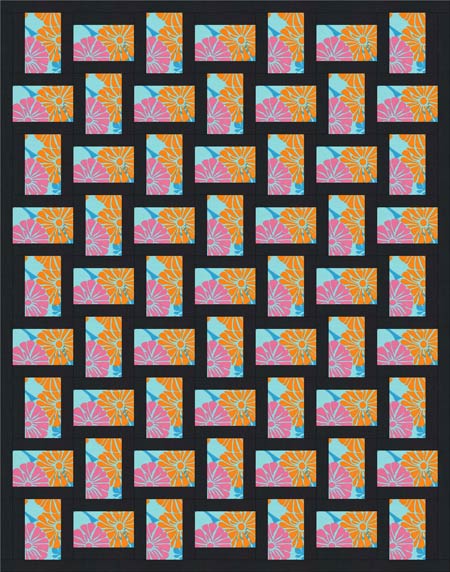
Were your eyes fooled by this design?
Doesn't it look like the blocks are different sizes?
But they're not. They are square blocks just like all the examples on this page.
Take note that in order to 'complete' this design, I've added a border equal to the width of the black strips. Otherwise it just doesn't look finished.
For Applique Lovers...
...sometimes there's just not enough time to applique all the quilts that exist in your mind--I know--I belong to that club!
What's an appliquer to do?
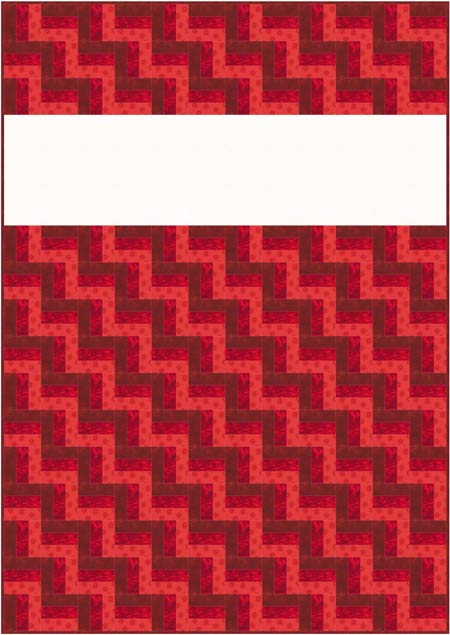
My suggestion is to applique just a panel for your next quilt.
Now border this panel with a field of fast and easy rail fence quilt blocks in subtle fabrics so that all your hand stitching takes center stage like this...
Or use that same panel of applique to top an assembly of those same blocks like this...
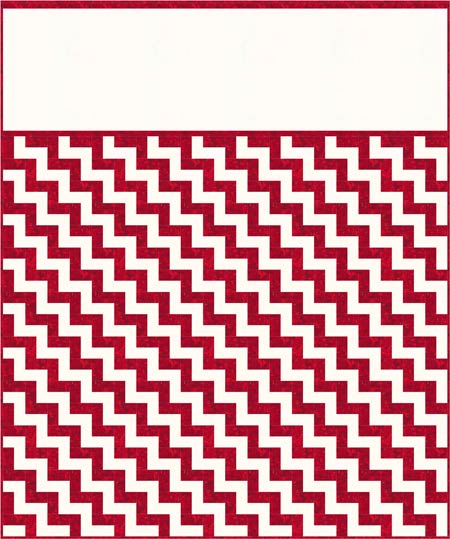
I think this second rail fence quilt pattern design would be a wonderful way to showcase a redwork embroidery. Don't you?!
Goodies: Free Downloads
You'll need the most current version of Adobe installed on your computer to download the pattern.
If you've enjoyed these ideas...
...we've got lots more!
Just go to Quilt Design 101 to see the blocks we've covered (no pun intended :D !!) so far! And then bookmark that page...we're always adding to it!
